
Arancini di Riso al Ragù (Fried Rice Balls with Beef Ragù and Mozzarella)
Why this recipe works
- Crisp outside, molten centre: A breadcrumb coating protects the rice as it fries, creating a golden crust around the ragù and melting mozzarella.
- Deep savoury filling: The ragù builds flavour from softened onion and celery, browned beef, white wine, tomato passata, and a slow simmer.
- Easier when chilled: Cooling the rice and ragù fully makes the arancini simpler to shape and helps the filling stay neatly enclosed.
Get the most out of this recipe
Authenticity notes
- Sicilian rice croquettes: Arancini are closely associated with Sicily, where filled, fried rice croquettes are a well-known street-food and snack format.
- Shape can vary: Round arancini are common, though some versions are shaped more like cones depending on the filling and local style.
Timing notes
- Chill before shaping: The ragù should be cold and firm, and the rice fully cooled, so the balls hold their shape without the filling leaking.
- Serve promptly: Arancini are at their best soon after frying, while the crumb is crisp and the mozzarella is still soft.
Common mistakes
- Using a loose ragù: A wet filling makes sealing difficult and can cause the arancini to split during frying; reduce and chill it until spoonable.
- Frying too many at once: Cook in batches so the oil temperature stays steady and the coating browns evenly rather than turning greasy.
- Letting the oil fluctuate: Oil that is too cool can make the crumb heavy, while oil that is too hot can brown the outside before the centre is properly heated.
Make-ahead tips
- Prepare the components ahead: The ragù and rice can be made in advance and kept chilled, which also improves handling when shaping.
- Freeze cooked arancini: Cool completely, freeze in a sealed container, then reheat from frozen until piping hot throughout.
- Reheat for crispness: Use a 200°C (390°F) oven rather than a microwave to help restore the breadcrumb coating.
Equipment you'll need
Ingredients
Ragù
Rice and assembly
Instructions
- Make the ragù: heat 2 tbsp vegetable oil in a large frying pan over a medium heat. Finely chop the yellow onion and celery, then cook for 8 to 10 minutes until softened but not coloured.
- Add the minced beef and cook for 6 to 8 minutes, breaking it up, until browned and any liquid has evaporated. Pour in the dry white wine and let it bubble for 2 minutes.
- Stir in the tomato passata, bring to a gentle simmer, then cook for 25 to 30 minutes until thick and rich. Tip into a bowl and cool completely, then chill until firm so it is easy to portion.
- Cook the rice: put the arborio rice in a saucepan with 900 ml water and bring to the boil, then reduce to a steady simmer. Cook for 15 to 18 minutes until tender and the water is absorbed; spread on a tray to cool quickly.
- Once the rice is cool, mix in the pecorino romano cheese and 1 egg until the rice holds together when pressed. Cut the mozzarella into small cubes and keep chilled.
- Shape the arancini: with damp hands, flatten a portion of rice in your palm, add a spoonful of chilled ragù and a cube of mozzarella, then enclose with more rice and roll into a firm ball. Repeat to make 10 to 12 balls, placing them on a tray as you go.
- Set up the coating: beat the remaining egg in a bowl, and put the breadcrumbs in a second bowl. Roll each ball in egg, then in breadcrumbs, pressing so the coating is even; chill for 15 minutes to help them set.
- Deep-fry: heat 900 ml vegetable oil in a large pot to 175°C (350°F). Fry the arancini in batches for 3 to 4 minutes until deep golden and hot through, keeping the oil temperature steady between batches.
- Drain briefly, then serve straight away while the mozzarella centre is still melting and the coating stays crisp. If needed, keep cooked batches warm in a 120°C (250°F) oven for up to 20 minutes.
Recipe notes
Tips
- Cool the ragù until it is thick and spoonable; a wet filling makes the rice harder to seal and can cause splitting in the fryer.
- For neat shaping, keep a small bowl of water nearby and dampen your hands between each arancino so the rice does not stick.
- If serving to pregnant people, young children, older adults, or anyone immunocompromised, use eggs that are pasteurised where available and ensure the arancini are piping hot throughout.
Substitutions
- Replace Pecorino Romano cheese with Parmesan for a slightly milder, nuttier finish.
- Replace Dry White Wine with water if you prefer to cook without alcohol; simmer the ragù a few minutes longer to concentrate the flavour.
Storage
- Refrigerate up to 2 days
- Cool completely, then refrigerate in a sealed container. Reheat on a baking tray in a 200°C (390°F) oven for 12 to 15 minutes until piping hot; freeze cooked arancini for up to 2 months and reheat from frozen at 200°C (390°F) for 18 to 22 minutes.
Ratings & reviews
Liked this recipe? Share your feedback to support our cooking community.
Tried this recipe?
Choose 1–5 stars. A comment is optional.
Stay inspired
Discover new recipes, seasonal favourites and cooking inspiration every day. Follow JustRecipes on Pinterest and Spillt.
Recipe overview
- Servings: 4 servings
- Total time: 2h 30min (1h 10min active)
- Difficulty: Advanced
- Cuisine: Italian
-
Allergens:
Eggs Gluten Milk Wheat
Plan your meals and get a complete grocery list automatically.
Add to meal plannerEquipment you'll need
Got ingredients left?
Find recipes using ingredients from this recipe or what you already have at home.
Find recipes with these ingredients →
Bolinhos de Bacalhau (Salt Cod and Potato Fritters)
Crisp salt cod and potato fritters with parsley and lemon
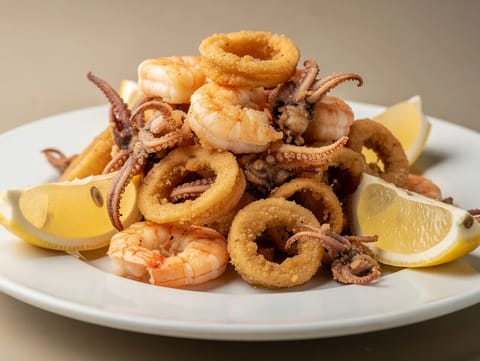
Fritto Misto di Mare (Italian Mixed Fried Seafood)
Crisp fried squid and prawns with lemon
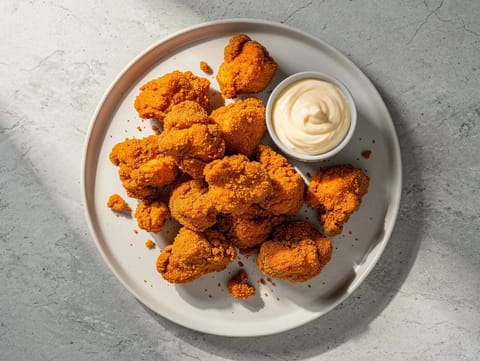
Air Fryer Popcorn Chicken
Crisp air fryer popcorn chicken with a cornflour coating.

Makouda (Moroccan Potato Fritters)
Moroccan potato fritters with cumin, herbs and lemon

Saltfish Fritters (Salted Cod Fritters)
Crisp fritters made with salted cod, spring onion and chilli
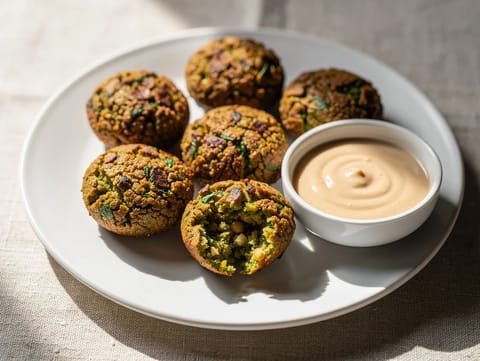
Air Fryer Falafel
Air-fried falafel made with chickpeas, herbs, spices and tahini.
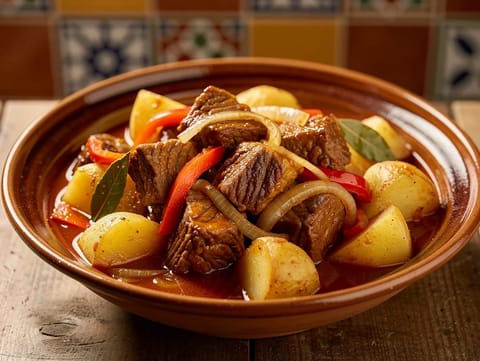
Carne Guisada Española (Spanish Beef Stew)
Spanish beef stew with red wine, peppers and paprika
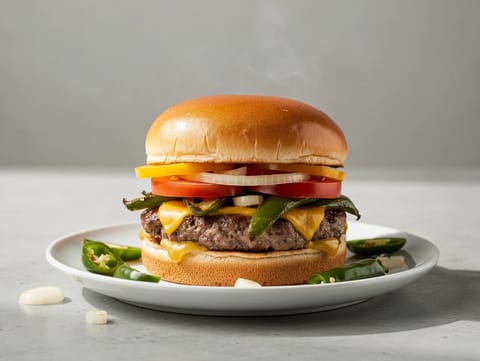
New Mexico Green Chile Cheeseburgers
Beef burgers with roasted green chillies and cheddar
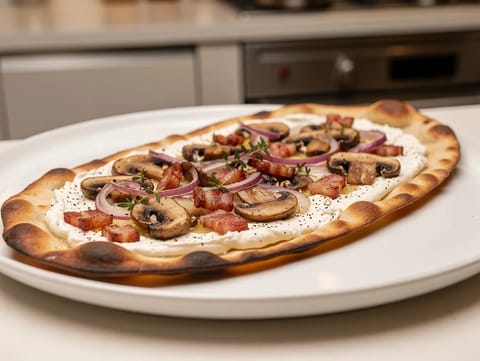
Tarte Flambée (Alsatian Flatbread with Mushrooms and Lardons)
Alsatian flatbread with crème fraîche, mushrooms, lardons and onion
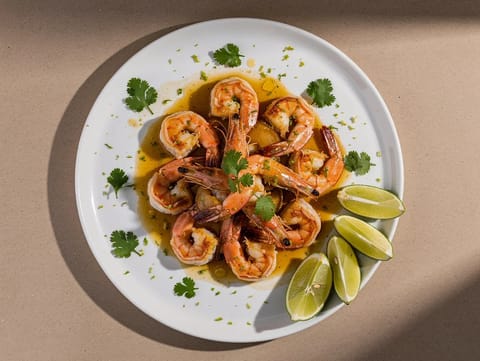
Camarones al Mojo de Ajo (Garlic Butter Prawns)
Garlic butter prawns finished with lime, chilli and coriander
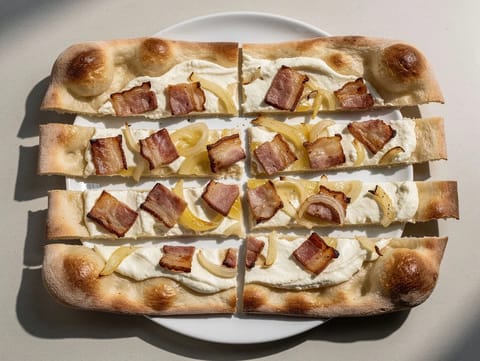
Tarte Flambée (Alsatian Flatbread with Crème Fraîche, Bacon and Onion)
Crisp tarte flambée with crème fraîche, bacon and onions
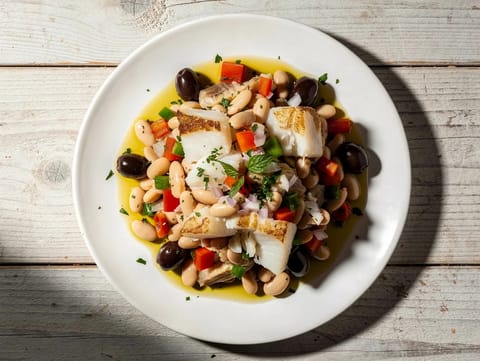
Empedrat (Catalan Salt Cod and White Bean Salad)
Catalan salt cod and white bean salad with tomato and peppers

Arancini Siciliani (Stuffed Sicilian Rice Balls with Ragù and Mozzarella)
Fried rice balls stuffed with ragù and mozzarella
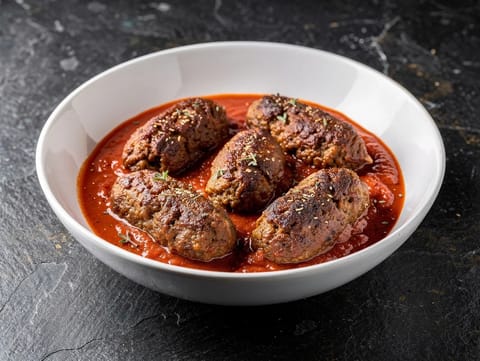
Soutzoukakia Smyrneika (Spiced Meatballs in Tomato Sauce)
Greek spiced beef meatballs in tomato sauce
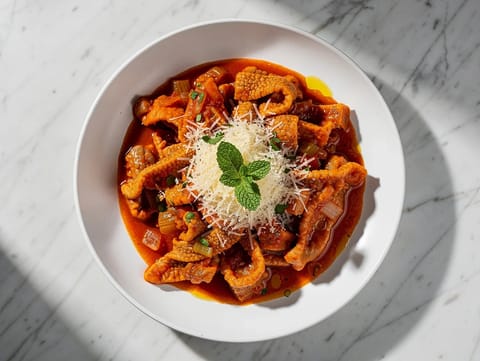
Trippa alla Romana (Tripe in Tomato and Mint Sauce)
Honeycomb tripe simmered in tomato with mint and pecorino
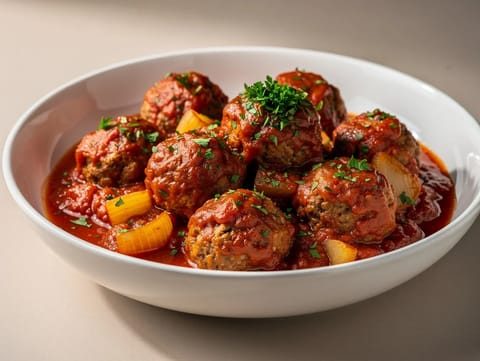
Albóndigas en Salsa de Tomate (Spanish Meatballs in Tomato Sauce)
Spanish beef meatballs simmered in a tomato and onion sauce
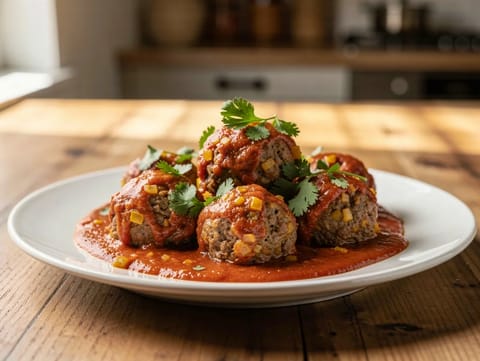
Albóndigas en Salsa de Chipotle (Beef Meatballs in Chipotle Sauce)
Beef meatballs in a smoky tomato and chipotle sauce
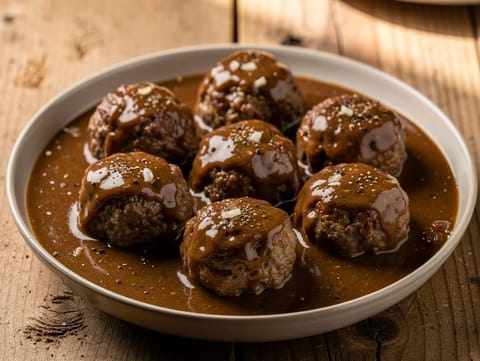
Gehaktballen in Jus (Dutch Meatballs in Gravy)
Dutch beef meatballs simmered in pan gravy
You might also like
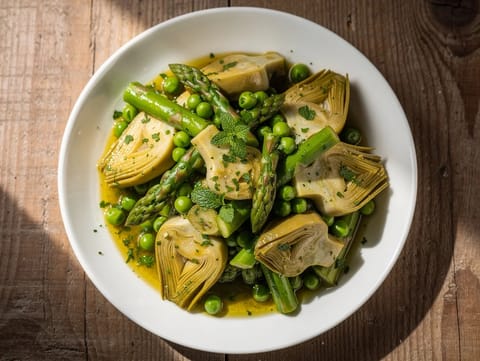
Menestra de Verduras (Spanish Braised Spring Vegetables)
Spanish braised spring vegetables with mint and lemon
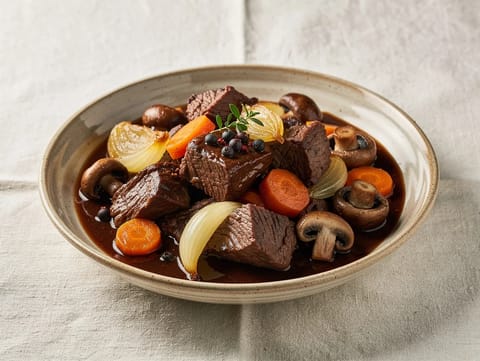
Venison Casserole with Red Wine and Juniper
Venison casserole with red wine, juniper, carrots and mushrooms
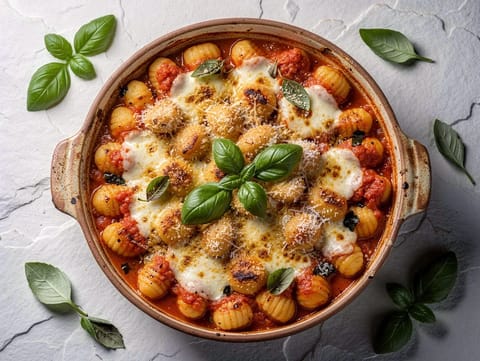
Gnocchi alla Sorrentina (Baked Gnocchi with Tomato, Basil and Mozzarella)
Baked gnocchi in tomato and basil with mozzarella topping

Cherry Yogurt Smoothie
Cherries blended with yoghurt, milk and banana until smooth.
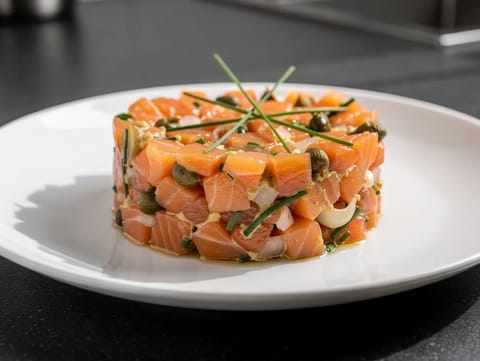
Tartare de Saumon (French-Style Salmon Tartare)
French-style salmon tartare with capers, Dijon and lemon

Bubble and Squeak Cakes with Poached Egg
Crisp potato and cabbage cakes topped with poached egg
Make this recipe easier next time
AdvertisementThese tools help you get better results with less effort.
Misen Carbon Steel Nonstick Frying Pan 12 Inch
- Works on all stovetops
- Naturally nonstick when seasoned
- Requires seasoning and maintenance
Pyrex Glass Mixing Bowls with Lids
- Microwave safe
- BPA-free lids
- Glass is heavier
All-Clad Tri-Ply Stainless Steel Saucepan
- Excellent heat control
- Premium build quality
- Expensive
KitchenAid Stainless Steel Mixing Bowls
- Non-slip base
- Stainless steel
- Not microwave safe
Enjoy cooking with JustRecipes?
Add JustRecipes as one of your preferred Google sources to discover our recipes more easily across Google Search.
Add JustRecipes to GoogleEvery recipe on JustRecipes follows the same structured editorial process. Learn how recipes are created, validated, translated, illustrated, and continuously improved across the platform. How we create recipes.
