
Air Fryer Keto Chicken Thighs
Why this recipe works
- Crisp skin: Drying the chicken before seasoning helps the skin brown and crisp properly in the air fryer.
- Balanced richness: Lemon zest and juice cut through the butter and chicken fat, keeping the finish bright rather than heavy.
- Efficient cooking: The broccoli cooks while the chicken rests, so the main and side are ready within the same short cooking window.
Get the most out of this recipe
Texture tips
- For crisper skin: Pat the chicken very dry before adding the rub, and keep the thighs in a single layer so hot air can circulate.
- Keep the meat juicy: Let the thighs rest before serving so the juices settle back into the meat rather than running out on the plate.
Timing notes
- Rest before serving: A short rest after air-frying helps the chicken stay succulent and gives you time to cook the broccoli.
- Prep is minimal: Most of the time is hands-off air-frying; the active work is mainly seasoning the chicken and cutting the broccoli.
Ingredient swaps
- Dairy-free finish: Use extra-virgin olive oil instead of butter for the lemon finish if you want to keep the dish dairy-free.
- Softer paprika flavour: Swap smoked paprika for sweet paprika if you prefer a gentler, less smoky seasoning.
Make-ahead tips
- Store separately: Refrigerate the chicken and broccoli in separate airtight containers so the broccoli does not soften the chicken skin.
- Reheat for best texture: Reheat the chicken skin-side up in the air fryer at 180°C (355°F) until piping hot to help the skin crisp again.
Equipment you'll need
Ingredients
Instructions
- Pat the chicken thighs dry. Crush the garlic, then mix it with the olive oil, smoked paprika, fine sea salt, and black pepper. Rub this all over the chicken, getting some under the skin where you can.
- Preheat the air fryer to 200°C (390°F) for 3 minutes. Arrange the chicken thighs skin-side up in the basket in a single layer. Air-fry for 22 to 26 minutes, turning once, until the skin is deep golden and the juices run clear.
- Transfer the chicken to a plate to rest for 5 minutes. Cut the broccoli into florets, then toss with any remaining seasoned oil left in the bowl. Air-fry the broccoli at 200°C (390°F) for 8 to 10 minutes, shaking halfway, until tender with crisped edges.
- Melt the butter in a small saucepan or in a heatproof bowl in the microwave, then finely grate in a little lemon zest and squeeze in the lemon juice. Spoon the lemon butter over the chicken and serve with the broccoli. Taste and add a pinch more fine sea salt if needed.
Recipe notes
Tips
- For the crispest skin, make sure the chicken is very dry before seasoning and avoid overcrowding the air fryer basket.
- If your air fryer is small, cook the chicken in batches and keep the first batch warm in a 90°C (195°F) oven.
- If you are serving vulnerable people, make sure the chicken is cooked through: the thickest part should be piping hot and no longer pink.
Substitutions
- Replace Smoked paprika with Sweet paprika for a milder, less smoky flavour.
- Replace Butter with Extra-virgin olive oil for a dairy-free lemon finish.
Storage
- Refrigerate up to 3 days
- Cool, then refrigerate the chicken and broccoli in separate airtight containers. Reheat in the air fryer at 180°C (355°F) until piping hot, keeping the chicken skin-side up to help re-crisp.
Ratings & reviews
Liked this recipe? Share your feedback to support our cooking community.
Tried this recipe?
Choose 1–5 stars. A comment is optional.
Stay inspired
Discover new recipes, seasonal favourites and cooking inspiration every day. Follow JustRecipes on Pinterest and Spillt.

Recipe overview
- Servings: 3 servings
- Total time: 40min (12min active)
- Difficulty: Easy
- Cuisine: Fusion
-
Allergens:
Milk
Plan your meals and get a complete grocery list automatically.
Add to meal plannerEquipment you'll need
Got ingredients left?
Find recipes using ingredients from this recipe or what you already have at home.
Find recipes with these ingredients →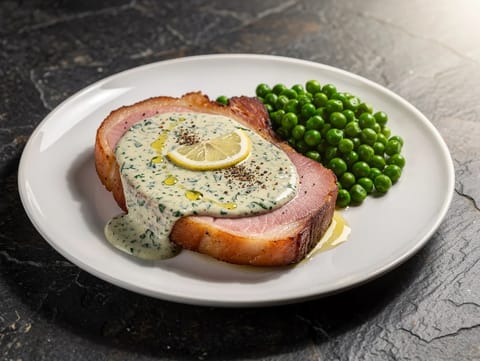
Gammon Steak with Parsley Sauce and Peas
Pan-fried gammon steak with parsley sauce and buttered peas
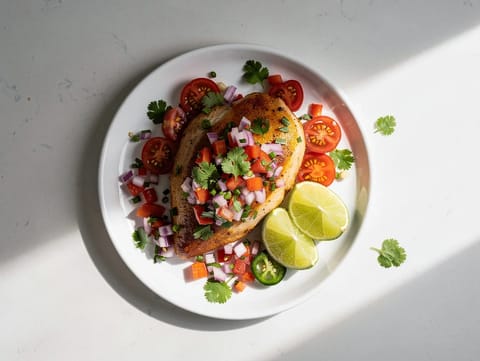
Pan-Seared Chicken with Pico de Gallo (Tomato, Lime and Coriander Salsa)
Pan-seared chicken topped with fresh pico de gallo
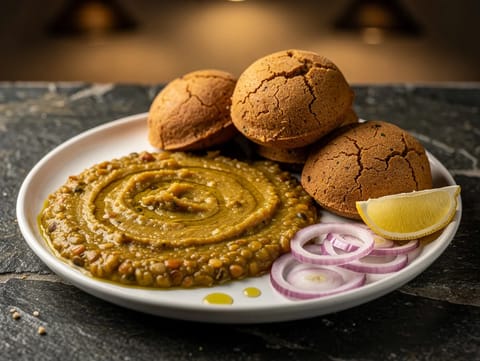
Rajasthani Dal Baati (Vegan Lentil Dal with Baked Wholewheat Dumplings)
Spiced red lentil dal with baked wholewheat baati
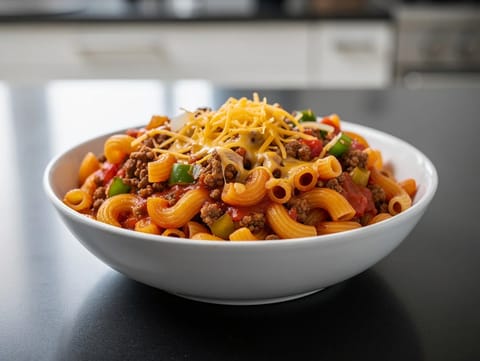
American Chop Suey (One-Pot Macaroni with Minced Beef and Cheddar)
One-pot macaroni with minced beef, tomatoes and cheddar
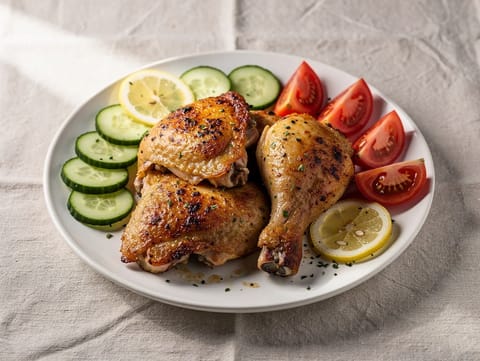
Air Fryer Lemon Yogurt Chicken
Yoghurt and lemon marinated chicken thighs, air fried until golden.
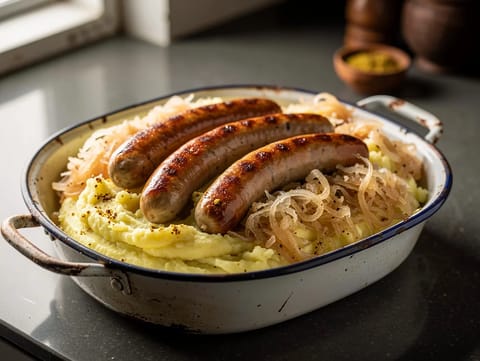
Bratwurst with Sauerkraut and Mustard Mash
Bratwurst with sauerkraut and creamy mustard mash
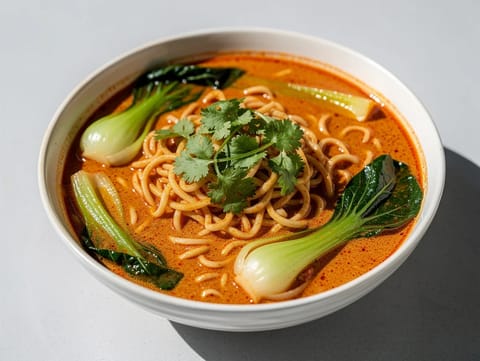
Quick Thai Curry Ramen
Thai curry ramen with coconut milk, pak choi and lime
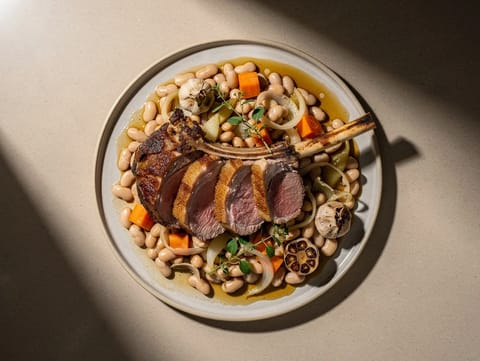
Gigot d’Agneau Rôti (Roast Leg of Lamb) with White Beans
Roast leg of lamb with garlic, rosemary and white beans
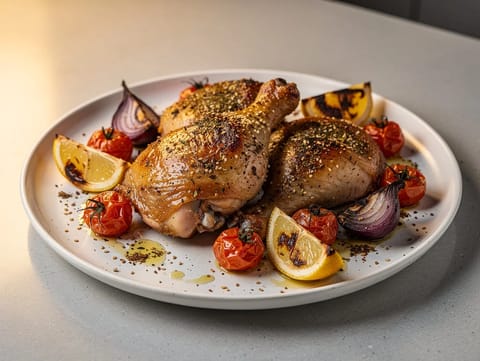
Zaatar Chicken Traybake with Lemon, Onion and Tomatoes
Traybaked zaatar chicken with lemon, onion and cherry tomatoes
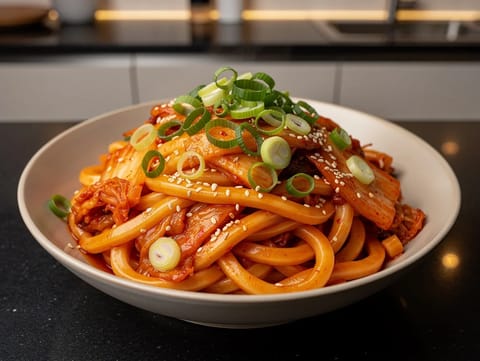
Kimchi Udon Stir-Fry (Modern Fusion)
Kimchi and gochujang udon stir-fry with sesame and spring onions
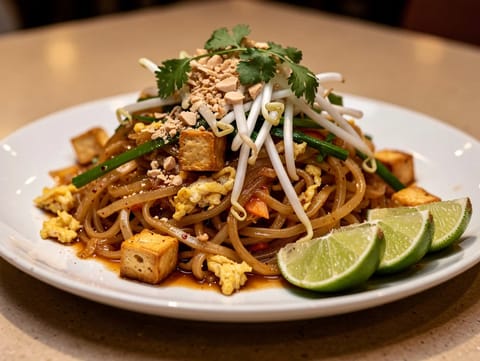
Vegetable Pad Thai
Vegetable Pad Thai with tofu, egg and roasted peanuts
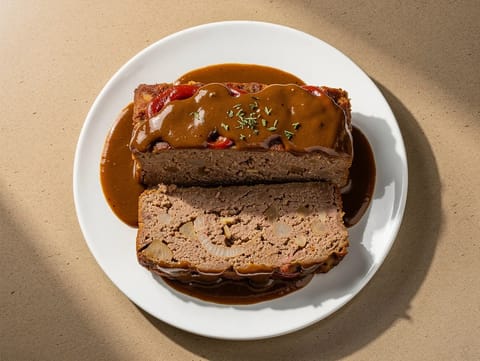
Classic American Meatloaf with Brown Gravy
Baked beef meatloaf served with an easy brown gravy
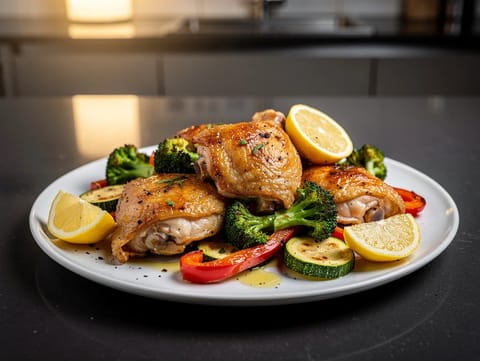
Air Fryer Chicken and Vegetable Traybake
Air-fried chicken thighs with vegetables, paprika and lemon.
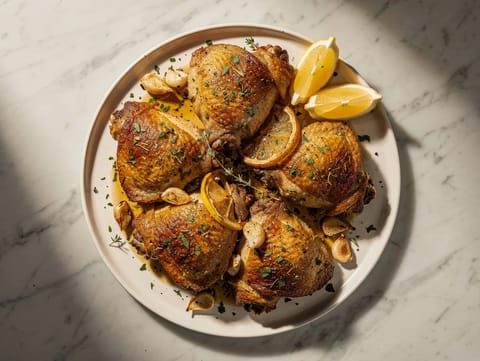
Crispy Oven-Baked Chicken Thighs with Lemon and Herbs
Crispy baked chicken thighs with lemon, garlic and herbs
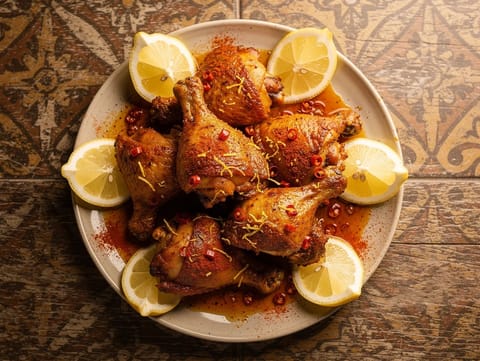
Air Fryer Peri Peri Chicken
Air-fried peri peri chicken thighs with chilli, garlic and lemon.
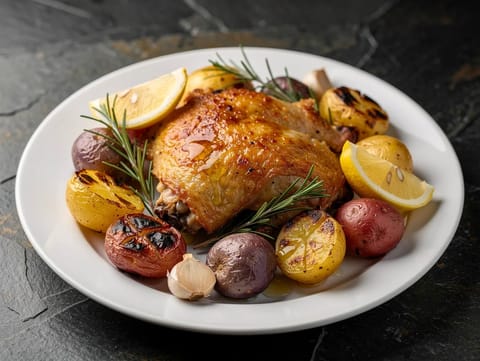
Air Fryer Chicken and Potatoes
Air-fried chicken thighs with crispy baby potatoes and lemon.
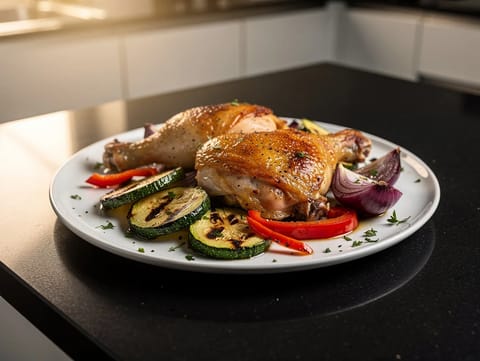
Air Fryer Chicken and Vegetables
Air-fried chicken thighs with courgette, peppers and red onion.
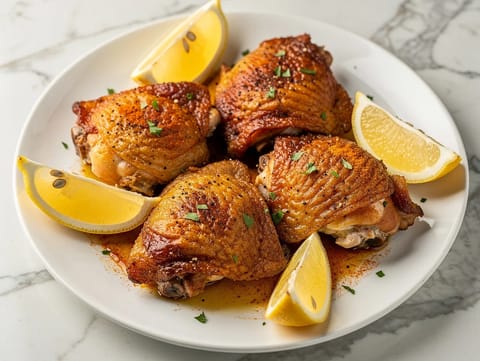
Air Fryer Chicken Thighs
Chicken thighs air-fried with garlic and paprika until browned.
You might also like
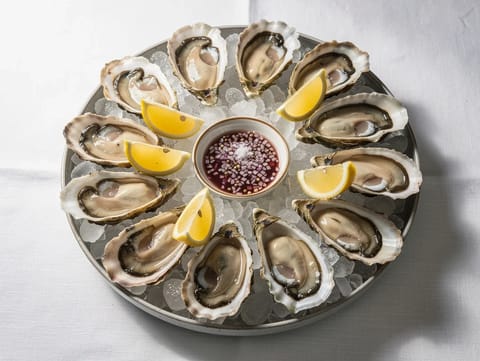
Plateau d’Huîtres (French Oyster Platter with Mignonette)
Oysters on ice with lemon and shallot mignonette
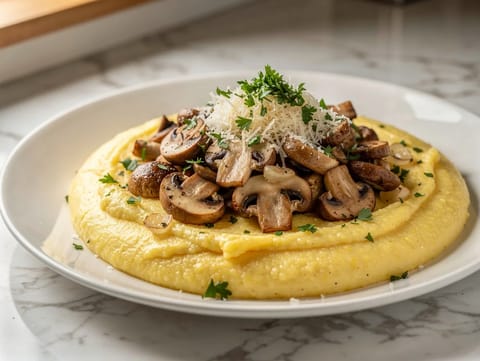
Polenta e Funghi (Polenta with Mushrooms)
Creamy polenta topped with garlic mushrooms and Parmesan

Bignè alla Crema Pasticcera (Italian Choux Buns with Custard)
Crisp choux buns filled with smooth crema pasticcera
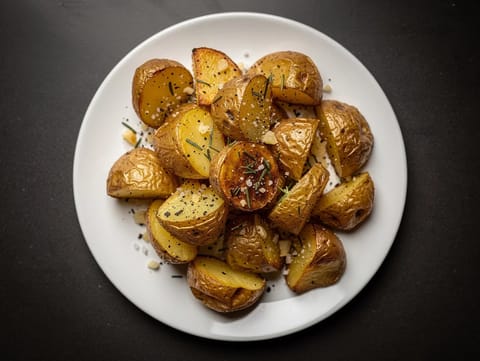
Air Fryer Roast Potatoes
Crisp air fryer roast potatoes with rosemary and garlic.

Vino Clarete (Mixed Red and White Wine Drink)
Spanish mixed wine drink served chilled over ice

Tostadas de Tinga con Aguacate (Chicken Tinga Tostadas)
Chicken tinga on crisp tostadas with avocado and crema
Make this recipe easier next time
AdvertisementThese tools help you get better results with less effort.
KitchenAid Stainless Steel Mixing Bowls
- Non-slip base
- Stainless steel
- Not microwave safe
Pyrex Glass Mixing Bowls with Lids
- Microwave safe
- BPA-free lids
- Glass is heavier
OXO Good Grips Stainless Mixing Bowl Set
- Non-slip base
- Comfort grip
- Higher price
Enjoy cooking with JustRecipes?
Add JustRecipes as one of your preferred Google sources to discover our recipes more easily across Google Search.
Add JustRecipes to GoogleEvery recipe on JustRecipes follows the same structured editorial process. Learn how recipes are created, validated, translated, illustrated, and continuously improved across the platform. How we create recipes.
