
Pan de Muerto (Day of the Dead Bread with Orange and Anise)
Why this recipe works
- Recognisable shaping: The criss-crossed bone decorations and top knot give the loaf its classic pan de muerto appearance.
- Aromatic dough: Orange zest and anise perfume the enriched dough without overwhelming its gentle sweetness.
- Soft, rich crumb: Milk, eggs and butter create a tender bread that slices well and pairs naturally with warm drinks.
Get the most out of this recipe
Timing notes
- Watch the dough, not just the clock: The first rise should double the dough; in a cool kitchen it may take longer than the stated time.
- Let it cool before slicing: Cooling fully helps the enriched crumb set, giving cleaner slices and a lighter texture.
Texture tips
- Do not rush the butter: Adding softened butter gradually helps it absorb into the dough, producing a glossy, elastic texture.
- Bake until deeply golden: The loaf should sound hollow when tapped underneath; this helps avoid a dense or underbaked centre.
Authenticity notes
- Día de Muertos bread: Pan de muerto is closely associated with Día de Muertos and is commonly enjoyed during the season with hot chocolate or coffee.
- Bone-shaped decoration: The raised dough pieces across the top are a defining feature of the bread and make the loaf immediately recognisable.
Make-ahead tips
- Freeze sliced portions: Freeze well-wrapped slices, then defrost at room temperature and refresh gently in a 160°C (320°F) oven.
- Best freshly baked: The bread is at its softest on the day it is baked, though slices can be stored airtight for later serving.
Equipment you'll need
Ingredients
Dough
Finish
Instructions
- Put the warm milk, 40 g of the sugar and the yeast in the bowl of a stand mixer and stir to combine. Leave for 5 minutes until slightly foamy.
- Add the flour, salt, orange zest, ground anise, eggs and the remaining 80 g sugar. Mix with the dough hook on low speed until a shaggy dough forms, then knead on medium-low for 6 to 8 minutes until smoother and elastic.
- With the mixer running on medium-low, add the softened butter a little at a time, letting each addition disappear before adding more. Continue kneading for 6 to 8 minutes until the dough is glossy, stretchy and pulls away from the sides of the bowl.
- Shape the dough into a ball and place it in a clean bowl. Cover and leave in a warm place for 60 to 75 minutes, or until doubled in size.
- Tip the dough onto a work surface and gently knock it back. Pinch off about 120 g dough for the decorations, then shape the remaining dough into a tight round and place on a baking tray.
- Divide the reserved dough into 5 pieces: one small ball for the top and four equal pieces for the ‘bones’. Roll each bone piece into a rope, then press and roll with two fingers to create ridges, and lay them in a criss-cross over the loaf; set the small ball on top and press lightly to adhere.
- Cover loosely and leave to prove for 35 to 45 minutes, until puffy and the dough springs back slowly when pressed. Meanwhile, heat the oven to 180°C (355°F).
- Bake for 25 to 30 minutes until deep golden and the loaf sounds hollow when tapped underneath. Cool on the tray for 10 minutes.
- Brush the warm loaf all over with the melted butter. Sprinkle and press on the sugar to coat, then leave to cool completely before slicing.
Recipe notes
Serving suggestions
This recipe pairs well with:
Tips
- If the dough feels sticky while kneading, keep mixing rather than adding extra flour; it should become smooth and elastic once the butter is fully incorporated.
- For neat bone decorations, chill the reserved dough for 10 minutes if it feels too soft to shape cleanly.
- Food safety: if serving to pregnant people, young children, older adults, or anyone immunocompromised, use eggs that are produced to be eaten lightly cooked and bake the bread until fully done.
Substitutions
- Replace Bread flour with Plain flour for a slightly softer, less chewy crumb.
- Replace Whole milk with Lactose-free milk for a similar richness.
- Replace Ground anise with Chinese five spice powder for a different, but still traditional-leaning, spiced aroma.
Storage
- Refrigerate up to 3 days
- Keep in an airtight container at room temperature for up to 2 days, or in the fridge for up to 3 days. Freeze slices well wrapped for up to 2 months; defrost at room temperature, then warm in a 160°C (320°F) oven for 6 to 8 minutes to refresh.
Ratings & reviews
Liked this recipe? Share your feedback to support our cooking community.
Tried this recipe?
Choose 1–5 stars. A comment is optional.
Stay inspired
Discover new recipes, seasonal favourites and cooking inspiration every day. Follow JustRecipes on Pinterest and Spillt.
Recipe overview
- Servings: 10 servings
- Yield: pan de muerto loaf
- Total time: 3h 10min (35min active)
- Difficulty: Medium
- Cuisine: Mexican
-
Allergens:
Eggs Gluten Milk Wheat
Plan your meals and get a complete grocery list automatically.
Add to meal plannerEquipment you'll need
Got ingredients left?
Find recipes using ingredients from this recipe or what you already have at home.
Find recipes with these ingredients →
Saucisson Brioché (Sausage Baked in Brioche Dough)
Pork sausage baked inside soft brioche
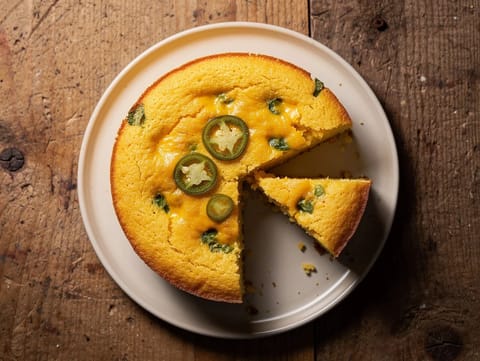
Skillet Cornbread with Jalapeño and Cheddar
Golden skillet cornbread with jalapeño and cheddar
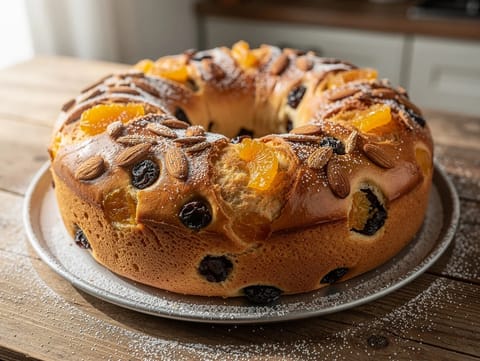
Bolo Rei (King’s Cake)
Portuguese sweet ring bread with candied peel and raisins
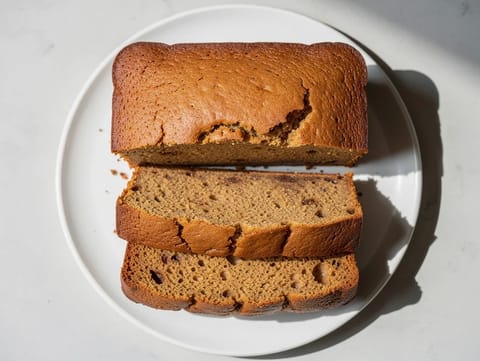
Air Fryer Banana Bread
Moist air-fried banana bread with butter and cinnamon.
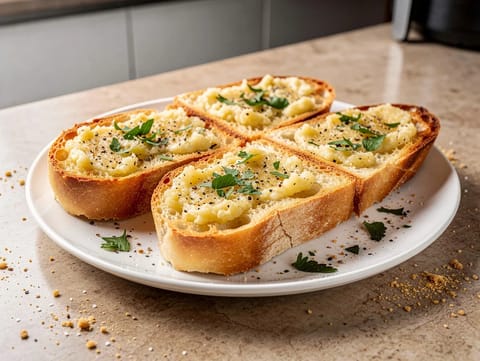
Air Fryer Garlic Bread
Air-fried baguette with garlic butter and parsley.
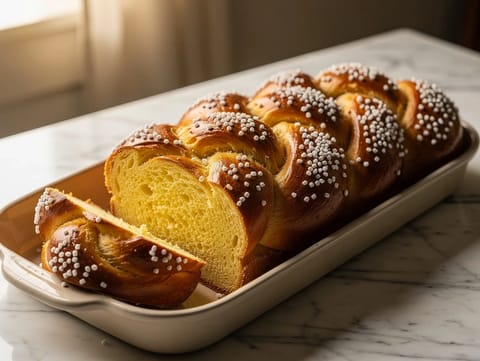
Hefezopf (German Braided Yeast Bread)
German braided yeast bread enriched with butter, eggs and milk
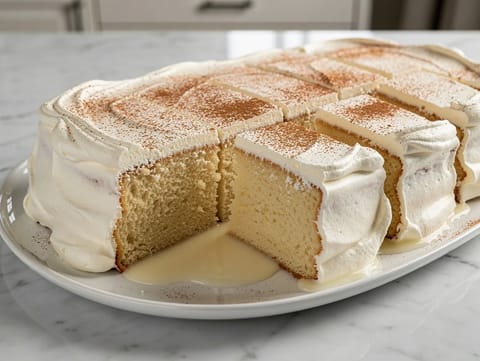
Tres Leches Cake (Milk-Soaked Sponge Cake)
Milk-soaked sponge cake with whipped cream and cinnamon

Şekerpare (Turkish Semolina Biscuits in Lemon Syrup)
Tender semolina biscuits soaked in lemon syrup
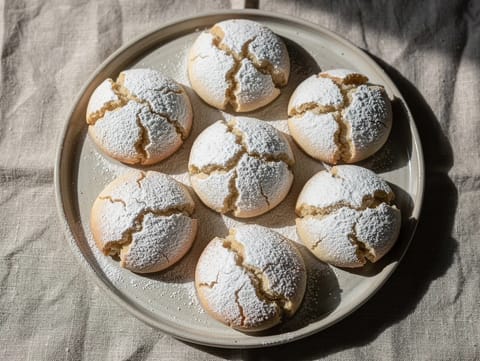
Ghriba (Moroccan Crackled Almond Biscuits)
Crackled almond biscuits flavoured with orange blossom water

Roze Koeken (Dutch Pink Iced Cakes)
Soft Dutch sponge cakes topped with smooth pink icing

Scones with Clotted Cream
Warm scones served with clotted cream and strawberry jam

Thong Yod (Golden Drops in Sugar Syrup)
Egg yolk drops cooked and soaked in sugar syrup
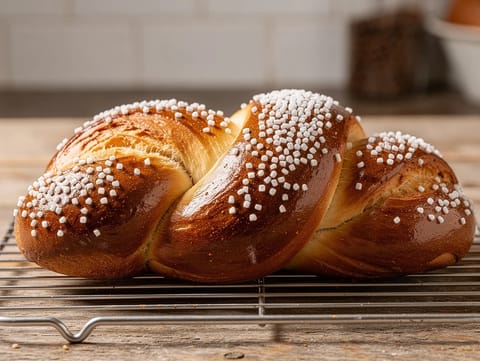
Cougnou (Belgian Christmas Sweet Bread)
Belgian Christmas sweet bread topped with pearl sugar
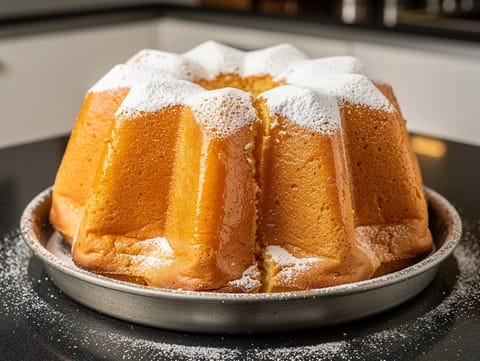
Pandoro (Italian Golden Christmas Cake)
Buttery Italian Christmas cake dusted with icing sugar
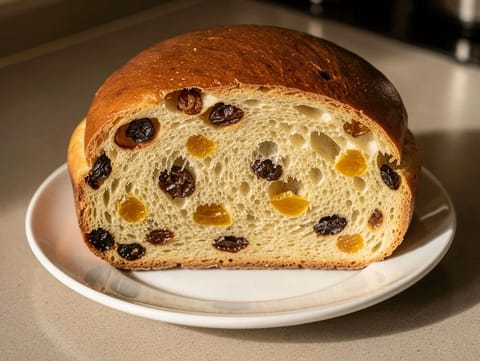
Julekake (Norwegian Christmas Bread with Raisins and Mixed Peel)
Soft Norwegian Christmas bread with raisins and mixed peel

Lussekatter (Swedish Saffron Buns with Cardamom and Raisins)
Swedish saffron buns shaped into curls with raisins

Filhoses (Portuguese Fried Christmas Pastries)
Portuguese fried pastries coated in cinnamon sugar

Easter Rosca (Ring-Shaped Sweet Bread with Orange and Vanilla)
Ring-shaped sweet bread with orange zest, icing and almonds
You might also like

Moroccan Spiced Salmon Traybake with Courgettes and Tomatoes
Salmon traybake with courgettes, cherry tomatoes and Moroccan spices

Tostones con Carne Molida (Fried Plantains with Spiced Minced Beef)
Twice-fried plantains topped with spiced minced beef

Camarones al Mojo de Ajo (Garlic Butter Prawns)
Garlic butter prawns finished with lime, chilli and coriander

Baked Stuffed Peppers with Beef, Rice and Cheddar
Baked green peppers stuffed with beef, rice and cheddar

Ginger and Mint Tea
Hot ginger tea infused with fresh mint and sugar

Chicken Milanese with Rocket and Lemon Salad
Crisp chicken Milanese served with rocket and lemon
Make this recipe easier next time
AdvertisementThese tools help you get better results with less effort.
KitchenAid Stainless Steel Mixing Bowls
- Non-slip base
- Stainless steel
- Not microwave safe
Pyrex Glass Mixing Bowls with Lids
- Microwave safe
- BPA-free lids
- Glass is heavier
OXO Good Grips Stainless Mixing Bowl Set
- Non-slip base
- Comfort grip
- Higher price
Enjoy cooking with JustRecipes?
Add JustRecipes as one of your preferred Google sources to discover our recipes more easily across Google Search.
Add JustRecipes to GoogleEvery recipe on JustRecipes follows the same structured editorial process. Learn how recipes are created, validated, translated, illustrated, and continuously improved across the platform. How we create recipes.
