
Cantonese Sweet and Sour Pork (Crispy Pork in Sweet and Sour Sauce)
Why this recipe works
- Crisp pork coating: Cornflour batter gives the pork a light, brittle crust, while the second fry helps it stay crisp once sauced.
- Balanced sweet-sour sauce: Pineapple juice, rice vinegar, ketchup and sugar create the familiar glossy sauce with fruitiness, tang and savoury depth.
- Fresh crunch: The onion and red pepper are stir-fried briefly, so they stay bright and crisp against the fried pork and sticky sauce.
Get the most out of this recipe
Texture tips
- Use the second fry: The short second fry is key to the classic crunch, giving the coating a deeper colour and firmer bite.
- Sauce at the last moment: Add the pork back to the wok only once the sauce is glossy and thickened, then toss briefly and serve straight away.
- Keep the vegetables crisp: Stir-fry the onion and pepper quickly over high heat so they blister lightly without softening too much.
Common mistakes
- Letting the oil cool: Keep the oil close to 180°C (355°F); cooler oil makes the batter absorb more fat and turn heavy.
- Frying too much at once: Cook the pork in batches so the pieces have space to crisp rather than steam.
- Over-reducing the sauce: The sauce should be glossy and lightly thickened, not sticky or jammy, before the pork is tossed through.
Ingredient notes
- Adjust the sweet-sour balance: Taste the sauce before adding the pork and adjust with a little more vinegar or sugar if needed.
- Why pork shoulder works: Pork shoulder has enough fat and structure to stay juicy after frying, making it well suited to this style of dish.
- Cut vegetables chunky: Larger pieces of onion and red pepper hold their shape better during the quick stir-fry.
Make-ahead tips
- Prep before frying: Slice the vegetables, cut the pork and mix the sauce ingredients ahead so the final cooking moves quickly.
- Keep components separate if delaying: For the best texture, keep fried pork and sauce separate until just before serving.
- Best eaten fresh: The pork softens after refrigeration, so this dish is at its crispest when served immediately.
Equipment you'll need
Ingredients
Instructions
- Rinse the jasmine rice until the water runs mostly clear, then add it to a saucepan with the water. Bring to the boil, cover, and cook on the lowest heat for 12 minutes. Take off the heat and leave covered for 10 minutes, then fluff with a fork.
- While the rice cooks, cut the pork into bite-sized pieces. In a bowl, mix the pork with the light soy sauce, then finely grate in the ginger and crush in the garlic; toss well. Leave to stand while you prepare the batter and sauce.
- For the batter, whisk together the cornflour and baking powder, then whisk in the water to make a thick, pourable batter. In a small bowl, stir the cornflour with a splash of water from the measured amount to make a smooth slurry. Slice the onion and red pepper into chunky pieces.
- Heat the peanut oil in a wok or deep frying pan to 180°C (355°F). Dip the pork into the batter, letting excess drip back into the bowl, then fry in batches for 3 to 4 minutes until pale golden and crisp. Lift out and drain, then fry the pork a second time for 1 to 2 minutes until deeply golden and very crisp.
- Carefully pour off all but 1 tbsp of oil from the wok, then set it over a high heat. Stir-fry the onion and red pepper for 1 to 2 minutes until lightly blistered but still crunchy. Tip onto a plate to stop them overcooking.
- In the same wok, add the pineapple juice, rice vinegar, ketchup and caster sugar, and bring to a lively simmer. Stir in the cornflour slurry and cook for 30 to 60 seconds, stirring, until glossy and lightly thickened. Return the pork and vegetables to the wok and toss for 30 seconds to coat.
- Serve straight away with the steamed jasmine rice. The pork should stay crispest if you plate it as soon as it is coated in the sauce.
Recipe notes
Tips
- Keep the oil at a steady 180°C (355°F) for the first fry; if it drops too low, the batter will absorb oil and turn heavy.
- The second, short fry is what gives the pork its classic Cantonese crunch, so do not skip it.
- Food safety: if serving to pregnant people, young children, older adults, or anyone immunocompromised, ensure the pork is cooked until piping hot throughout.
Substitutions
- Replace peanut oil with vegetable oil for frying if needed.
- Replace rice vinegar with apple-cider-vinegar for a slightly fruitier tang.
- Replace caster sugar with light-brown-sugar for a deeper, more caramel-like sweetness.
Storage
- Refrigerate up to 2 days
- Cool and refrigerate in an airtight container. Reheat in a hot wok or frying pan with a splash of water until piping hot; the pork will soften once stored, so it is best eaten fresh.
Ratings & reviews
Liked this recipe? Share your feedback to support our cooking community.
Tried this recipe?
Choose 1–5 stars. A comment is optional.
Stay inspired
Discover new recipes, seasonal favourites and cooking inspiration every day. Follow JustRecipes on Pinterest and Spillt.
Recipe overview
- Servings: 3 servings
- Total time: 55min (35min active)
- Difficulty: Medium
- Cuisine: Chinese
-
Allergens:
Peanuts Soybeans
Plan your meals and get a complete grocery list automatically.
Add to meal plannerEquipment you'll need
Got ingredients left?
Find recipes using ingredients from this recipe or what you already have at home.
Find recipes with these ingredients →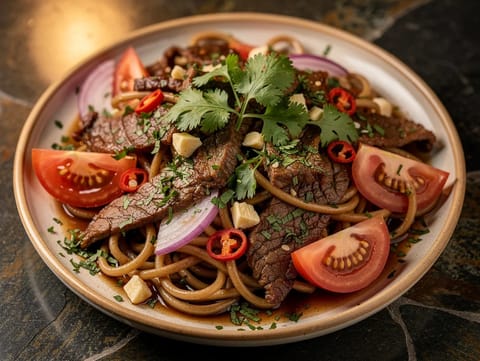
Tallarín Saltado (Peruvian Stir-Fried Noodles with Beef)
Stir-fried noodles with beef, tomato, red onion and soy
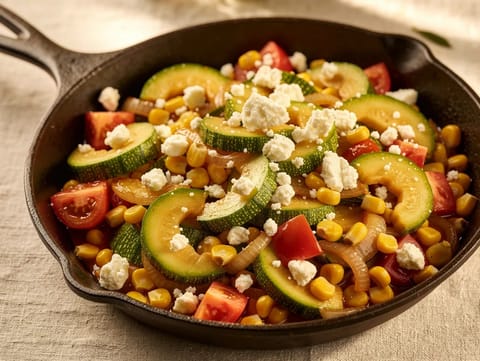
Calabacitas (Mexican Courgette and Sweetcorn Sauté)
Courgette sauté with sweetcorn, tomato and crumbled queso fresco
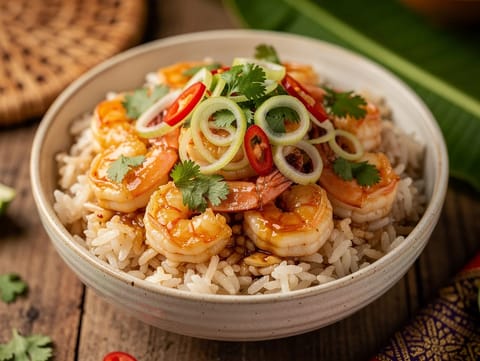
Air Fryer Thai Shrimp
Air-fried Thai shrimp with fish sauce, lime, and garlic.
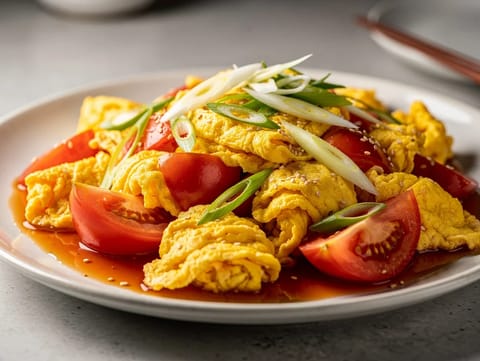
Tomato and Egg Stir-Fry (Classic Chinese Home-Style Dish)
Soft eggs stir-fried with juicy tomatoes and spring onions
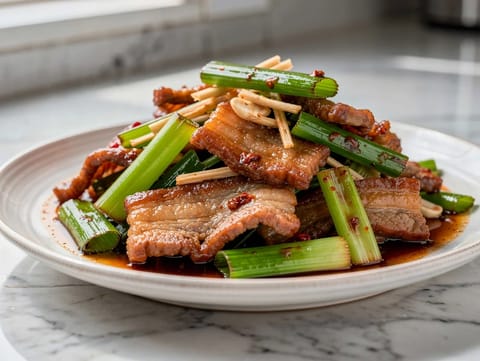
Hui Guo Rou (Twice-Cooked Pork Belly Stir-Fry)
Twice-cooked pork belly stir-fried with leeks and doubanjiang
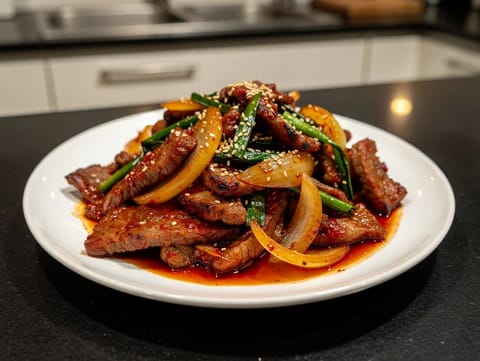
Dwaeji Bulgogi (Korean Spicy Pork Stir-Fry with Onion)
Spicy Korean pork stir-fry with onion and spring onions
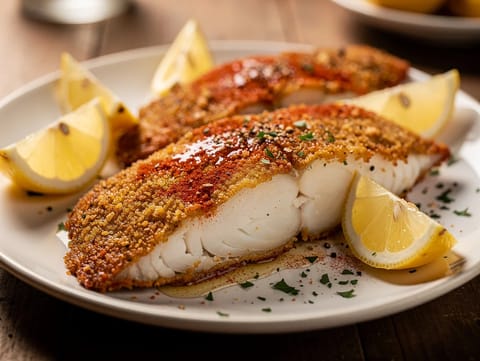
Air Fryer Cod Fillets
Breadcrumbed cod fillets cooked until flaky and golden.
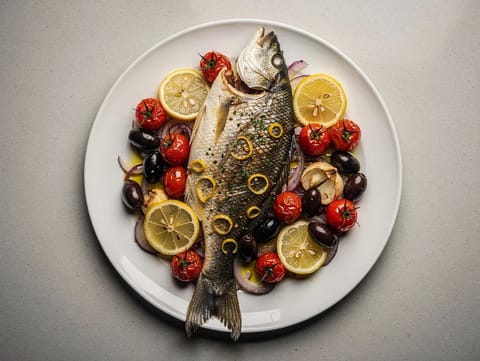
Baked Sea Bream with Tomatoes and Olives
Baked sea bream with tomatoes, olives and lemon
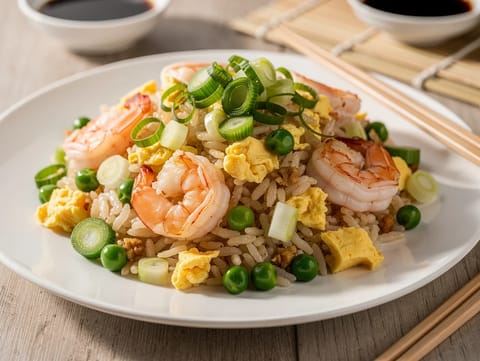
Egg Fried Rice with Prawns
Stir-fried rice with prawns, egg, peas and spring onions
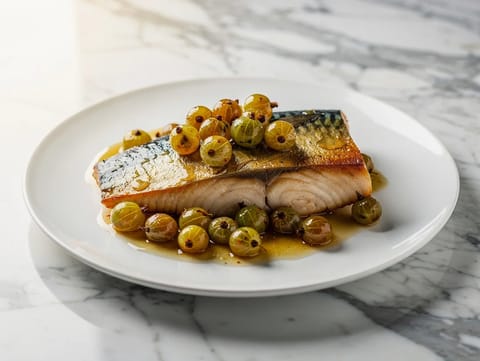
Pan-Fried Mackerel with Gooseberry Sauce
Crispy mackerel topped with warm gooseberry sauce
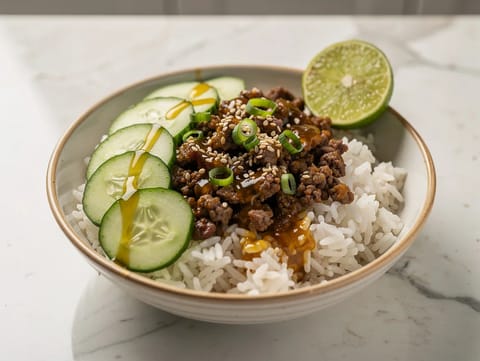
Fusion Beef and Rice Bowl
Minced beef over jasmine rice with soy, sesame and lime.
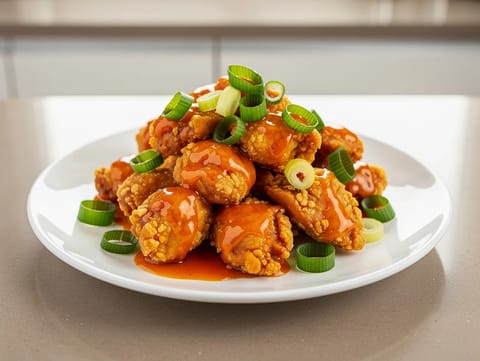
Air Fryer Orange Chicken
Crispy air fryer orange chicken tossed in a sticky sauce.
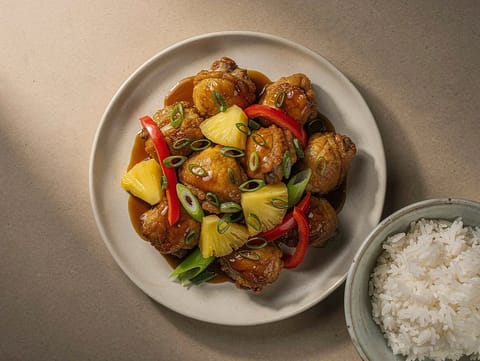
Air Fryer Sweet and Sour Chicken
Crispy chicken tossed in a sweet and sour sauce.
Air Fryer Crispy Chilli Chicken
Crispy air fryer chilli chicken tossed in a glossy sauce.
Air Fryer Crispy Chilli Tofu
Crispy air fryer chilli tofu in a sticky sauce.
Air Fryer Tofu
Air-fried tofu tossed in soy, sesame, and spring onion.
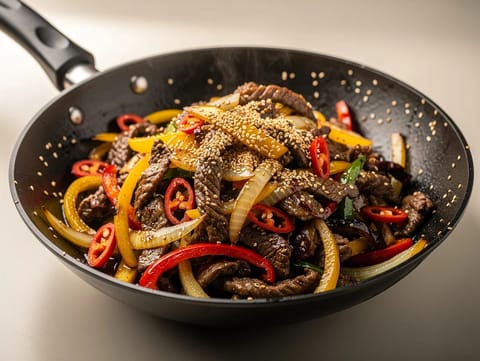
Cumin Lamb Stir-Fry (Xinjiang-Style Spiced Lamb)
Xinjiang-style cumin lamb stir-fry with chillies, onion and peppers
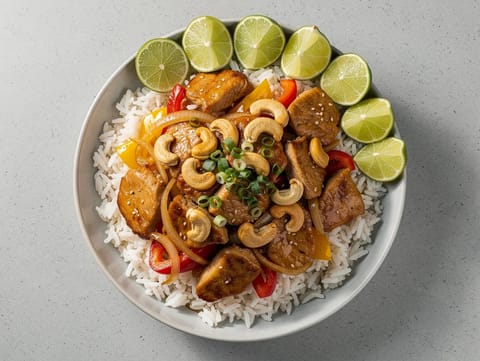
Thai Cashew Chicken Bowl
Chicken and cashew stir-fry served over jasmine rice
You might also like
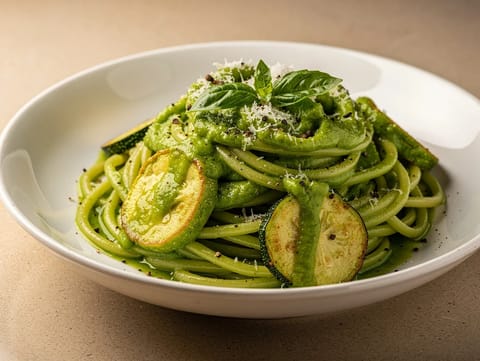
Pasta alla Nerano Verde (Spaghetti with Courgette, Basil and Parmigiano)
Spaghetti in a smooth courgette, basil and Parmigiano sauce
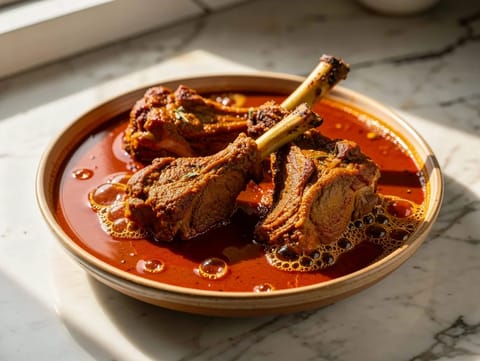
Laal Maas (Rajasthani Fiery Red Mutton Curry)
Fiery Rajasthani mutton curry with dried red chillies and yoghurt
Citrus-Glazed Salmon with Orange, Soy and Honey
Pan-seared salmon with an orange, soy and honey glaze

Pepián (Guatemalan Chicken in Pumpkin Seed Sauce)
Chicken stew in toasted pumpkin seed sauce
Khanom Chan (Layered Coconut Dessert)
Steamed Thai layered coconut dessert scented with pandan

Strawberry Shortcake
Tender shortcakes with macerated strawberries and whipped cream
Make this recipe easier next time
AdvertisementThese tools help you get better results with less effort.
Misen Carbon Steel Nonstick Frying Pan 12 Inch
- Works on all stovetops
- Naturally nonstick when seasoned
- Requires seasoning and maintenance
Pyrex Glass Mixing Bowls with Lids
- Microwave safe
- BPA-free lids
- Glass is heavier
All-Clad Tri-Ply Stainless Steel Saucepan
- Excellent heat control
- Premium build quality
- Expensive
KitchenAid Stainless Steel Mixing Bowls
- Non-slip base
- Stainless steel
- Not microwave safe
Enjoy cooking with JustRecipes?
Add JustRecipes as one of your preferred Google sources to discover our recipes more easily across Google Search.
Add JustRecipes to GoogleEvery recipe on JustRecipes follows the same structured editorial process. Learn how recipes are created, validated, translated, illustrated, and continuously improved across the platform. How we create recipes.
