
Taiyaki (Fish-Shaped Pastry with Red Bean Paste)
Why this recipe works
- Crisp outside, soft centre: The mould browns the batter on both sides, giving the pastry defined edges while keeping the middle tender.
- Sweet but not heavy: The lightly sweet batter lets the red bean filling remain the main flavour without making the pastry overly rich.
- Classic filled-mould method: Layering batter, filling and more batter helps seal the paste inside and gives taiyaki its recognisable shape.
Get the most out of this recipe
Timing notes
- Rest the batter briefly: A short rest helps the batter hydrate, so the finished taiyaki cook up tender rather than dense.
- Let the filling cool slightly: The red bean paste should be thick and just warm before filling, making it easier to portion and less likely to leak.
- Serve warm: Taiyaki have their best contrast of crisp edges and soft filling soon after cooking.
Ingredient notes
- Use adzuki beans for the filling: Adzuki beans give the paste its characteristic earthy sweetness and deep red-brown colour.
- Cook the beans until very tender: The sugar is added after simmering so the beans soften properly before the filling is thickened.
- Sugar texture can vary: Caster sugar dissolves quickly; granulated sugar also works but may need a little longer over low heat.
Texture tips
- Control the heat: Medium-low heat gives the batter time to cook through before the outside becomes too dark.
- Thicken the filling well: Cook the red bean paste until it is jammy and leaves a trail in the pan, so it stays neatly inside the pastry.
- Avoid overfilling: Leave a small border around the filling so the batter can seal cleanly when the mould is closed.
Make-ahead tips
- Make the filling in advance: The red bean paste can be prepared ahead and chilled, then brought closer to room temperature before filling.
- Refresh before serving: Reheat chilled taiyaki in a dry frying pan over low heat or in a 180°C (355°F) oven until piping hot.
- Freeze cooked taiyaki: Cool completely, freeze in an airtight container, and reheat from frozen in the oven for the best texture.
Equipment you'll need
Ingredients
Red bean filling
Batter and cooking
Instructions
- Put the adzuki beans in a saucepan with the water and bring to the boil. Boil for 5 minutes, then drain and return the beans to the pan with fresh water to cover. Simmer for 35 to 45 minutes until the beans are very tender, topping up with water as needed.
- Drain the beans well, return them to the pan, then add the caster sugar for the filling. Cook over a low heat for 5 to 8 minutes, stirring, until thick and jammy and the spoon leaves a trail. Tip into a bowl and cool until just warm so it is easy to portion.
- Melt the unsalted butter and set aside to cool slightly. In a mixing bowl, whisk together the plain flour, baking powder and caster sugar for the batter. In a jug, whisk the egg with the whole milk and vanilla extract, then whisk into the dry ingredients until smooth and pourable.
- Whisk the melted butter into the batter, then rest the batter for 10 minutes so it cooks up tender. While it rests, warm your taiyaki mould or a heavy frying pan over a medium heat. If using a frying pan, you will make small filled pancakes rather than fish shapes.
- Heat the taiyaki mould over a medium-low heat, then add a little batter to fill each fish cavity about one-third full. Spoon a line of the red bean filling down the centre, leaving a small border, then top with more batter to cover. Close the mould and cook for 2 to 3 minutes per side until golden with crisp edges and a tender centre.
- Transfer the taiyaki to a plate and repeat with the remaining batter and filling. Serve warm for the best texture. If needed, keep cooked taiyaki warm in a low oven at 120°C (250°F) while you finish the batch.
Recipe notes
Tips
- Keep the heat medium-low so the batter cooks through before the outside over-browns; adjust as you go, as moulds vary.
- For neat edges, do not overfill the mould; a small amount of batter may squeeze out, which you can trim once cooked.
- If serving to young children, let the filling cool slightly before eating as it can be very hot.
Substitutions
- Replace vanilla extract with the same amount of vanilla bean paste for a more pronounced vanilla flavour.
- Replace caster sugar with granulated sugar; it will take a little longer to dissolve in the red bean filling.
Storage
- Refrigerate up to 2 days
- Cool completely, then store in an airtight container in the fridge. Reheat in a dry frying pan over a low heat for 2 to 3 minutes per side, or in a 180°C (355°F) oven for 6 to 8 minutes until piping hot; freeze for up to 2 months and reheat from frozen in the oven.
Ratings & reviews
Liked this recipe? Share your feedback to support our cooking community.
Tried this recipe?
Choose 1–5 stars. A comment is optional.
Stay inspired
Discover new recipes, seasonal favourites and cooking inspiration every day. Follow JustRecipes on Pinterest and Spillt.
Recipe overview
- Servings: 4 servings
- Yield: taiyaki
- Total time: 55min (25min active)
- Difficulty: Medium
- Cuisine: Japanese
-
Allergens:
Eggs Gluten Milk Wheat
Plan your meals and get a complete grocery list automatically.
Add to meal plannerEquipment you'll need
Got ingredients left?
Find recipes using ingredients from this recipe or what you already have at home.
Find recipes with these ingredients →
Samosa (Stuffed Savoury Pastry)
Fried pastry parcels with spiced potato and peas
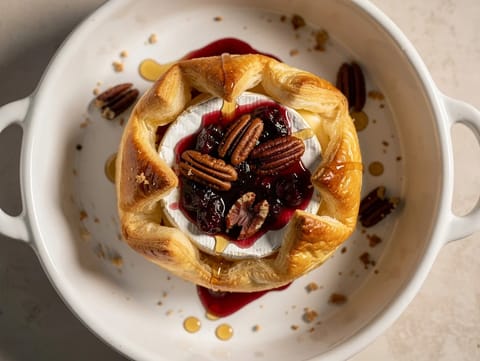
Baked Brie in Puff Pastry with Cranberry and Pecans
Baked Brie in puff pastry with cranberry sauce and pecans

Coca de Llardons (Catalan Pork Crackling Pastry)
Crisp puff pastry with pork cracklings, pine nuts and sugar
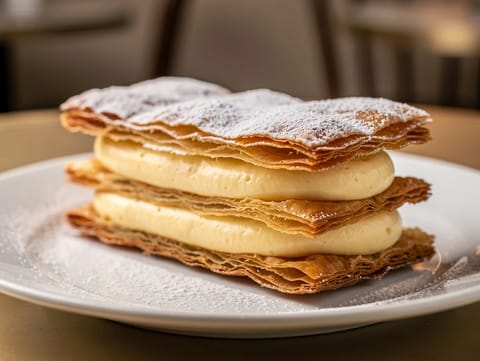
Millefeuille (Vanilla Custard Slice)
Puff pastry layers filled with thick vanilla custard

Strawberry Shortcake
Tender shortcakes with macerated strawberries and whipped cream
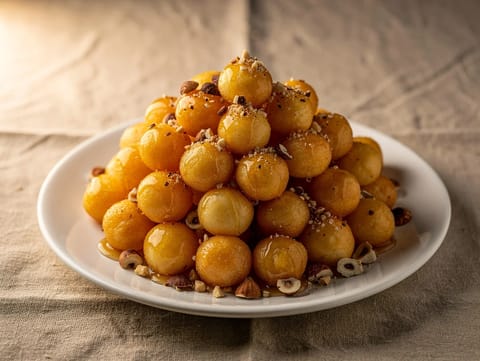
Struffoli (Neapolitan Honey Fritters)
Tiny fried dough balls coated in warm honey and hazelnuts

Roze Koeken (Dutch Pink Iced Cakes)
Soft Dutch sponge cakes topped with smooth pink icing
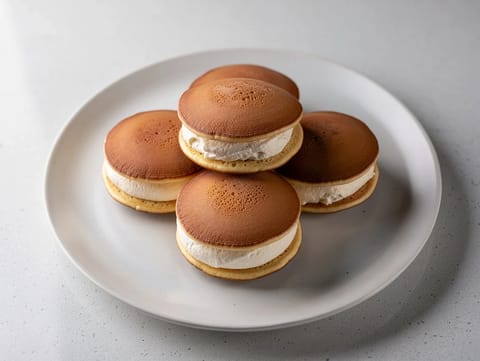
Cream-Filled Dorayaki (Japanese Honey Pancakes)
Japanese honey pancakes sandwiched with lightly sweetened whipped cream
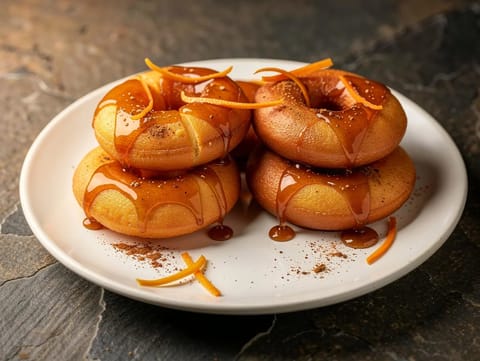
Picarones (Fried Squash and Sweet Potato Doughnuts)
Fried squash and sweet potato ring doughnuts with cinnamon orange syrup
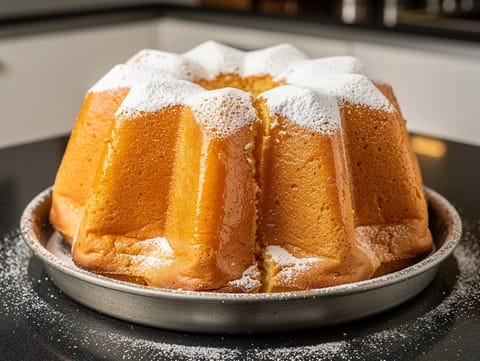
Pandoro (Italian Golden Christmas Cake)
Buttery Italian Christmas cake dusted with icing sugar
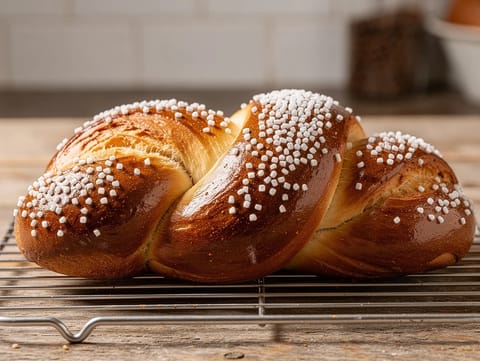
Cougnou (Belgian Christmas Sweet Bread)
Belgian Christmas sweet bread topped with pearl sugar
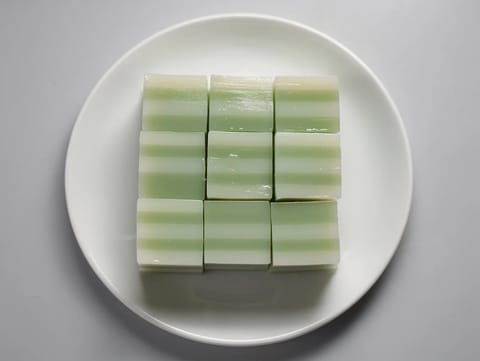
Khanom Chan (Layered Coconut Dessert)
Steamed Thai layered coconut dessert scented with pandan
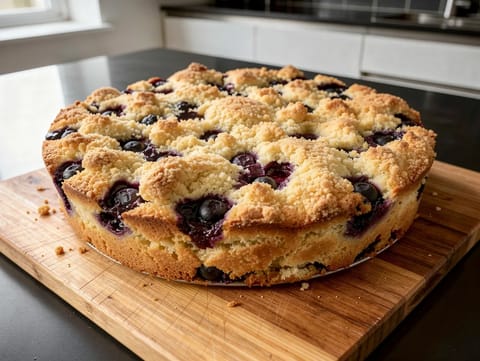
Blueberry Buckle (Sponge Cake with Crumble Topping)
Blueberry sponge cake with a crumble topping
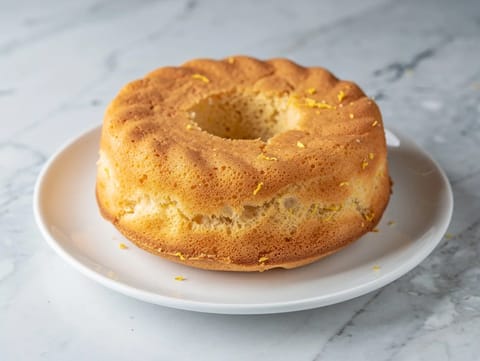
Ciambella al Forno (Italian Breakfast Ring Cake)
Italian breakfast ring cake with lemon zest, mixed in one bowl
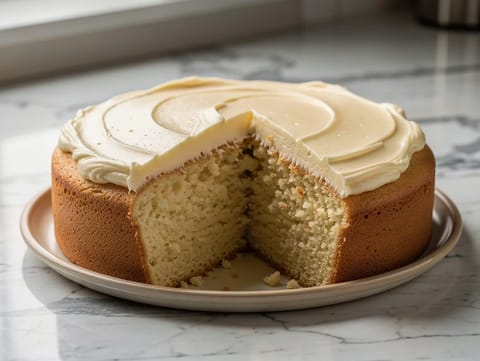
Air Fryer Vanilla Cake
Air fryer vanilla sponge cake with simple vanilla buttercream.
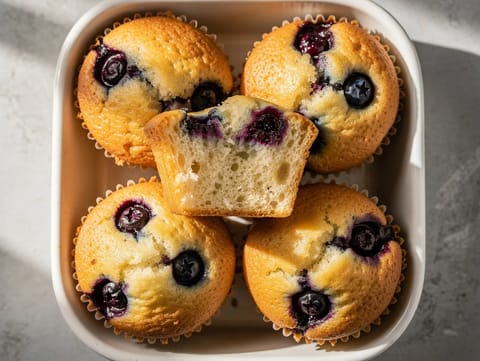
Air Fryer Muffins
Air fryer muffins with blueberries in a simple sweet batter.
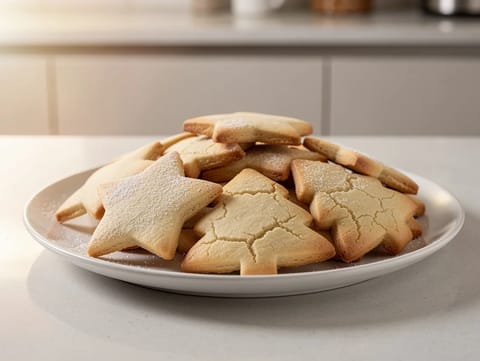
Christmas Sugar Cookies with Vanilla Butter Dough
Buttery vanilla sugar cookies cut into festive shapes
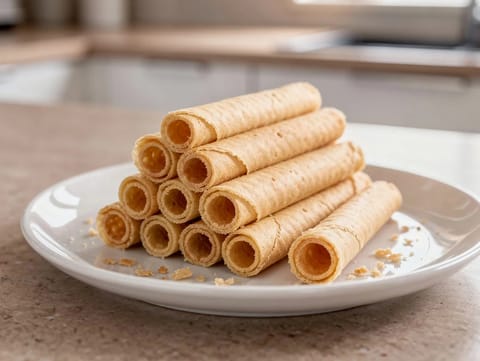
Nieuwjaarsrolletjes (Dutch New Year’s Wafer Rolls)
Crisp Dutch wafer rolls flavoured with butter and vanilla
You might also like

Salsiccia e Uva (Italian Sausages Cooked with Grapes)
Pork sausages simmered with grapes, white wine and rosemary
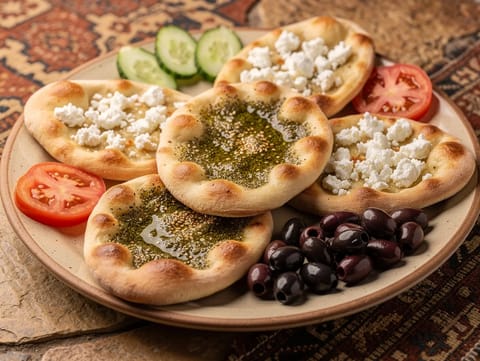
Manakish Board (Za’atar Flatbreads with Feta, Cucumber and Olives)
Warm manakish with za’atar, feta, cucumber, tomato and olives
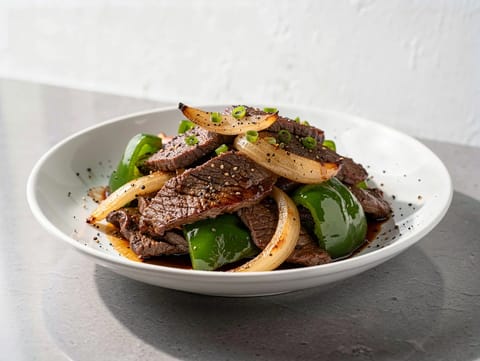
Cantonese Black Pepper Beef Stir-Fry (Peppery Beef with Peppers and Onion)
Peppery beef stir-fry with green pepper, onion and glossy sauce
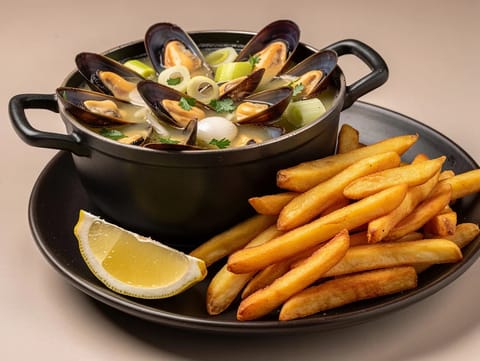
Moules-Frites (Mussels with Chips)
Mussels steamed in white wine, served with crisp chips
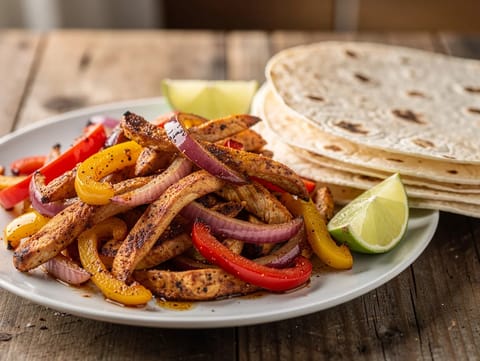
Sheet-Pan Chicken Fajitas
Sheet-pan chicken fajitas with peppers, onion and lime
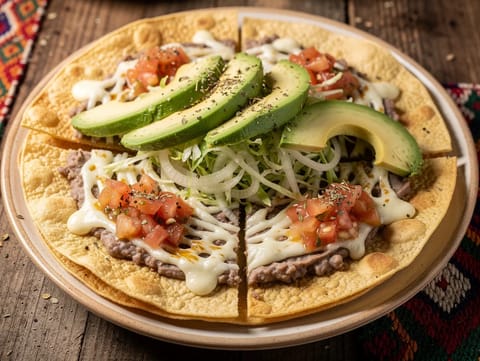
Tlayudas Oaxaqueñas (Large Crisped Tortillas with Beans, Cabbage and Queso Oaxaca)
Crisped tortillas topped with beans, cabbage, avocado and cheese
Make this recipe easier next time
AdvertisementThese tools help you get better results with less effort.
KitchenAid Stainless Steel Mixing Bowls
- Non-slip base
- Stainless steel
- Not microwave safe
T-fal Specialty Nonstick Handy Pot with Glass Lid 3 Quart
- Easy food release
- Dishwasher safe
- Not induction compatible
OXO Good Grips Stainless Mixing Bowl Set
- Non-slip base
- Comfort grip
- Higher price
WMF Mini Saucepan 16 cm with Lid
- High-quality stainless steel
- Even heat distribution
- Higher price point
Enjoy cooking with JustRecipes?
Add JustRecipes as one of your preferred Google sources to discover our recipes more easily across Google Search.
Add JustRecipes to GoogleEvery recipe on JustRecipes follows the same structured editorial process. Learn how recipes are created, validated, translated, illustrated, and continuously improved across the platform. How we create recipes.
