
Millefeuille (Vanilla Custard Slice)
Why this recipe works
- Crisp and creamy contrast: Flat-baked puff pastry gives the slice a delicate crunch, while the thick vanilla custard provides a smooth, rich centre.
- Classic pastry method: Baking the pastry between trays keeps the layers even and neat, making the finished millefeuille easier to stack and slice.
- Components can be prepared ahead: The pastry and custard can be made in advance and kept separate, then assembled closer to serving for the best texture.
Get the most out of this recipe
Timing notes
- Cool the pastry fully: Assemble only once the pastry is completely cool; warm pastry will soften the custard and lose its crispness quickly.
- Chill the custard until firm: The custard should be cold and thick enough to spread without running, which helps the layers stay defined.
- Best served soon after assembly: Millefeuille is at its crispest within a few hours of layering, before the pastry begins to absorb moisture from the custard.
Texture tips
- Bake until deeply golden: Pale pastry will taste underbaked and soften faster; a deep golden colour gives better flavour and a cleaner bite.
- Strain the custard: Passing the custard through a sieve-strainer removes any small lumps and gives the filling a polished, silky finish.
- Keep components separate if storing: For the best texture, store the baked pastry and chilled custard separately, then assemble close to serving.
Common mistakes
- Not thickening the custard enough: The custard needs to bubble and become very thick before chilling; if it is too loose, the layers will slide when cut.
- Boiling the milk aggressively: Heat the milk until steaming rather than boiling hard, then whisk it gradually into the yolks to keep the custard smooth.
- Cutting immediately after assembly: A short chill helps the custard firm up around the pastry, making the slices neater and less likely to collapse.
Ingredient notes
- Choose all-butter puff pastry: All-butter pastry gives a cleaner flavour and more delicate flake, which suits the simple vanilla custard filling.
- Use whole milk for the custard: Whole milk gives the filling enough body and richness without making it heavy.
- Vanilla can be adjusted: Vanilla bean paste can replace extract if you want a more pronounced vanilla flavour and visible seeds.
Equipment you'll need
Ingredients
Pastry layers
Vanilla custard filling
To finish
Instructions
- Heat the oven to 200°C (390°F). Line two baking trays with parchment paper.
- Roll the puff pastry on a lightly floured surface to about 3 mm thick, then cut into 3 equal rectangles. Prick all over with a fork, set on the trays, and cover with another sheet of parchment paper; sit a second tray on top to keep the pastry flat.
- Bake for 20 minutes, then remove the top tray and parchment. Continue baking for 8 to 12 minutes until deeply golden and crisp, rotating the trays halfway if needed.
- Cool the pastry layers completely on the trays. If any pieces have puffed unevenly, gently press them flat while still warm, taking care not to crack them.
- Meanwhile, make the custard: warm the whole milk in a saucepan over medium heat until steaming but not boiling. In a bowl, whisk the egg yolks, caster sugar and cornflour until smooth and pale.
- Pour the hot milk onto the yolk mixture in a steady stream, whisking constantly. Return everything to the saucepan and cook over medium heat, whisking, until very thick and bubbling, about 2 to 4 minutes.
- Take off the heat and whisk in the unsalted butter and vanilla extract until glossy. Pass the custard through a sieve-strainer into a bowl, then cover the surface directly and chill until cold and firm.
- To assemble, place one pastry rectangle on a board and spread over half the chilled custard in an even layer. Top with a second pastry rectangle, spread with the remaining custard, then finish with the final pastry layer.
- Chill the assembled millefeuille for 15 minutes to help it slice cleanly. Dust generously with icing sugar, then cut with a sharp serrated knife using gentle sawing motions.
Recipe notes
Tips
- For the neatest layers, let the pastry cool fully before assembling and chill the custard until it holds its shape when spread.
- When slicing, use a long serrated knife and minimal pressure so the pastry does not shatter.
- Food safety: if serving to pregnant people, young children, older adults, or anyone immunocompromised, use pasteurised egg yolk.
Substitutions
- Replace Vanilla extract with vanilla bean paste for a more intense vanilla flavour.
- Replace Caster sugar with granulated sugar, whisking a little longer so it dissolves well into the egg yolks.
Storage
- Refrigerate up to 2 days
- Store assembled millefeuille in the fridge in a covered container; the pastry will soften over time. For best texture, keep the baked pastry layers and custard separate, then assemble within a few hours of serving.
Ratings & reviews
Liked this recipe? Share your feedback to support our cooking community.
Tried this recipe?
Choose 1–5 stars. A comment is optional.
Stay inspired
Discover new recipes, seasonal favourites and cooking inspiration every day. Follow JustRecipes on Pinterest and Spillt.

Recipe overview
- Servings: 4 servings
- Yield: millefeuille slices
- Total time: 1h 45min (45min active)
- Difficulty: Medium
- Cuisine: French
-
Allergens:
Eggs Gluten Milk Wheat
Plan your meals and get a complete grocery list automatically.
Add to meal plannerEquipment you'll need
Got ingredients left?
Find recipes using ingredients from this recipe or what you already have at home.
Find recipes with these ingredients →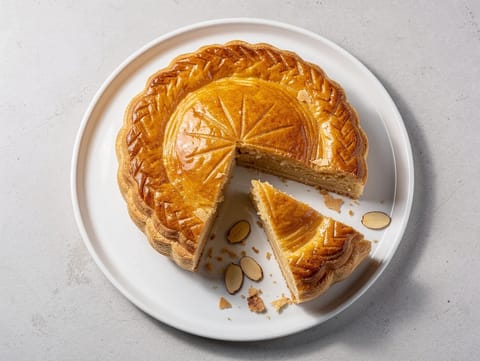
Galette des Rois (Kings’ Cake) with Almond Frangipane
Puff pastry cake filled with almond frangipane

Cannoli Siciliani (Fried Pastry Tubes Filled with Ricotta)
Fried cannoli filled with sweet ricotta and finished with pistachios

Air Fryer Butter Biscuits
Buttermilk biscuits cooked in the air fryer and brushed with butter.
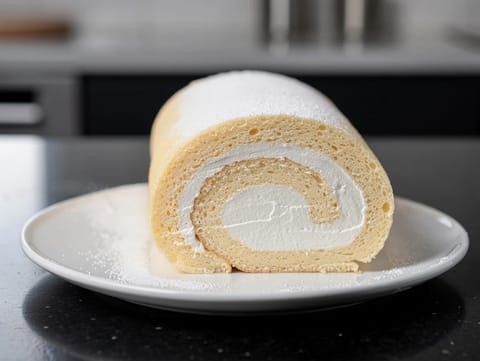
Brazo de Gitano (Swiss Roll with Cream)
Spanish Swiss roll filled with sweetened whipped cream

Sfiha (Open-Faced Lamb Pies)
Open-faced pies topped with lemony spiced minced lamb

Air Fryer Puff Pastry Bites
Flaky puff pastry bites with cheddar, brushed with egg.
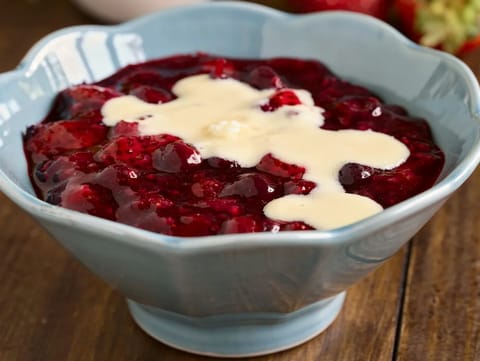
Rote Grütze (German Red Berry Pudding)
Chilled German red berry pudding thickened with cornflour

Kheer (Indian Rice Pudding with Cardamom and Saffron)
Creamy kheer made with basmati rice, milk, cardamom and saffron

Rijstepap met Kaneel (Dutch Rice Pudding with Cinnamon)
Creamy Dutch rice pudding served warm with cinnamon
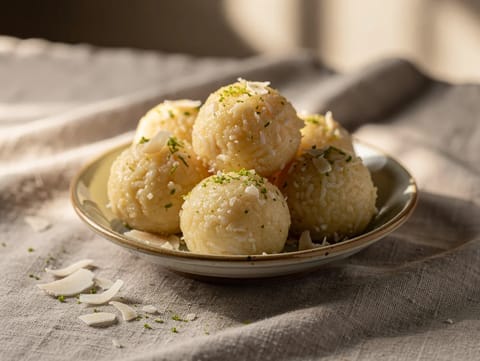
Coconut Sweets with Condensed Milk, Vanilla and Lime Zest
Chewy coconut sweets with vanilla and lime zest
Date and Tahini Smoothie Bowl
Date and tahini smoothie bowl with banana and yoghurt
Mantecados (Spanish Lard Biscuits)
Crumbly Spanish lard biscuits with cinnamon, lemon and icing sugar

Millefoglie con Crema Pasticcera (Italian Mille-Feuille)
Crisp puff pastry layered with vanilla custard
Torta della Nonna (Italian Custard and Pine Nut Tart)
Lemon custard tart topped with pine nuts

Bignè alla Crema (Italian Cream Puffs with Vanilla Pastry Cream)
Choux cream puffs filled with vanilla pastry cream
Butterscotch Pudding (Stovetop Custard)
Smooth stovetop butterscotch pudding with vanilla

Coconut Cream Pie
Coconut cream pie with coconut custard and whipped cream

Bignè alla Crema Pasticcera (Italian Choux Buns with Custard)
Crisp choux buns filled with smooth crema pasticcera
You might also like
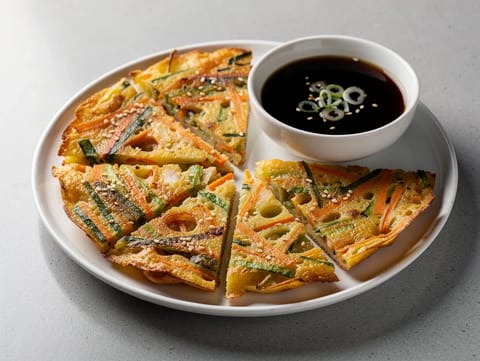
Modern Vegetable Pajeon (Korean Spring Onion and Vegetable Pancake)
Crisp Korean vegetable pancake with soy vinegar dipping sauce
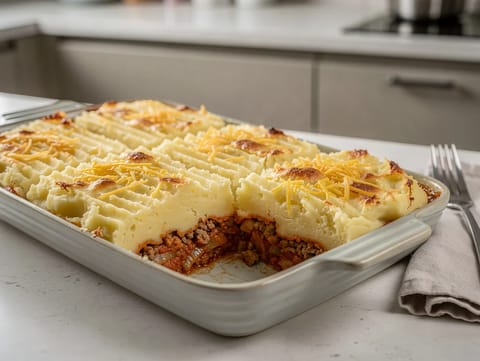
Ovenschotel Gehakt en Aardappel (Dutch Minced Beef and Potato Casserole)
Minced beef and mashed potato casserole with Cheddar topping
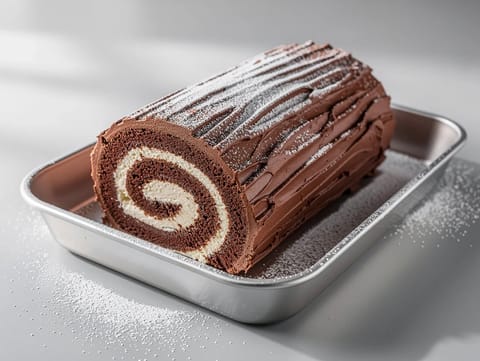
Nordic Yule Log Cake (Chocolate Swiss Roll)
Cocoa Swiss roll filled with whipped cream and buttercream

Patishapta (Bengali Rice Crêpes with Coconut and Jaggery Filling)
Bengali rice crêpes filled with coconut and jaggery

Gyeran Jjim (Korean Steamed Egg Custard)
Korean steamed egg custard with spring onions and sesame oil

Stoofperen (Dutch Spiced Stewed Pears in Red Wine)
Pears stewed in red wine with cinnamon and cloves
Make this recipe easier next time
AdvertisementThese tools help you get better results with less effort.
WMF Mini Saucepan 16 cm with Lid
- High-quality stainless steel
- Even heat distribution
- Higher price point
T-fal Specialty Nonstick Handy Pot with Glass Lid 3 Quart
- Easy food release
- Dishwasher safe
- Not induction compatible
All-Clad Tri-Ply Stainless Steel Saucepan
- Excellent heat control
- Premium build quality
- Expensive
Enjoy cooking with JustRecipes?
Add JustRecipes as one of your preferred Google sources to discover our recipes more easily across Google Search.
Add JustRecipes to GoogleEvery recipe on JustRecipes follows the same structured editorial process. Learn how recipes are created, validated, translated, illustrated, and continuously improved across the platform. How we create recipes.
