
Portuguese Peri-Peri Chicken
Why this recipe works
- Punchy peri-peri sauce: Blending chillies, garlic, lemon, paprika and olive oil creates a sharp, savoury sauce that seasons the meat and finishes the glaze.
- Even roasting: Spatchcocking flattens the chicken so the breast and thighs cook more evenly in one roasting pan.
- Lightly charred finish: Roasting at 220°C (430°F) helps the skin colour quickly, while a final brush of reserved sauce sets a glossy, flavourful glaze.
Get the most out of this recipe
Adjust the heat
- For a milder sauce: Remove the chilli seeds and membranes before blending, and balance the sauce with a little extra lemon if it still tastes too fiery.
- For more heat: Keep the chilli seeds in the sauce, or use a hotter red chilli variety if you prefer a stronger peri-peri kick.
- Keep it bright: Peri-peri should taste hot but lively, so use enough lemon to keep the chilli, garlic and oil from feeling heavy.
Timing notes
- Marinating window: A short chill gives good flavour, but marinating overnight allows the garlic, lemon and chilli to season the chicken more deeply.
- Rest before carving: Let the chicken rest after roasting so the juices settle and the meat stays succulent when carved.
- Best served hot: Serve soon after resting, while the glaze is still glossy and the skin retains its roasted texture.
Common mistakes
- Check the thickest part: The juices should run clear when the thigh is pierced; for vulnerable diners, cook until the thickest part reaches 75°C (165°F).
- Watch the glaze: The chilli and paprika can catch if left too long after glazing, so return the chicken only briefly to set the sauce.
- Do not carve immediately: Cutting straight away can release too much juice onto the board instead of keeping it in the meat.
Make-ahead tips
- Marinate in advance: Prepare and coat the chicken the night before, then keep it covered in the fridge until ready to roast.
- Freeze cooked meat: Carved leftovers can be frozen once cooled, then defrosted overnight in the fridge before reheating.
- Reheat gently: Warm leftovers in a 180°C (355°F) oven until piping hot throughout to preserve the roasted texture better than microwaving.
Equipment you'll need
Ingredients
Instructions
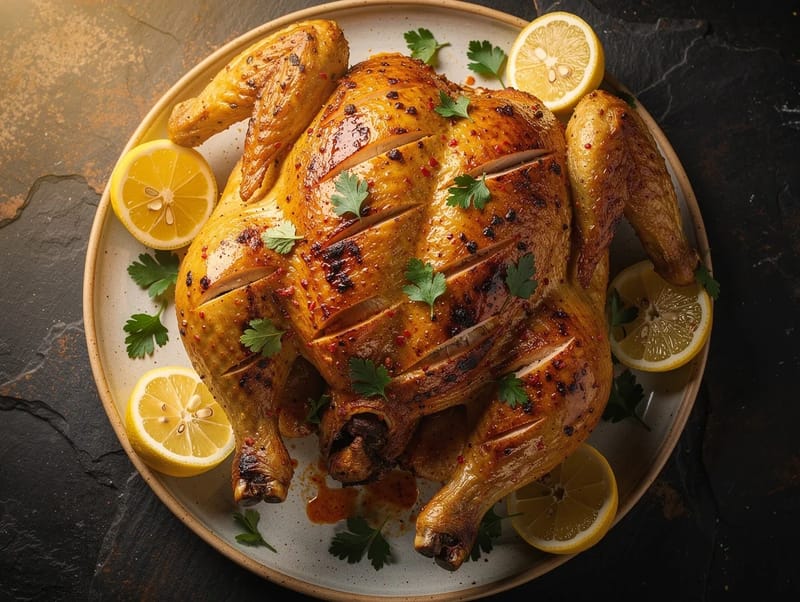
- Spatchcock the chicken by cutting out the backbone with kitchen scissors, then press down firmly on the breastbone to flatten. Pat dry, then make a few shallow slashes across the thighs and thickest part of the breast to help the marinade penetrate.
- Trim the red chilli peppers (remove the seeds for less heat), then add them to a blender with the garlic, juice of 1 lemon, olive oil, sweet paprika, fine sea salt and black pepper. Blend to a smooth sauce, then pour about one third into a small bowl and set aside for brushing later.
- Rub the remaining peri-peri sauce all over the chicken, including under the skin where you can. Cover and marinate in the fridge for 45 minutes, or up to overnight for a deeper flavour.
- Heat the oven to 220°C (430°F). Set the chicken skin-side up in a roasting pan and roast for 35 to 40 minutes, until lightly charred in spots and the juices run clear when the thigh is pierced.
- Brush the chicken with the reserved peri-peri sauce and return to the oven for 5 minutes to set the glaze. Rest for 10 minutes before carving.
- Cut the remaining lemon into wedges. Serve the chicken with lemon wedges and a sprinkle of fresh parsley.
Recipe notes
Tips
- For the best char without drying out, keep the chicken spatchcocked and roast it high in the oven so the skin colours quickly while the meat stays juicy.
- If you are serving anyone who is pregnant, elderly, or immunocompromised, cook the chicken until piping hot throughout and the thickest part reaches 75°C (165°F).
- If you want a milder peri-peri, remove the chilli seeds and membranes before blending.
Substitutions
- Replace Sweet paprika with Smoked paprika for a deeper, smokier flavour.
- Replace Fresh parsley with Fresh coriander for a more herbal, citrusy finish.
Storage
- Refrigerate up to 3 days
- Cool leftovers quickly, then refrigerate in a sealed container for up to 3 days. Reheat in a 180°C (355°F) oven until piping hot, or freeze carved meat for up to 2 months and defrost overnight in the fridge before reheating.
Ratings & reviews
Liked this recipe? Share your feedback to support our cooking community.
Tried this recipe?
Choose 1–5 stars. A comment is optional.
Stay inspired
Discover new recipes, seasonal favourites and cooking inspiration every day. Follow JustRecipes on Pinterest and Spillt.
Recipe overview
- Servings: 4 servings
- Total time: 1h 30min (20min active)
- Difficulty: Easy
- Cuisine: Portuguese
Plan your meals and get a complete grocery list automatically.
Add to meal plannerEquipment you'll need
Got ingredients left?
Find recipes using ingredients from this recipe or what you already have at home.
Find recipes with these ingredients →
Slow-Roasted Pork Shoulder with Crackling
Slow-roasted pork shoulder with crisp crackling and apple sauce
Churrasco with Chimichurri (Grilled Beef Steak)
Grilled beef steak served with herby chimichurri sauce
Veau Orloff (Roasted Veal with Mushroom and Onion Stuffing)
Roast veal layered with mushroom and onion stuffing
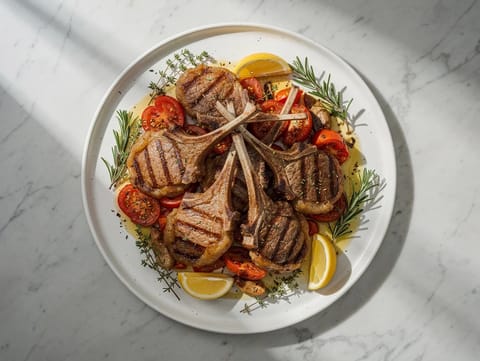
Côtelettes d’Agneau à la Provençale (Lamb Cutlets with Herbes de Provence)
Pan-seared lamb cutlets with herbes de Provence, lemon and tomatoes
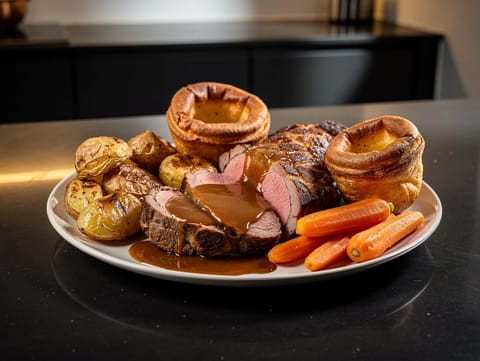
Sunday Roast with Yorkshire Pudding
Roast beef with Yorkshire puddings, potatoes, carrots and gravy
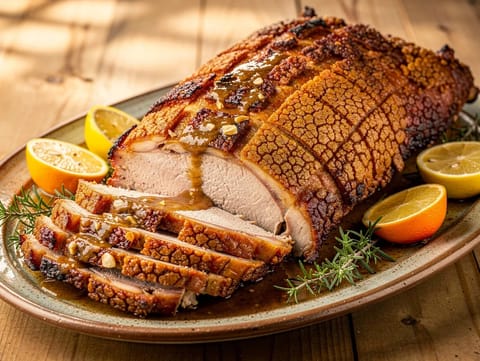
Lechón Asado (Roast Suckling Pig with Garlic and Orange)
Slow-roasted suckling pig with garlic and orange
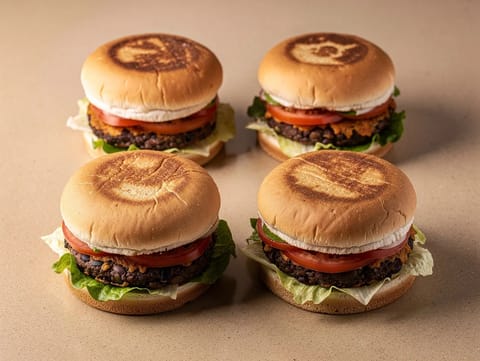
Vegetarian Black Bean Burgers
Crisp pan-fried black bean burgers in toasted buns
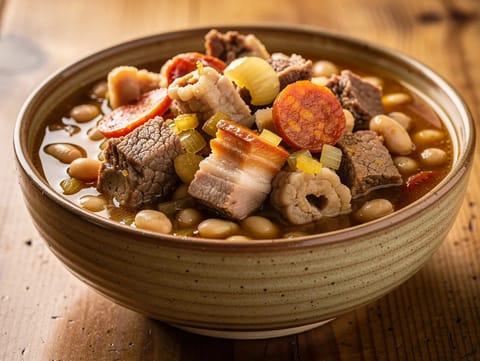
Tripas à Moda do Porto (Porto-Style Tripe Stew)
Porto-style tripe stew with pork, chorizo and white beans
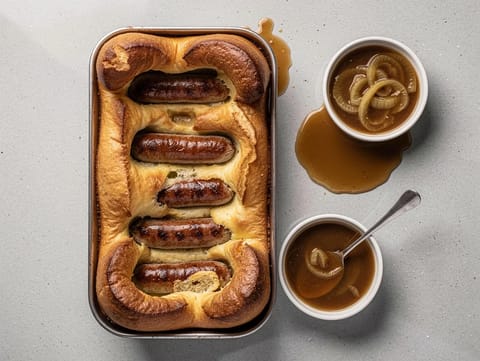
Toad in the Hole
Pork sausages baked in Yorkshire pudding batter with gravy
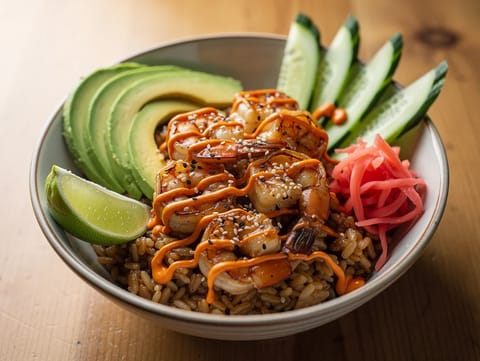
Fusion Shrimp Rice Bowl
Prawn rice bowl with avocado, cucumber and sriracha mayonnaise.
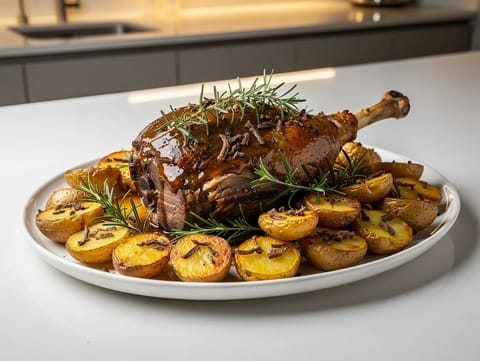
Easter Lamb Roast with Anchovy, Rosemary and Gravy
Roast lamb with anchovy, rosemary and white wine gravy
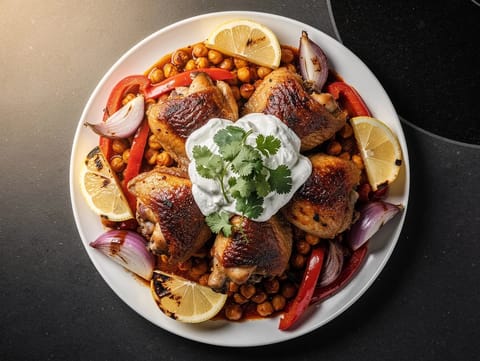
Harissa Roast Chicken Traybake
Harissa chicken traybake with chickpeas and peppers
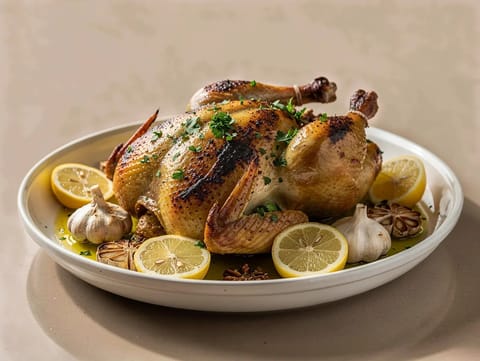
Djaj Bil Lemon Wal Toom (Roast Chicken with Lemon and Garlic)
Roast chicken marinated with lemon, garlic and olive oil
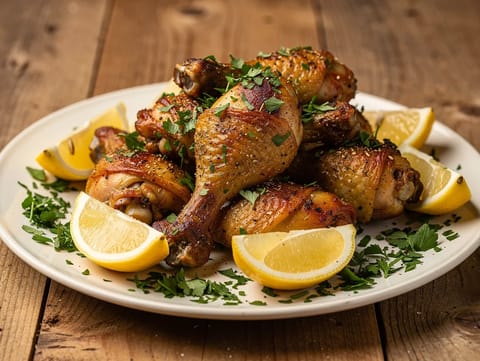
Air Fryer Garlic Herb Chicken Drumsticks
Air-fried drumsticks with garlic, herbs and lemon.
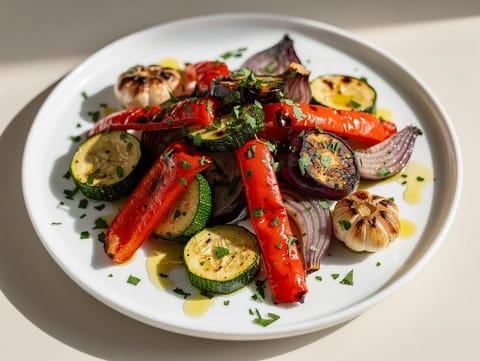
Portuguese-Style Olive Oil Roasted Vegetables
Olive oil roasted vegetables with garlic, paprika, parsley and lemon
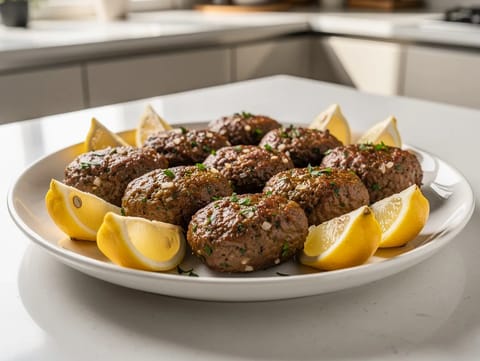
Köfte (Turkish Beef Meatballs)
Pan fried Turkish beef meatballs with garlic, spices and lemon
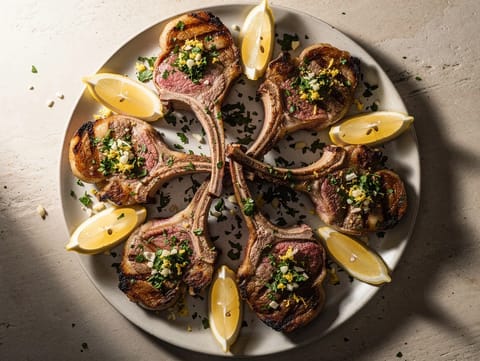
Agnello alla Scottadito (Grilled Lamb Cutlets) with Gremolata
Quick-grilled lamb cutlets topped with parsley and lemon gremolata
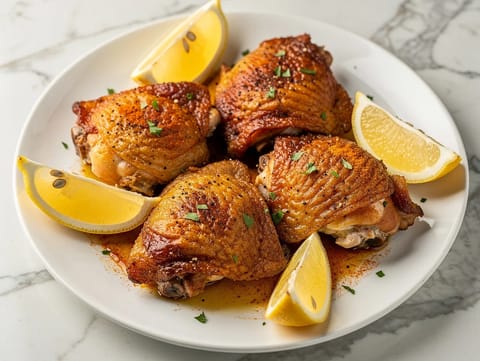
Air Fryer Chicken Thighs
Chicken thighs air-fried with garlic and paprika until browned.
You might also like
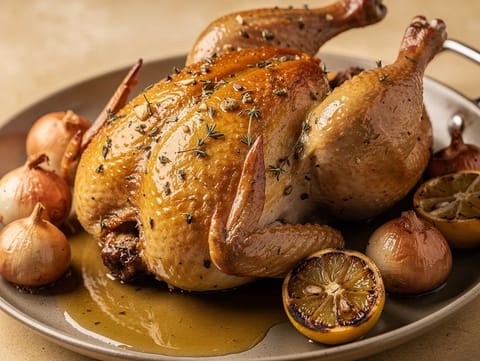
Poulet Rôti (Garlic and Herb Roast Chicken)
Garlic and herb roast chicken with lemon and white wine juices
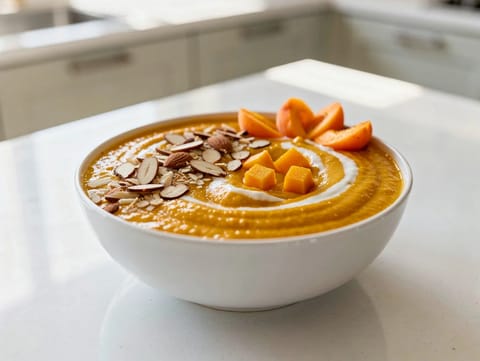
Apricot Almond Smoothie Bowl
A thick apricot almond smoothie bowl with Greek yoghurt.
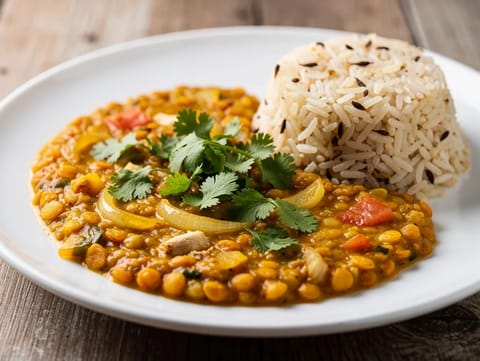
Tarka Dal with Jeera Rice
Red lentil tarka dal served with fragrant cumin jeera rice
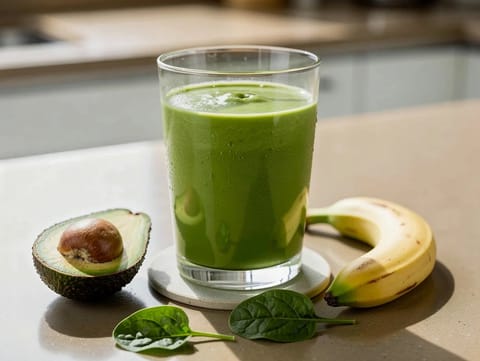
High Protein Green Smoothie
High protein green smoothie with spinach, yoghurt, banana and avocado.
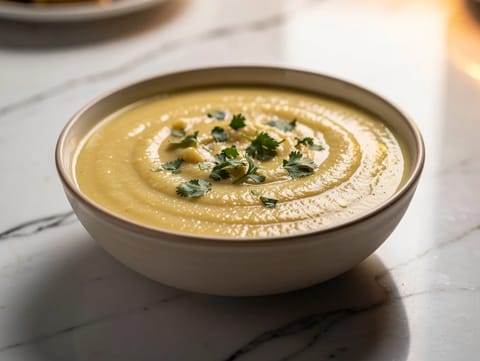
Sopa de Plátano (Colombian Plantain Soup)
Smooth plantain soup finished with double cream and coriander
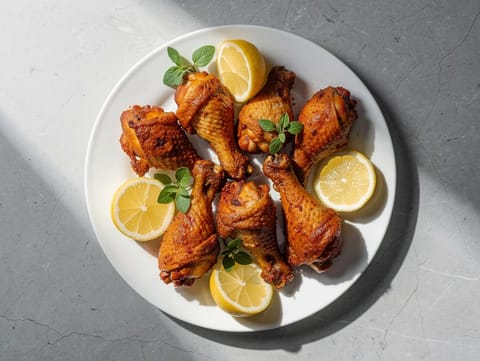
Air Fryer Spicy Chicken Drumsticks
Spiced chicken drumsticks air-fried until crisp and juicy.
Make this recipe easier next time
AdvertisementThese tools help you get better results with less effort.
KitchenAid Stainless Steel Mixing Bowls
- Non-slip base
- Stainless steel
- Not microwave safe
Pyrex Glass Mixing Bowls with Lids
- Microwave safe
- BPA-free lids
- Glass is heavier
OXO Good Grips Stainless Mixing Bowl Set
- Non-slip base
- Comfort grip
- Higher price
Enjoy cooking with JustRecipes?
Add JustRecipes as one of your preferred Google sources to discover our recipes more easily across Google Search.
Add JustRecipes to GoogleEvery recipe on JustRecipes follows the same structured editorial process. Learn how recipes are created, validated, translated, illustrated, and continuously improved across the platform. How we create recipes.
