
Kimchi Bokkeumbap (Korean Kimchi Fried Rice)
Why this recipe works
- Deep savoury base: Fermented kimchi, gochujang and soy sauce create a bold mix of acidity, chilli heat and umami.
- Fast cooking: Using cooked, cooled rice keeps the stir-fry quick while helping the grains stay separate.
- Contrasting textures: Toasted rice, tender kimchi and a crisp-edged fried egg give the dish more texture than a simple rice bowl.
Get the most out of this recipe
Adjust the heat
- For a milder version: Use less gochujang and choose a gentler kimchi, then balance with a little extra soy sauce if needed.
- For more heat: Add extra gochujang or serve with chilli flakes at the table so each bowl can be adjusted.
- Keep the heat balanced: A small amount of sweetness helps round out the kimchi’s acidity and chilli heat without making the rice taste sweet.
Ingredient notes
- Use well-fermented kimchi: Older, tangier kimchi gives the fried rice its signature depth and stands up well to high-heat stir-frying.
- Break up the rice first: Loosening clumped rice before it reaches the wok helps it coat evenly in the kimchi and gochujang mixture.
- Finish with sesame oil off the heat: Stirring in toasted sesame oil at the end preserves its aroma and keeps the flavour clean.
Common mistakes
- Using hot, fresh rice: Freshly cooked rice can turn soft and steamy in the wok; cooled rice gives a better fried-rice texture.
- Cooking the rice too gently: Once the rice is added, a fairly high heat helps it toast lightly rather than simply warm through.
- Overcooking the egg: Cook the egg just until the white is set if you want a runny yolk, or cook it longer for a fully set finish.
Make-ahead tips
- Prepare the rice ahead: Cooked rice can be chilled in advance so it is ready to stir-fry quickly.
- Reheat thoroughly: Warm leftover rice in a wok or frying pan with a small splash of water until piping hot.
- Fry eggs fresh: Store leftover rice separately and cook the eggs just before serving for the best texture.
Equipment you'll need
Ingredients
Instructions
- If the rice is clumped, tip it into a mixing bowl and break it up with a spoon so the grains are loose. Roughly chop the kimchi, and thinly slice the spring onions, keeping a small handful of the green tops for serving.
- Heat 1 tbsp vegetable oil in a wok over medium-high heat. Add the kimchi and stir-fry for 2 to 3 minutes until it smells toasted and the edges start to caramelise.
- Add the sliced spring onions (save the reserved green tops) and cook for 30 to 60 seconds until fragrant. Stir in the gochujang, light soy sauce and caster sugar, cooking for 30 seconds so the paste loosens and coats the pan.
- Add the cooked rice and stir-fry for 4 to 6 minutes, pressing and tossing so it takes on an even red colour and is piping hot. Season with a pinch of sea salt flakes if needed, then turn off the heat and stir through the toasted sesame oil.
- In a large frying pan, heat the remaining 1 tbsp vegetable oil over medium heat. Fry the eggs for 2 to 3 minutes until the whites are set and the edges are crisp, keeping the yolks runny or cooking longer if you prefer.
- Divide the fried rice between two bowls and top each with a fried egg. Finish with the reserved spring onion greens and roasted sesame seeds, and serve straight away.
Recipe notes
Tips
- For the best texture, use rice that has been cooled so it stir-fries rather than steams.
- Keep the heat fairly high once the rice goes in, and keep it moving so it picks up a lightly toasted flavour without sticking.
- Eggs should be cooked until the whites are fully set; if serving to vulnerable groups, cook the yolks through.
Substitutions
- Replace light soy sauce with dark soy sauce for a deeper colour and slightly sweeter flavour; start with half the amount and adjust to taste.
- Replace caster sugar with honey for a rounder sweetness that balances the kimchi.
Storage
- Refrigerate up to 2 days
- Cool the rice quickly, then refrigerate in a sealed container. Reheat in a wok or frying pan with a small splash of water until piping hot; fry fresh eggs to serve.
Ratings & reviews
Liked this recipe? Share your feedback to support our cooking community.
Tried this recipe?
Choose 1–5 stars. A comment is optional.
Stay inspired
Discover new recipes, seasonal favourites and cooking inspiration every day. Follow JustRecipes on Pinterest and Spillt.

Recipe overview
- Servings: 2 servings
- Total time: 25min (20min active)
- Difficulty: Easy
- Cuisine: Korean
-
Allergens:
Eggs Sesame Soybeans
Plan your meals and get a complete grocery list automatically.
Add to meal plannerEquipment you'll need
Got ingredients left?
Find recipes using ingredients from this recipe or what you already have at home.
Find recipes with these ingredients →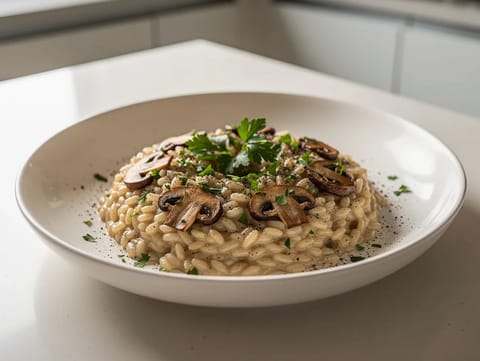
Risotto ai Funghi Porcini (Porcini Mushroom Risotto)
Creamy porcini mushroom risotto finished with butter and Parmesan
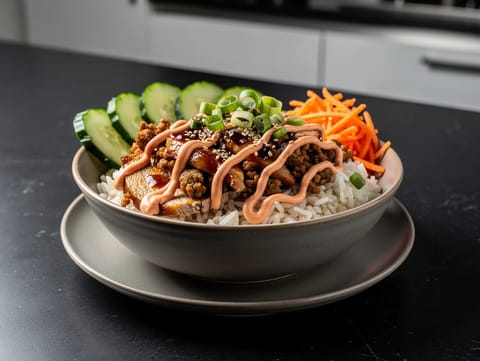
Fusion Turkey Rice Bowl
Turkey rice bowl with cucumber, carrot and sriracha mayonnaise.
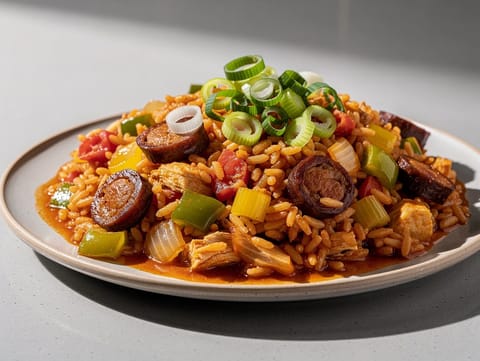
Jambalaya with Andouille Sausage
One-pot rice jambalaya with andouille sausage and peppers
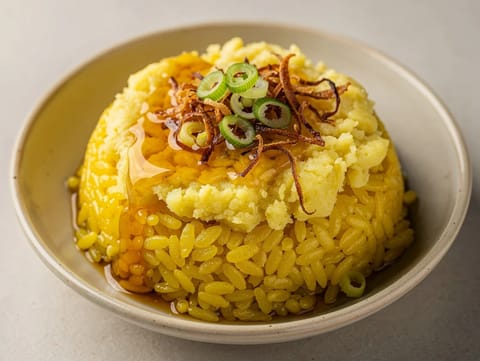
Xoi Xeo (Savoury Mung Bean Sticky Rice)
Turmeric sticky rice with mung beans and fried shallots
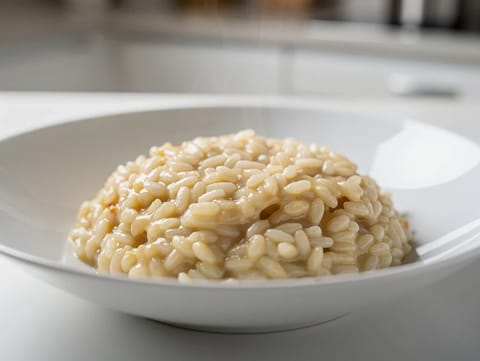
Risotto allo Champagne (Creamy Champagne Risotto with Parmesan)
Creamy Champagne risotto finished with Parmesan
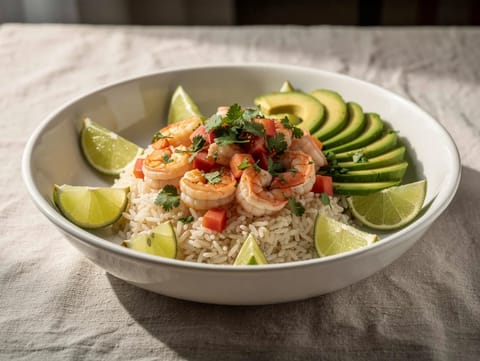
Latin-Style Prawn Rice Bowl with Avocado and Lime
Prawn and rice bowl with avocado, tomato and lime
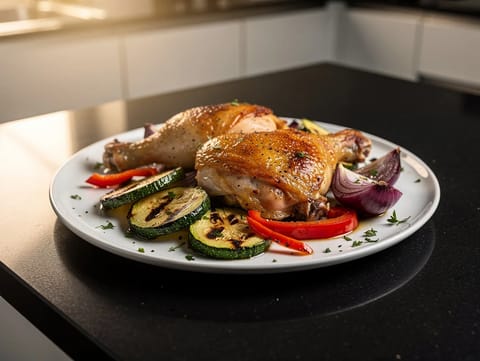
Air Fryer Chicken and Vegetables
Air-fried chicken thighs with courgette, peppers and red onion.
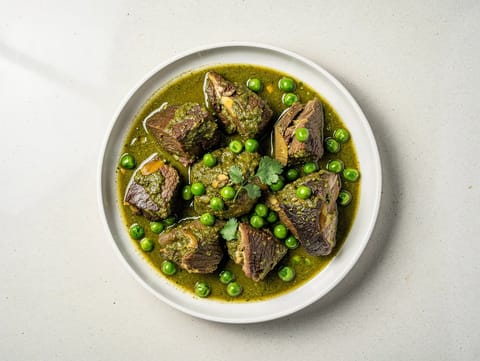
Seco de Cordero (Peruvian Lamb Stew with Coriander)
Peruvian lamb stew with coriander, aji amarillo and peas
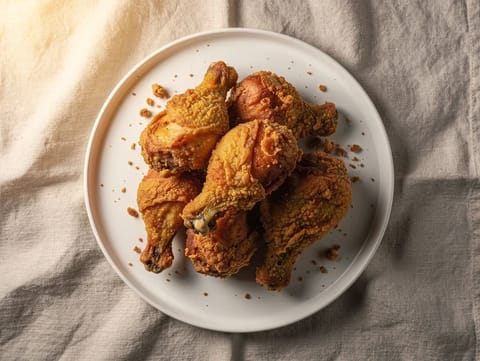
Air Fryer Buttermilk Fried Chicken
Buttermilk-marinated chicken turns crisp and golden in the air fryer.
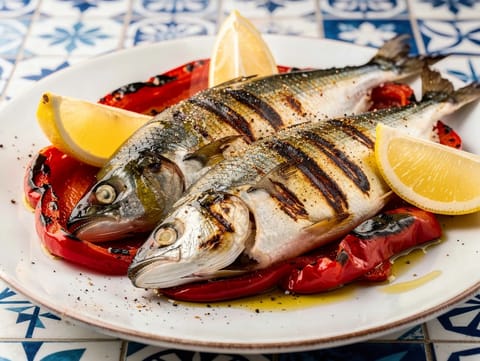
Sardinhas Assadas (Portuguese Grilled Sardines with Lemon)
Grilled sardines served with lemon, olive oil and peppers

Saucisson Brioché (Sausage Baked in Brioche Dough)
Pork sausage baked inside soft brioche
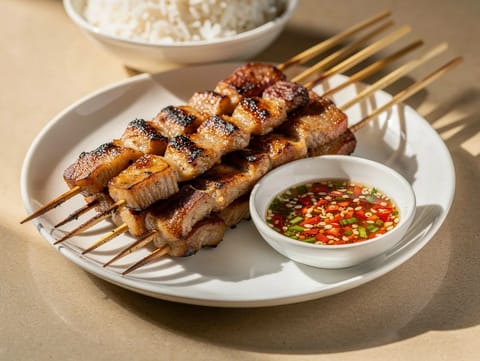
Moo Ping (Thai Grilled Pork Skewers)
Thai grilled pork skewers with coconut milk and fish sauce
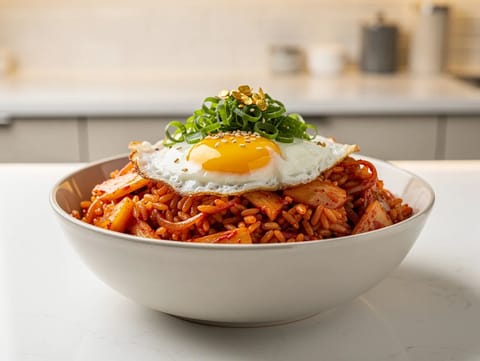
Modern Kimchi Fried Rice Bowl
Kimchi fried rice topped with a fried egg and sesame
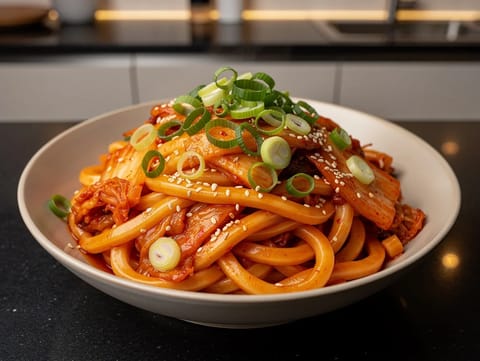
Kimchi Udon Stir-Fry (Modern Fusion)
Kimchi and gochujang udon stir-fry with sesame and spring onions
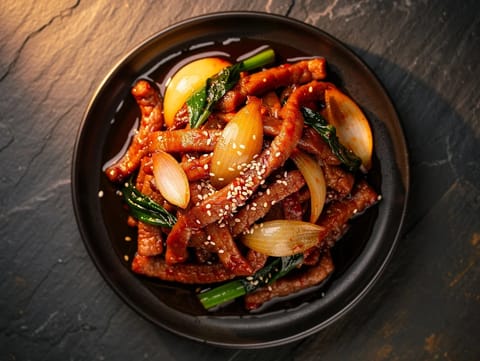
Jeyuk Bokkeum (Spicy Pork Stir-Fry)
Spicy gochujang pork stir-fry with onion
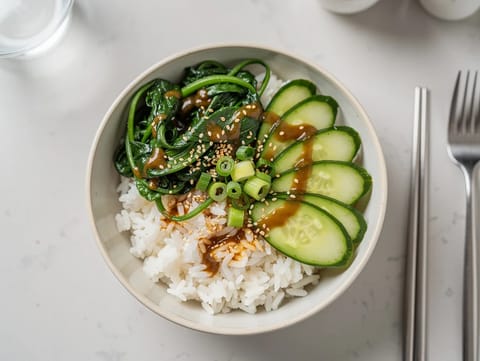
Gomae Spinach Grain Bowl with Sesame Dressing and Rice
Spinach gomae over rice with cucumber and spring onion
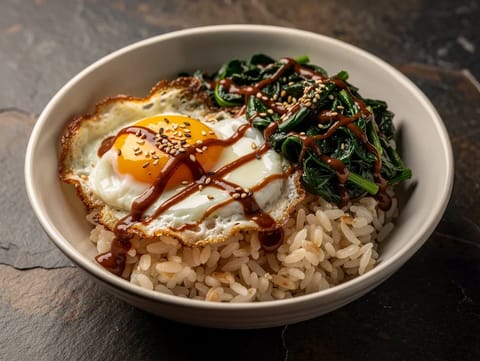
Korean Breakfast Bowl (Egg, Rice, Greens)
Rice bowl with sautéed spinach, fried egg and gochujang dressing
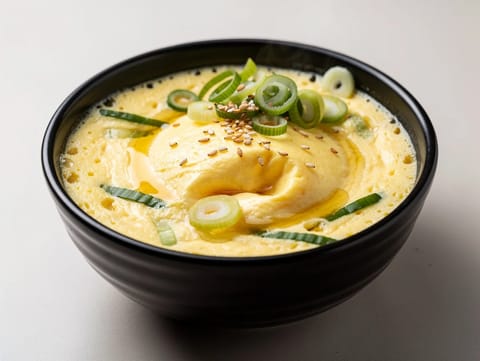
Gyeran Jjim (Korean Steamed Egg Custard)
Korean steamed egg custard with spring onions and sesame oil
You might also like
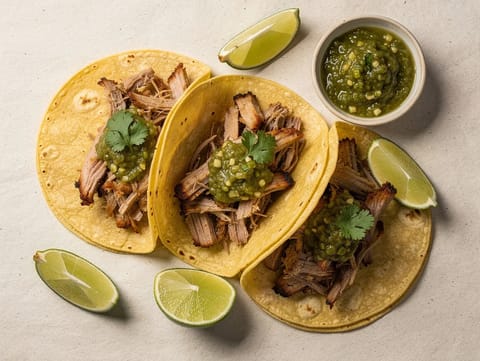
Tacos de Carnitas con Salsa Verde (Pork Carnitas Tacos)
Pork carnitas tacos with tomatillo salsa verde
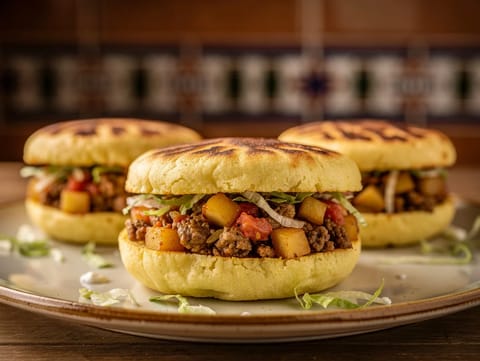
Gorditas de Picadillo (Stuffed Masa Cakes with Minced Beef)
Griddled masa cakes stuffed with minced beef picadillo and potato
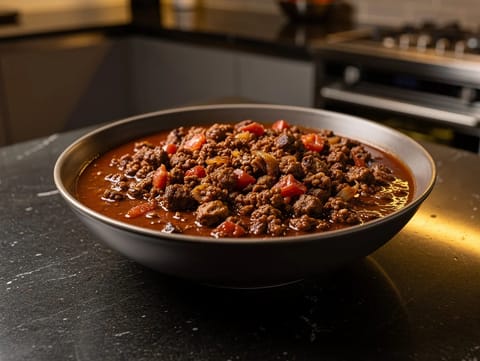
Texas-Style Beef Chilli (No Beans)
Texas-style beef chilli without beans, thick and rich
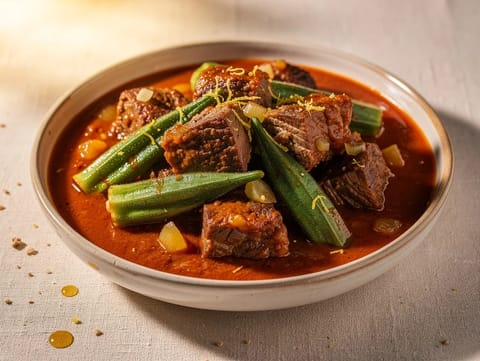
Bamia (Slow-Cooked Lamb and Okra Stew)
Slow-cooked lamb and okra stew in tomato sauce
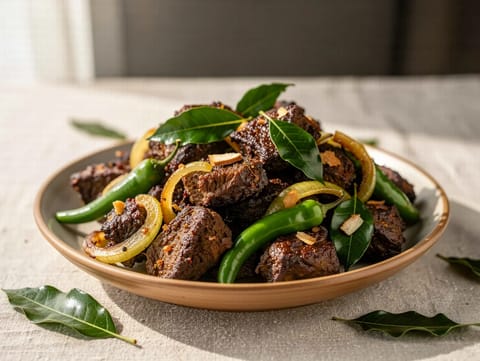
Kerala Beef Fry with Curry Leaves
Dry Kerala beef fry with curry leaves and coconut
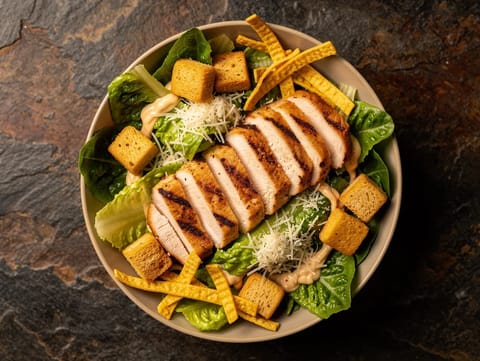
Southwest Chicken Caesar Salad
Chicken Caesar salad with smoky lime dressing and tortillas
Make this recipe easier next time
AdvertisementThese tools help you get better results with less effort.
Misen Carbon Steel Nonstick Frying Pan 12 Inch
- Works on all stovetops
- Naturally nonstick when seasoned
- Requires seasoning and maintenance
Pyrex Glass Mixing Bowls with Lids
- Microwave safe
- BPA-free lids
- Glass is heavier
All-Clad HA1 Hard Anodized Nonstick Fry Pan 12 Inch
- Top-tier build quality
- Excellent heat distribution
- Expensive
KitchenAid Stainless Steel Mixing Bowls
- Non-slip base
- Stainless steel
- Not microwave safe
Enjoy cooking with JustRecipes?
Add JustRecipes as one of your preferred Google sources to discover our recipes more easily across Google Search.
Add JustRecipes to GoogleEvery recipe on JustRecipes follows the same structured editorial process. Learn how recipes are created, validated, translated, illustrated, and continuously improved across the platform. How we create recipes.
