
Agnolotti dal Plin al Burro e Salvia (Stuffed Pasta with Butter and Sage)
Why this recipe works
- Deep savoury filling: Braising beef and pork with vegetables, wine and stock creates a moist, richly flavoured filling without needing a heavy sauce.
- Delicate pinched shape: The close-set filling and characteristic ‘plin’ pinch give the pasta its recognisable small parcels and tender bite.
- Simple rich finish: Foaming butter, sage and Parmesan coat the pasta lightly, letting the meat filling remain the focus.
Get the most out of this recipe
Timing notes
- Cool the filling completely: Warm filling can soften the pasta dough and make the parcels harder to seal cleanly.
- Rest the dough before rolling: A rested dough rolls more thinly and evenly, which is important for delicate filled pasta.
- Serve straight after saucing: The butter sauce is at its best glossy and hot, before it thickens or the pasta absorbs too much of it.
Authenticity notes
- Piedmontese pasta: Agnolotti dal plin is associated with Piedmont, where small meat-filled pasta parcels are traditionally shaped with a pinch.
- The ‘plin’ matters: Pressing between the filling mounds gives the pasta its distinctive shape and helps keep the parcels compact.
- Simple sauces are typical: Butter and sage is a classic restrained finish, though meat juices or roast-style sauces are also common variations.
Make-ahead tips
- Make the filling ahead: The braised meat filling can be prepared in advance and chilled, which also makes shaping the pasta easier.
- Freeze uncooked agnolotti: Arrange the shaped pasta on a tray until firm, then transfer to a container and boil from frozen when needed.
- Reheat leftovers gently: Warm leftover sauced pasta in a frying pan with a splash of water, using gentle heat so the butter sauce does not split.
Common mistakes
- Rolling the pasta too thick: Thick dough can overwhelm the filling and make the pasta feel heavy rather than delicate.
- Using a dry filling: The shredded meat should be moist enough to spoon or pipe, otherwise the finished pasta can taste dense.
- Handling the parcels roughly: Lift and toss the agnolotti gently after boiling so the thin pasta does not tear in the sage butter.
Equipment you'll need
Ingredients
Braised filling
Pasta dough and finishing
Instructions
- Make the filling first so it has time to cool. Finely chop the onion, carrot and celery.
- Melt 30 g of the butter in a Dutch oven over medium heat, then cook the chopped vegetables for 8 to 10 minutes until softened and lightly golden. Add the brisket and pork and cook for 6 to 8 minutes, turning, until browned all over.
- Stir in the black pepper and nutmeg, then pour in the wine and let it bubble for 2 minutes. Add the beef stock, bring to a gentle simmer, cover and braise for 75 to 90 minutes until the meat is very tender.
- Lift the meat out and let it cool until comfortable to handle, then shred it finely and mix with just enough of the braising liquid to make a moist, spoonable filling. Let the filling cool completely so it does not soften the pasta.
- Tip the flour onto a work surface and make a well. Crack in the eggs and whisk with a fork, gradually drawing in the flour, then knead for 8 to 10 minutes until smooth and elastic.
- Cover the dough and let it rest at room temperature so it relaxes and rolls easily. While it rests, grate the Parmesan.
- Roll the dough very thin, working in portions, until you can just see your hand through it. Pipe or spoon small, close-set mounds of filling along the sheet, fold the pasta over, press out the air, then pinch to form the characteristic ‘plin’ and cut into small agnolotti.
- Bring a large pot of water to the boil. Boil the agnolotti in batches for 2 to 3 minutes until they float and the pasta is just tender, then lift out with a slotted spoon.
- Melt the remaining 90 g butter in a large frying pan over medium heat and add the sage leaves. Cook until the butter foams and smells nutty, 2 to 3 minutes, then add a splash of the pasta cooking water to make a glossy sauce.
- Add the agnolotti to the pan and toss very gently to coat without tearing. Serve straight away with Parmesan and a final crack of black pepper.
Recipe notes
Tips
- Keep the braise at a gentle simmer rather than a hard boil so the meat stays succulent and the liquid reduces into a flavourful sauce.
- When shaping, press out as much air as you can around the filling so the agnolotti do not burst in the water.
- If serving anyone who is pregnant, elderly, or immunocompromised, use eggs that are safe for raw or lightly cooked preparations and ensure the pasta is cooked until fully tender.
Substitutions
- Replace Dry White Wine with the same amount of Beef stock for an alcohol-free braise.
- Replace Parmesan with Pecorino Romano cheese for a sharper, saltier finish.
Storage
- Refrigerate up to 2 days
- Cool leftovers quickly and refrigerate in a sealed container. Reheat gently in a frying pan with a splash of water until piping hot; avoid high heat so the butter sauce does not split. Uncooked agnolotti freeze well on a tray, then transfer to a container and boil from frozen, adding 1 to 2 minutes.
Ratings & reviews
Liked this recipe? Share your feedback to support our cooking community.
Tried this recipe?
Choose 1–5 stars. A comment is optional.
Stay inspired
Discover new recipes, seasonal favourites and cooking inspiration every day. Follow JustRecipes on Pinterest and Spillt.

Recipe overview
- Servings: 4 servings
- Total time: 3h (1h 35min active)
- Difficulty: Advanced
- Cuisine: Italian
-
Allergens:
Eggs Gluten Milk Wheat
Plan your meals and get a complete grocery list automatically.
Add to meal plannerEquipment you'll need
Got ingredients left?
Find recipes using ingredients from this recipe or what you already have at home.
Find recipes with these ingredients →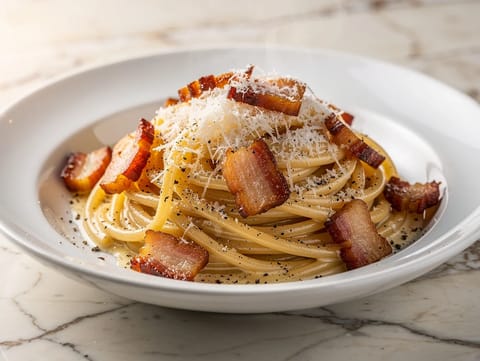
Pasta alla Gricia (Guanciale and Pecorino Pasta)
Roman spaghetti with guanciale, pecorino and black pepper
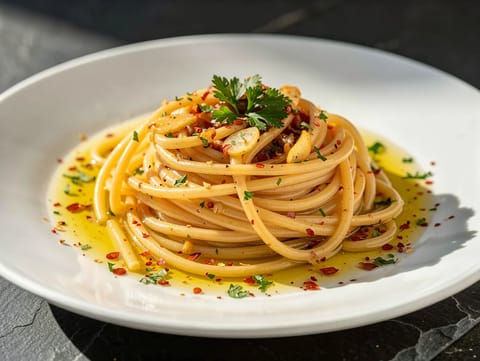
Spaghetti alla Cetara (Spaghetti with Anchovy, Garlic and Chilli)
Spaghetti with anchovy, garlic, chilli and parsley
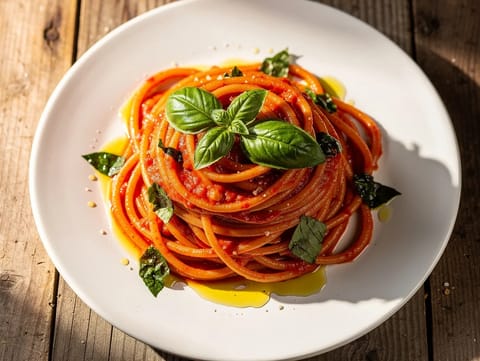
Vegan Pasta al Pomodoro
Spaghetti with a quick tomato, garlic and basil sauce
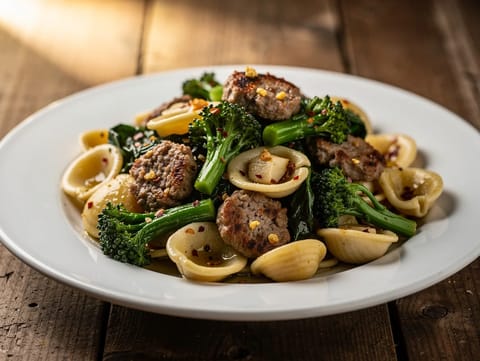
Orecchiette with Broccoli Rabe and Italian Sausage
Orecchiette with broccoli rabe, sausage, garlic and chilli
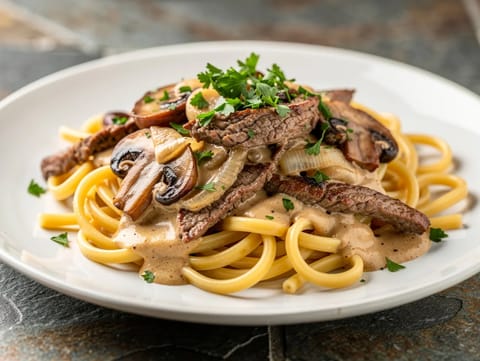
American-Style Beef Stroganoff (Creamy Mushroom Sauce)
Beef and mushrooms in a creamy sour cream sauce over noodles
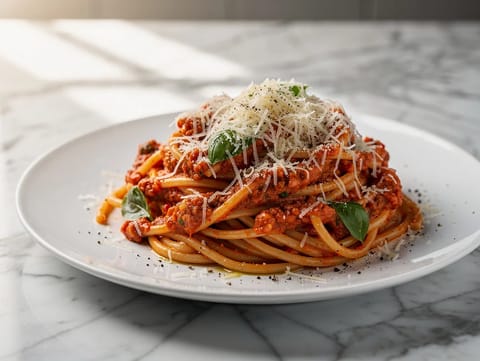
Pasta al Pesto Trapanese (Sicilian Almond Pesto Pasta)
Sicilian pasta with tomato, basil and almond pesto
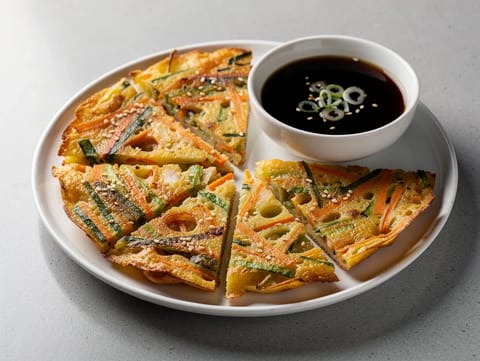
Modern Vegetable Pajeon (Korean Spring Onion and Vegetable Pancake)
Crisp Korean vegetable pancake with soy vinegar dipping sauce
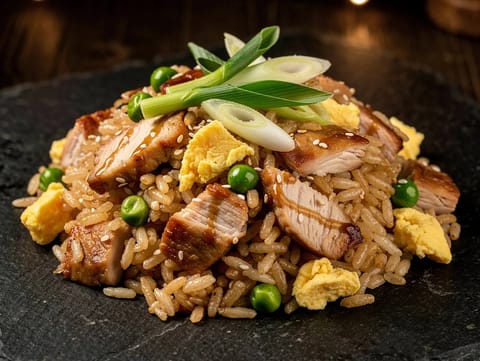
Chicken Fried Rice
Chicken fried rice with egg, peas and spring onion
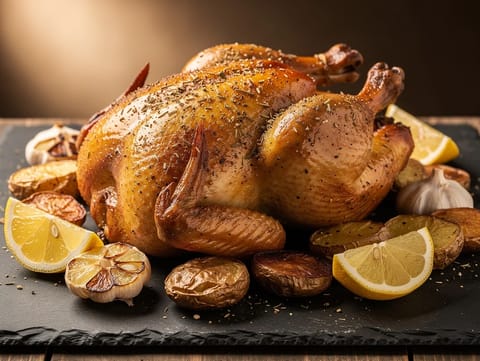
Poulet Rôti aux Herbes de Provence (Herb Roast Chicken)
Roast chicken with Herbes de Provence, lemon and pan potatoes
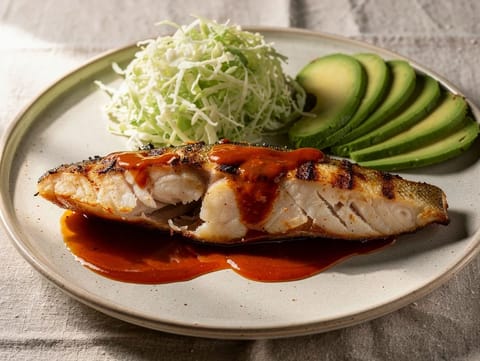
Pescado Zarandeado (Grilled Fish with Chilli and Citrus Marinade)
Grilled white fish with chilli, citrus, garlic and oregano
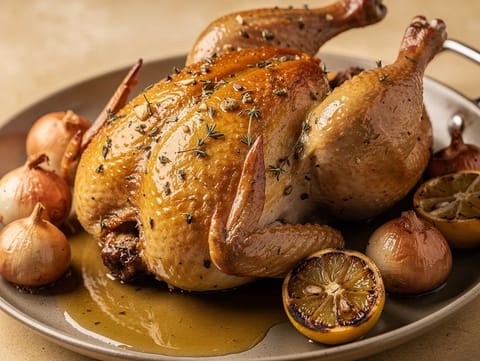
Poulet Rôti (Garlic and Herb Roast Chicken)
Garlic and herb roast chicken with lemon and white wine juices
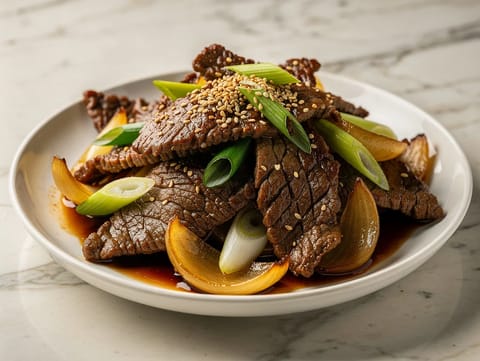
Bulgogi (Marinated Beef)
Thinly sliced marinated beef quickly fried with onions
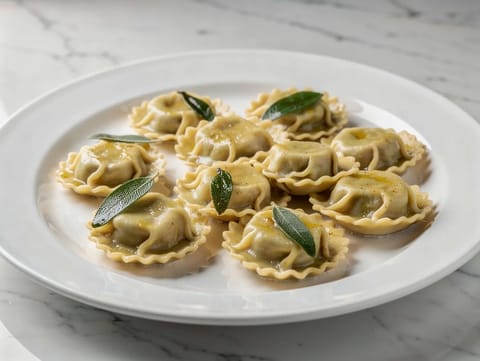
Agnolotti del Plin (Stuffed Pasta with Brown Butter and Sage)
Stuffed pasta with pork, spinach, brown butter and sage
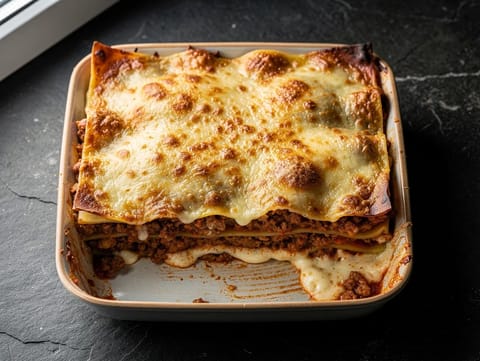
Lasagne al Forno (Baked Lasagne with Beef Ragù and Béchamel)
Baked lasagne layered with beef ragù and béchamel
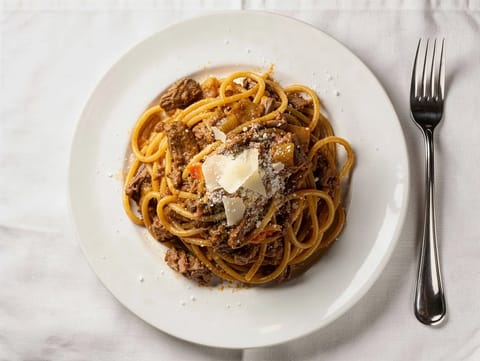
Pasta alla Genovese (Onion-Braised Beef Pasta)
Spaghetti with onion-braised beef sauce and Parmesan
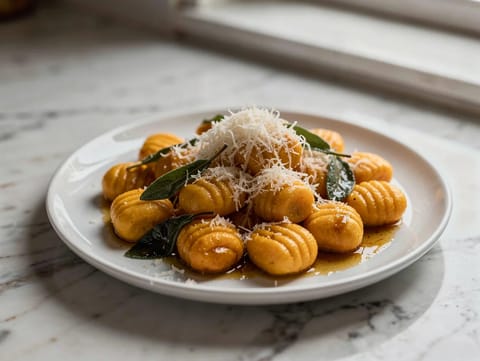
Gnocchi di Zucca (Pumpkin Gnocchi with Butter and Sage)
Pumpkin gnocchi with butter, sage and Parmigiano Reggiano
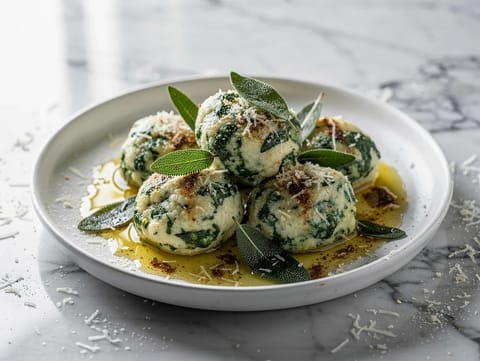
Spinach and Ricotta Gnudi with Butter and Sage
Soft spinach and ricotta gnudi finished with butter and sage
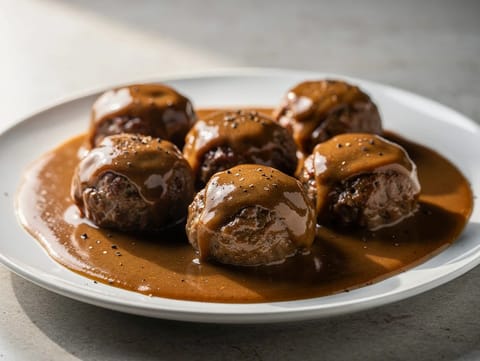
Gehaktballen met Jus (Dutch Meatballs with Gravy)
Minced beef meatballs with simple mustard pan gravy
You might also like
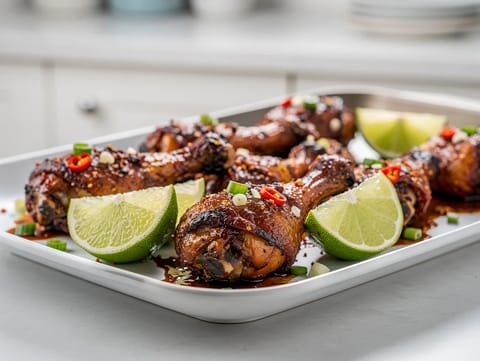
Five-Spice Jerk Chicken Drumsticks
Sticky roasted jerk chicken drumsticks with five-spice and lime
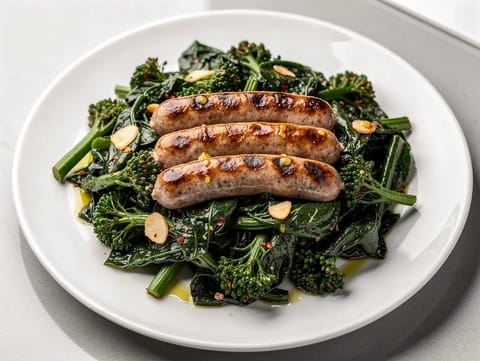
Salsiccia e Friarielli (Italian Sausages with Broccoli Rabe)
Italian sausages served over garlicky broccoli rabe with lemon

Bayram Lokma (Fried Sweet Dough Bites in Lemon Syrup)
Yeast raised fried dough bites soaked in lemon sugar syrup
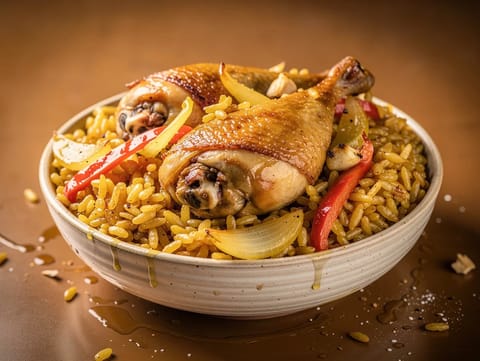
Arroz con Pollo a la Española (Spanish Chicken and Rice)
One-pan Spanish chicken and rice cooked in saffron-scented stock
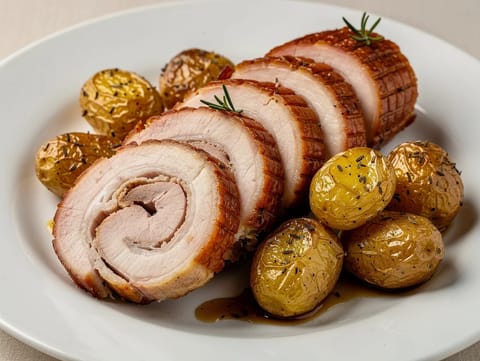
Porchetta Arrosto con Patate (Italian Roast Pork Belly and Potatoes)
Roast pork belly with potatoes, rosemary and fennel seeds
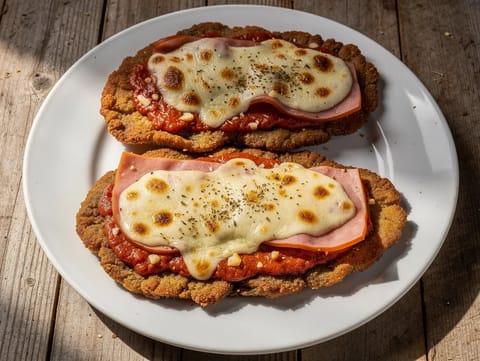
Milanesa Napolitana (Argentinian Beef Schnitzel with Ham and Mozzarella)
Crisp beef schnitzel topped with ham and melted mozzarella
Make this recipe easier next time
AdvertisementThese tools help you get better results with less effort.
Misen Carbon Steel Nonstick Frying Pan 12 Inch
- Works on all stovetops
- Naturally nonstick when seasoned
- Requires seasoning and maintenance
Pyrex Glass Mixing Bowls with Lids
- Microwave safe
- BPA-free lids
- Glass is heavier
All-Clad HA1 Hard Anodized Nonstick Fry Pan 12 Inch
- Top-tier build quality
- Excellent heat distribution
- Expensive
KitchenAid Stainless Steel Mixing Bowls
- Non-slip base
- Stainless steel
- Not microwave safe
Enjoy cooking with JustRecipes?
Add JustRecipes as one of your preferred Google sources to discover our recipes more easily across Google Search.
Add JustRecipes to GoogleEvery recipe on JustRecipes follows the same structured editorial process. Learn how recipes are created, validated, translated, illustrated, and continuously improved across the platform. How we create recipes.
