
Air Fryer Crispy Fried Chicken
Why this recipe works
- Lighter crisp coating: Baking powder in the seasoned flour helps the crust cook up drier, lighter, and more crackly in the air fryer.
- Air-fryer efficiency: Circulating hot air browns the coating with much less oil than deep-frying, while still giving the chicken a crunchy exterior.
- Straightforward method: A simple egg dip, seasoned flour coating, and clear turning point make the recipe easy to follow without a deep-fat fryer.
Get the most out of this recipe
Texture tips
- Let the coating hydrate: Resting the coated chicken briefly before cooking helps the flour cling and reduces dry, powdery patches.
- Leave space in the basket: Arrange the pieces in a single layer so hot air can move around the chicken and crisp the coating evenly.
- Oil the pale spots: Any dry floury areas need a light brush or dab of oil during cooking so they brown rather than stay chalky.
Common mistakes
- Check the thickest pieces: Bone-in chicken can cook unevenly, so make sure the meat is piping hot with no pinkness at the bone and clear juices.
- Do not overload the basket: Too many pieces at once trap steam and stop the coating from crisping properly; cook in batches if needed.
- Rest before serving: A short rest helps the juices settle and keeps the crust from softening immediately on the plate.
Ingredient notes
- Paprika choice: Sweet paprika keeps the flavour mellow, while smoked paprika gives the coating a deeper, barbecue-like note.
- Dry the chicken well: Moisture on the skin makes the flour coating slide off and can stop the crust from browning cleanly.
- Using garlic paste: If swapping in garlic paste, mix it into the egg rather than the flour so it coats evenly and does not clump.
Make-ahead tips
- Reheat for crispness: Reheat chilled chicken in the air fryer at 180°C (355°F) until piping hot and the coating has crisped again.
- Freezing cooked chicken: Cool completely before freezing, then defrost before reheating so the chicken warms through evenly.
- Best freshly cooked: The crust is at its crunchiest straight from the air fryer, so serve soon after resting for the best texture.
Equipment you'll need
Ingredients
Instructions
- Cut the chicken into 8 to 10 pieces (2 breasts, 2 thighs, 2 drumsticks and 2 wings), keeping the skin on where possible. Pat dry well and set aside.
- In a mixing bowl, whisk together the flour, baking powder, sweet paprika, ground garlic, fine sea salt and black pepper. In a second bowl, beat the egg with 1 tbsp water (taken from the tap).
- Dip each piece of chicken in the egg, let the excess drip off, then coat thoroughly in the seasoned flour. Press the coating on firmly and put the coated chicken on a plate for 10 minutes to hydrate slightly.
- Preheat the air fryer to 200°C (390°F) for 3 minutes. Lightly oil the air fryer basket using some of the vegetable oil and keep the rest for the chicken.
- Arrange the chicken in a single layer (cook in batches if needed). Lightly brush or dab a little vegetable oil over the coated chicken to help it brown, then air-fry for 12 minutes.
- Turn the chicken, brush any pale floury spots with a little more oil, then air-fry for 10 to 15 minutes until deeply golden and the thickest pieces are cooked through. The juices should run clear and the meat should no longer be pink at the bone.
- Rest the chicken for 5 minutes before serving so the crust stays crisp. Serve hot.
Recipe notes
Tips
- Patting the chicken dry before coating helps the flour cling and encourages a crisper finish.
- Avoid overcrowding the basket; leaving space around each piece lets hot air circulate and browns the coating more evenly.
- For anyone who is pregnant, elderly, immunocompromised, or very young, ensure the chicken is cooked through until piping hot with no pink meat at the bone.
Substitutions
- Replace Sweet paprika with Smoked paprika for a smokier flavour.
- Replace Ground garlic with Garlic paste for a fresher garlic flavour; whisk it into the egg mixture so it distributes evenly.
Storage
- Refrigerate up to 3 days
- Cool completely, then refrigerate in a sealed container for up to 3 days. Reheat in the air fryer at 180°C (355°F) for 6 to 10 minutes until piping hot and crisp; freeze for up to 2 months and reheat from defrosted.
Ratings & reviews
Liked this recipe? Share your feedback to support our cooking community.
Tried this recipe?
Choose 1–5 stars. A comment is optional.
Stay inspired
Discover new recipes, seasonal favourites and cooking inspiration every day. Follow JustRecipes on Pinterest and Spillt.
Recipe overview
- Servings: 4 servings
- Total time: 55min (25min active)
- Difficulty: Easy
- Cuisine: American
-
Allergens:
Eggs Gluten Wheat
Plan your meals and get a complete grocery list automatically.
Add to meal plannerEquipment you'll need
Got ingredients left?
Find recipes using ingredients from this recipe or what you already have at home.
Find recipes with these ingredients →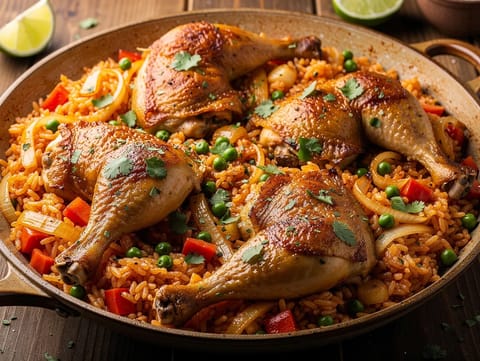
Arroz con Pollo (Latin Chicken and Rice One-Pot)
One-pot chicken and rice with peppers, peas, lime and coriander
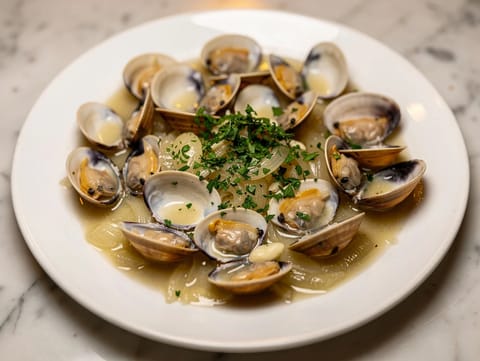
Almejas a la Marinera (Clams in White Wine Sauce)
Clams steamed in white wine sauce with garlic and parsley
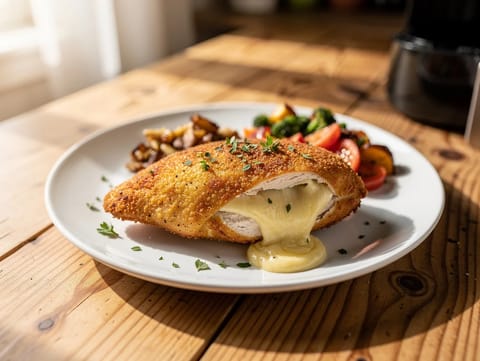
Air Fryer Cheese Stuffed Chicken
Cheese-stuffed chicken with cheddar and cream cheese, air-fried.
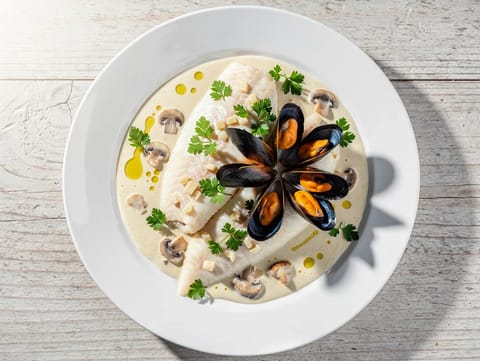
Sole à la Normande (Sole with Cream and Mussels)
Poached sole with mussels in a creamy white wine sauce
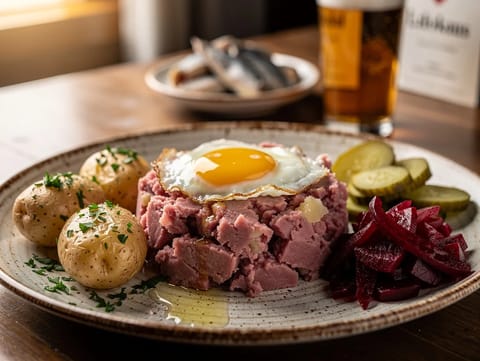
Labskaus (Beetroot and Corned Beef Hash)
Northern German potato hash with corned beef and beetroot
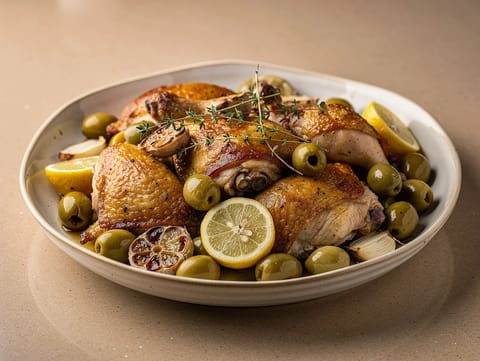
Poulet au Citron et Olives (Lemon and Olive Chicken)
Chicken braised with lemon, green olives and thyme
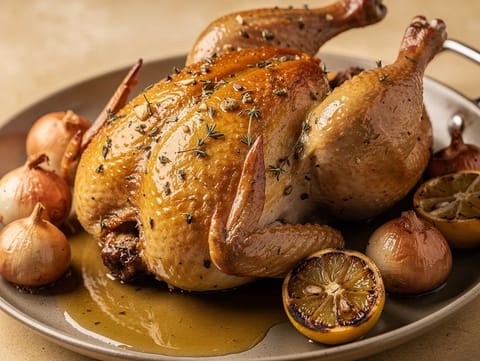
Poulet Rôti (Garlic and Herb Roast Chicken)
Garlic and herb roast chicken with lemon and white wine juices
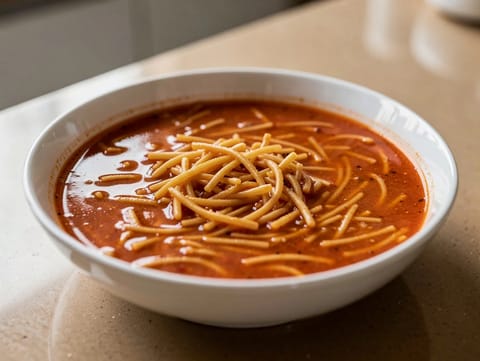
Sopa de Fideos (Mexican Tomato and Chipotle Noodle Soup)
Toasted fideo noodles simmered in tomato and chipotle broth
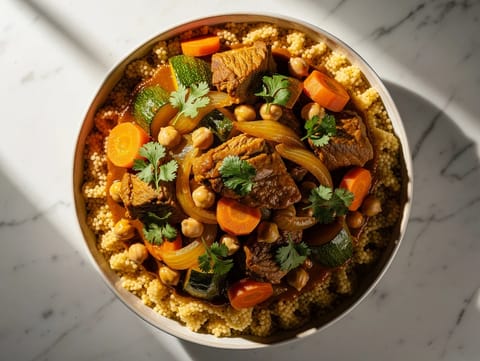
Moroccan Couscous with Lamb, Chickpeas and Vegetables
Steamed couscous with tender lamb, chickpeas and vegetables
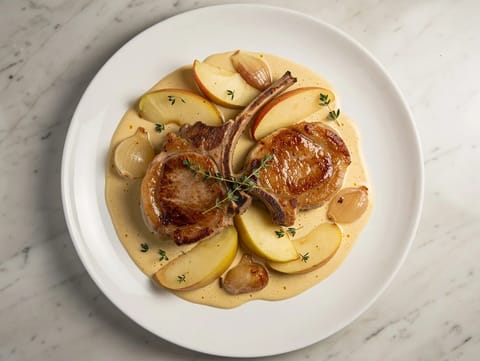
Côte de Porc Normande (Pork Chop with Apples and Cream)
Pork chops with apples in a creamy cider sauce
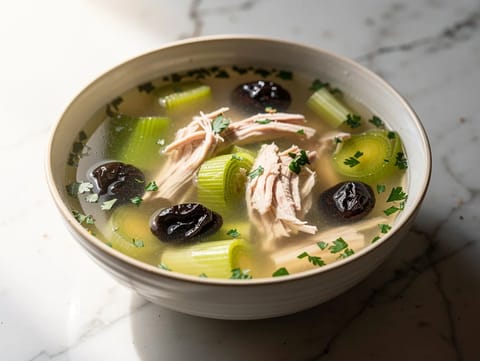
Cock-a-Leekie Soup (Scottish Chicken and Leek Soup)
Scottish chicken and leek soup finished with prunes
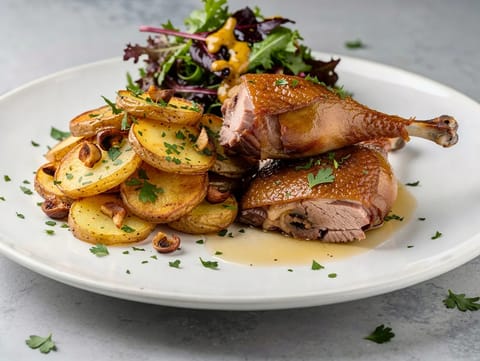
Duck Confit with Sarladaise Potatoes
Duck confit with garlic and parsley Sarladaise potatoes
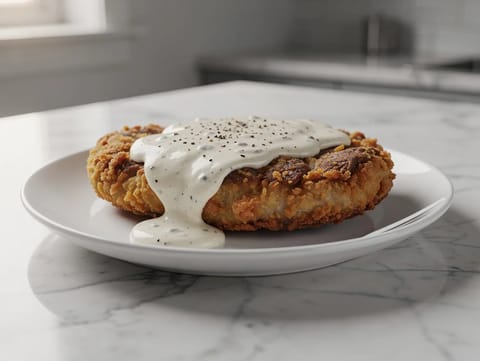
Chicken Fried Steak with Creamy White Gravy
Crispy chicken fried steak with creamy white pepper gravy
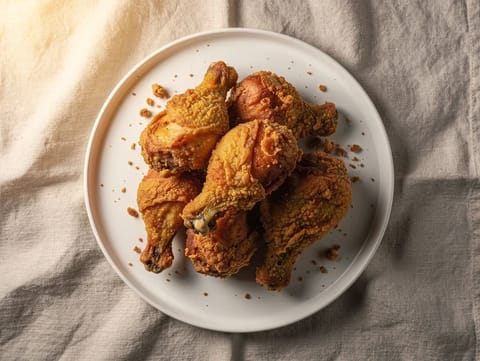
Air Fryer Buttermilk Fried Chicken
Buttermilk-marinated chicken turns crisp and golden in the air fryer.
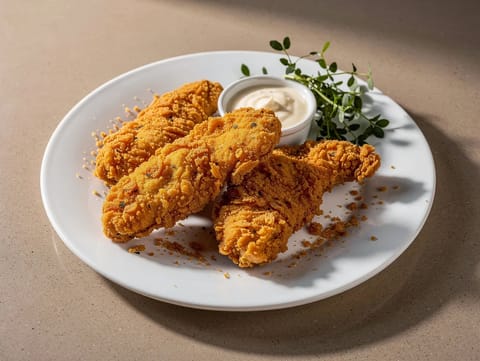
Air Fryer Buttermilk Chicken Tenders
Buttermilk-marinated chicken tenders cooked crisp in the air fryer.
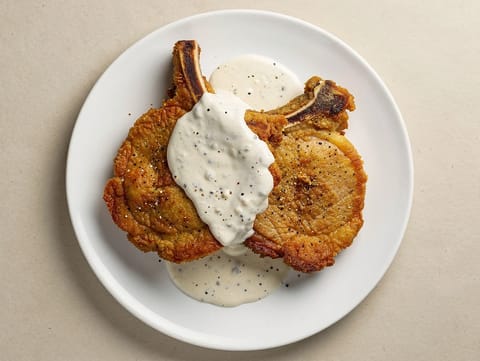
Country-Fried Pork Chops with White Gravy
Crisp pork chops topped with peppery white gravy
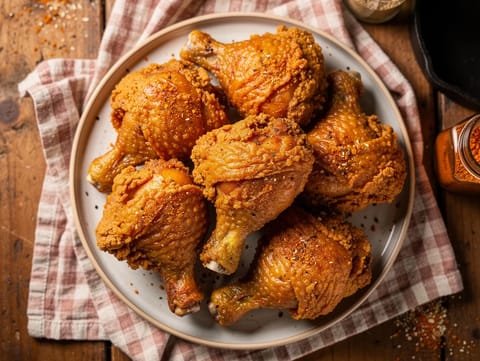
Crispy Fried Chicken with Buttermilk and Spiced Flour
Buttermilk fried chicken with a crisp spiced coating
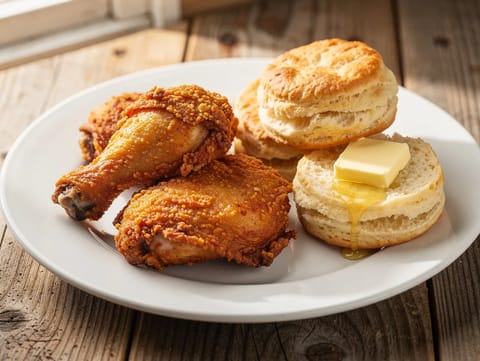
Southern Fried Chicken with Buttermilk Biscuits
Crisp fried chicken served with warm, fluffy buttermilk biscuits
You might also like
Ham and Mustard Bloomer Roll
Bloomer roll with ham, mustard, lettuce and tomato
Tamarind Candy Paletas (Tamarind Ice Lollies with Chilli and Lime)
Tangy tamarind paletas with chilli and lime
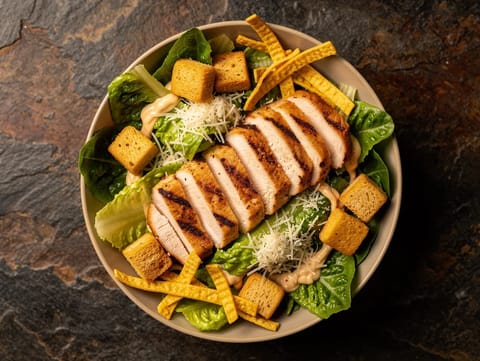
Southwest Chicken Caesar Salad
Chicken Caesar salad with smoky lime dressing and tortillas
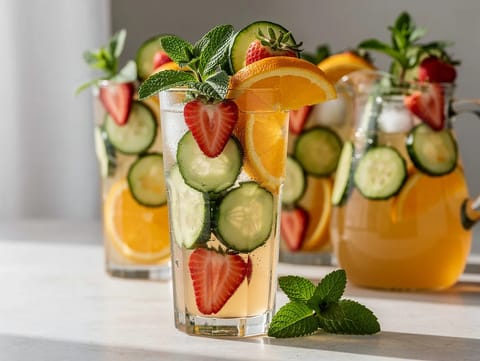
Pimm’s Cup (Summer Fruit Cup) with Lemonade, Cucumber and Mint
Pimm’s Cup with lemonade, cucumber, fruit and fresh mint
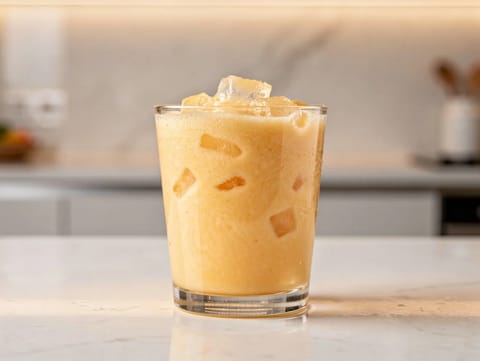
Rose Mango Yogurt Smoothie
A chilled mango yoghurt smoothie lightly scented with rose.
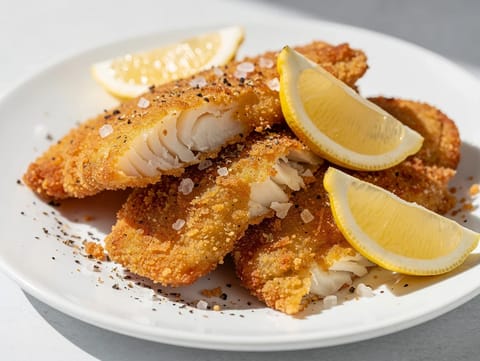
Air Fryer Breaded Fish
Breaded white fish fillets cooked crisp in the air fryer.
Make this recipe easier next time
AdvertisementThese tools help you get better results with less effort.
KitchenAid Stainless Steel Mixing Bowls
- Non-slip base
- Stainless steel
- Not microwave safe
Pyrex Glass Mixing Bowls with Lids
- Microwave safe
- BPA-free lids
- Glass is heavier
OXO Good Grips Stainless Mixing Bowl Set
- Non-slip base
- Comfort grip
- Higher price
Enjoy cooking with JustRecipes?
Add JustRecipes as one of your preferred Google sources to discover our recipes more easily across Google Search.
Add JustRecipes to GoogleEvery recipe on JustRecipes follows the same structured editorial process. Learn how recipes are created, validated, translated, illustrated, and continuously improved across the platform. How we create recipes.
