
Arancini al Ragù (Fried Rice Balls with Beef Ragù and Mozzarella)
Why this recipe works
- Crisp outside, creamy inside: Chilled risotto-style rice firms up enough to shape neatly, while the breadcrumb coating fries to a crunchy shell.
- Rich savoury filling: A thick beef ragù brings depth and umami, with mozzarella adding a soft, melting centre.
- Easy to stage: The ragù and rice both benefit from cooling fully, so the main components can be prepared before shaping and frying.
Get the most out of this recipe
Timing notes
- Cool the filling fully: The ragù should be cold and thick before shaping, otherwise it can loosen the rice and make the arancini harder to seal.
- Chill the rice until firm: Cold rice holds its shape better, giving cleaner balls and reducing the risk of splitting during frying.
- Serve soon after frying: Arancini are best while the crust is crisp and the mozzarella centre is still soft and melted.
Texture tips
- Keep the ragù thick: Simmer the sauce until it holds on a spoon; a loose filling can leak into the rice and soften the coating.
- Press on the breadcrumbs: Gently pressing the crumbs onto the egg coating helps create an even, secure crust before frying.
- Fry in batches: Leaving space around each arancino helps the coating brown evenly instead of steaming in crowded oil.
Common mistakes
- Rice too loose: If the cooked rice is wet rather than thick and spoonable, it will be difficult to shape and may fall apart.
- Microwaving leftovers: Microwaving softens the breadcrumb crust; reheat on a baking tray in a 200°C (390°F) oven until piping hot.
- Unsteady frying heat: Oil that is too cool makes the coating greasy, while oil that is too hot can brown the outside before the centre is heated through.
Authenticity notes
- Sicilian rice balls: Arancini are strongly associated with Sicily, where filled, fried rice balls are made in different shapes and with various fillings.
- Ragù and mozzarella filling: A meat ragù with cheese is one of the most recognisable versions, prized for its savoury filling and molten centre.
Equipment you'll need
Ingredients
Rice
Ragù and filling
Breading and frying
Instructions
- Make the ragù first: finely chop the onion and celery. Heat 1 tbsp vegetable oil in a large frying pan over medium heat, then cook the onion and celery for 8 to 10 minutes until soft. Add the minced beef and cook for 6 to 8 minutes, breaking it up, until browned.
- Stir in the tomato passata and bring to a gentle simmer. Cook for 25 to 30 minutes, stirring now and then, until thick enough to hold its shape on a spoon. Tip into a bowl and cool completely.
- For the rice, finely chop the onion and celery. Heat 1 tbsp vegetable oil in a saucepan over medium heat and cook the onion and celery for 8 to 10 minutes until soft. Add the arborio rice and stir for 1 minute to coat the grains.
- Add 900 ml water and bring to a steady simmer, stirring often so the rice cooks evenly and turns creamy. Cook for 18 to 22 minutes until the rice is tender and the mixture is thick and spoonable, with little to no liquid left. Take off the heat and stir in the parmesan.
- Beat 1 egg and stir it into the hot rice mixture until fully incorporated. Spread the rice on a baking tray in an even layer and leave to cool, then chill until firm enough to shape. This cooling step is key for neat arancini.
- Cut the mozzarella into small cubes. With damp hands, divide the cold rice into 10 to 12 portions and flatten each into a disc. Place a small spoonful of ragù and a cube or two of mozzarella in the centre, then mould the rice around the filling to seal into a ball.
- Beat the remaining 2 eggs in a bowl. Roll each rice ball in the egg, then coat thoroughly in the breadcrumbs, pressing gently so they adhere. Set on a tray while you heat the oil.
- Pour 1 l vegetable oil into a deep, heavy pan and heat to 175°C (350°F), checking with a thermometer. Fry the arancini in batches for 4 to 6 minutes, turning, until deep golden and hot through. Drain briefly, then serve straight away while the centre is still gooey.
Recipe notes
Tips
- Keep the ragù quite thick; if it is loose, it will leak and make sealing the rice balls difficult.
- If the rice feels sticky while shaping, keep a small bowl of water nearby and dampen your hands between each ball.
- Food safety: if serving to pregnant people, young children, older adults, or anyone immunocompromised, use eggs with a recognised food safety mark and ensure the arancini are fried until piping hot throughout.
Substitutions
- Replace mozzarella with fresh mozzarella for a softer, creamier centre; pat it dry well so it does not waterlog the filling.
- Replace parmesan with grana-padano-cheese for a slightly milder, sweeter finish.
Storage
- Refrigerate up to 2 days
- Cool completely, then refrigerate in a sealed container for up to 2 days. Reheat on a baking tray in a 200°C (390°F) oven for 12 to 15 minutes until piping hot; avoid microwaving as it softens the crust. Freeze in a single layer, then bag; bake from frozen at 200°C (390°F) for 18 to 22 minutes until piping hot.
Ratings & reviews
Liked this recipe? Share your feedback to support our cooking community.
Tried this recipe?
Choose 1–5 stars. A comment is optional.
Stay inspired
Discover new recipes, seasonal favourites and cooking inspiration every day. Follow JustRecipes on Pinterest and Spillt.
Recipe overview
- Servings: 4 servings
- Total time: 2h 30min (1h 10min active)
- Difficulty: Advanced
- Cuisine: Italian
-
Allergens:
Eggs Gluten Milk Wheat
Plan your meals and get a complete grocery list automatically.
Add to meal plannerEquipment you'll need
Got ingredients left?
Find recipes using ingredients from this recipe or what you already have at home.
Find recipes with these ingredients →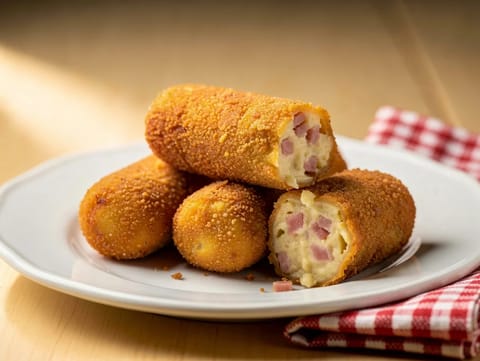
Croquetas de Jamón (Ham and Béchamel Croquettes)
Crisp ham croquettes with a creamy béchamel centre

Scotch Egg with Mustard Mayonnaise
Scotch eggs with sausage meat and mustard mayonnaise dip
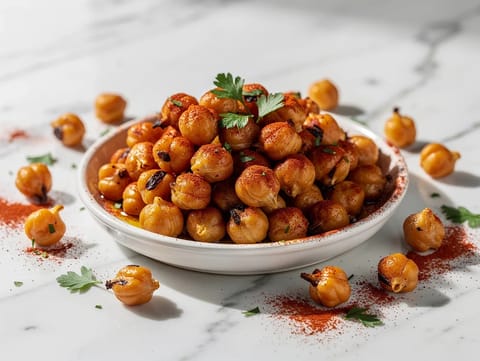
Crispy Chickpea Tapas with Smoked Paprika and Garlic
Crispy sautéed chickpeas with smoked paprika, garlic and vinegar
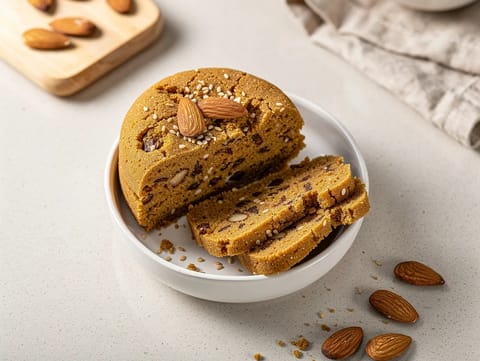
Sellou (Moroccan Sesame and Almond Sweet)
No-bake Moroccan sweet with almonds, sesame, honey and butter
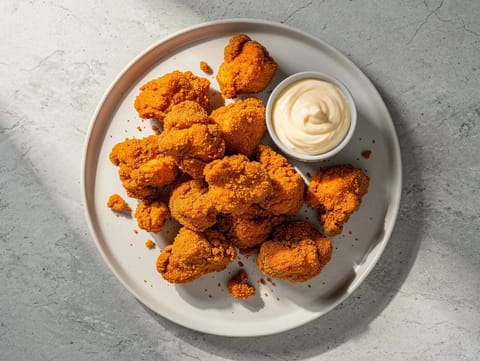
Air Fryer Popcorn Chicken
Crisp air fryer popcorn chicken with a cornflour coating.
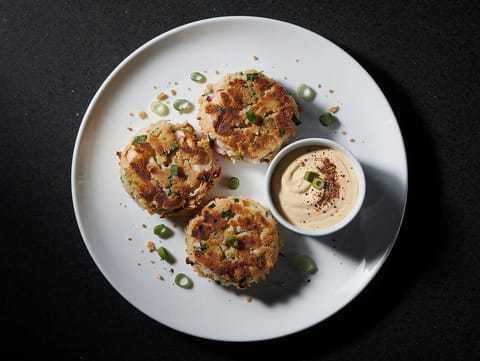
Crab Cakes with Old Bay Aioli
Crisp pan-fried crab cakes with lemony Old Bay aioli
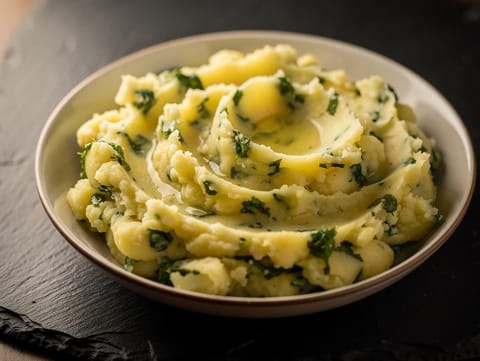
Warm Stamppot Andijvie (Dutch Mashed Potatoes with Endive)
Warm Dutch potato and endive mash with mustard
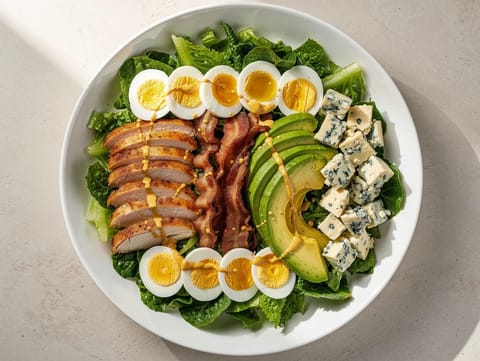
Cobb Salad (Chicken, Bacon, Egg, Avocado and Blue Cheese Salad)
Composed salad with chicken, bacon, egg, avocado and blue cheese
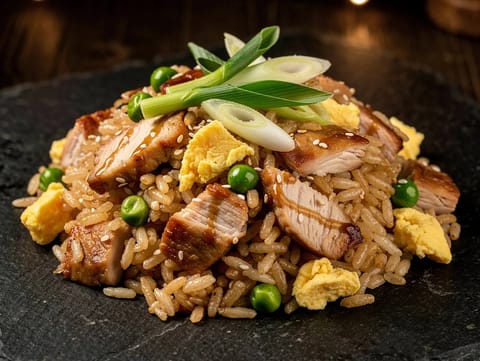
Chicken Fried Rice
Chicken fried rice with egg, peas and spring onion
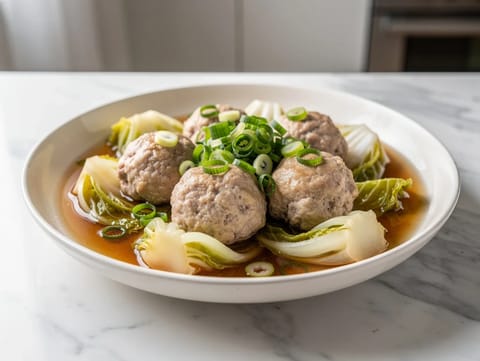
Lion’s Head Meatballs (Shanghai Pork Meatballs with Chinese Cabbage)
Shanghai pork meatballs braised with Chinese cabbage
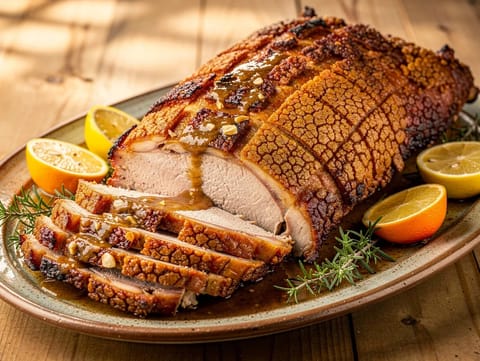
Lechón Asado (Roast Suckling Pig with Garlic and Orange)
Slow-roasted suckling pig with garlic and orange
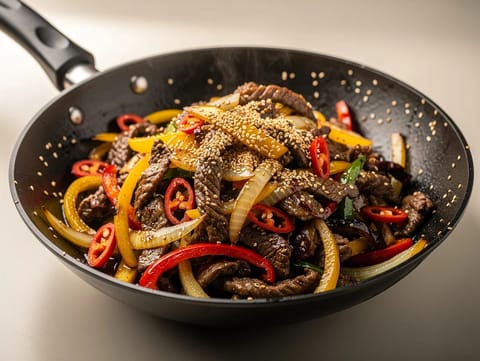
Cumin Lamb Stir-Fry (Xinjiang-Style Spiced Lamb)
Xinjiang-style cumin lamb stir-fry with chillies, onion and peppers
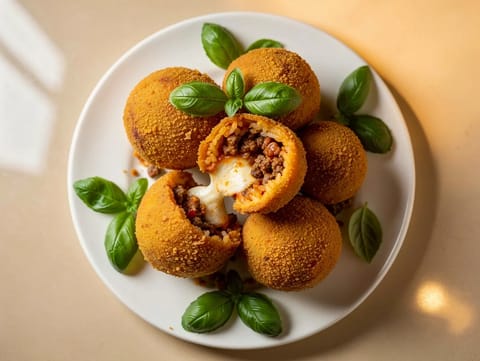
Arancini Siciliani (Stuffed Sicilian Rice Balls with Ragù and Mozzarella)
Fried rice balls stuffed with ragù and mozzarella
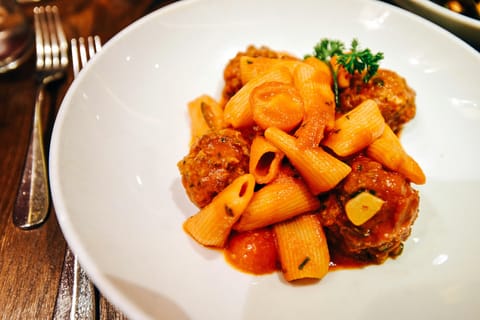
Pasta con le Polpette Napoletane (Pasta with Neapolitan Meatballs)
Rigatoni with Neapolitan meatballs simmered in tomato sauce
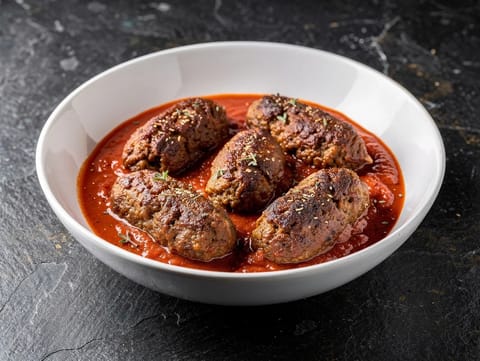
Soutzoukakia Smyrneika (Spiced Meatballs in Tomato Sauce)
Greek spiced beef meatballs in tomato sauce
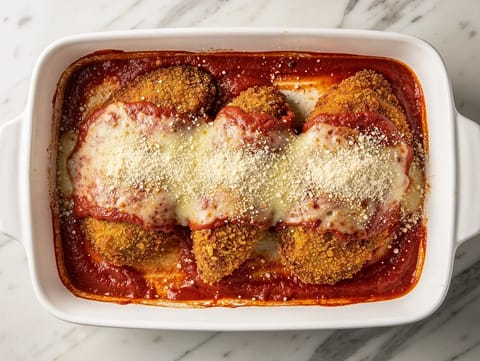
Chicken Parmesan (Breaded Chicken with Tomato Sauce and Mozzarella)
Crispy breaded chicken baked with tomato sauce and mozzarella
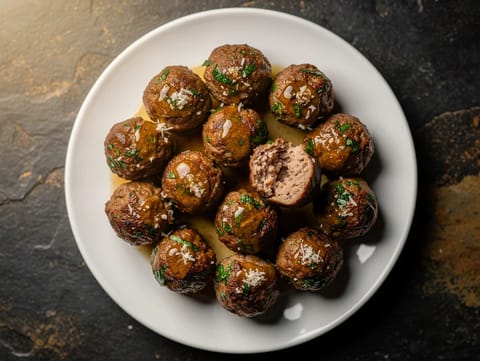
Air Fryer Meatballs
Air fryer meatballs made with beef, breadcrumbs and Parmesan.
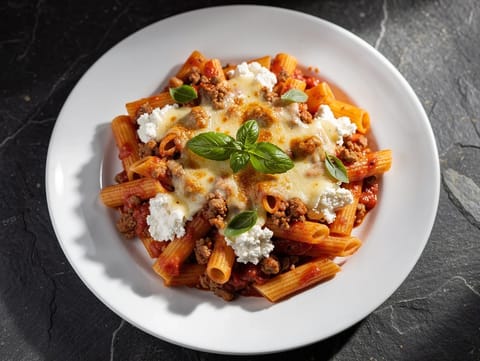
American-Style Baked Ziti with Minced Beef
Baked ziti with minced beef, ricotta and mozzarella
You might also like
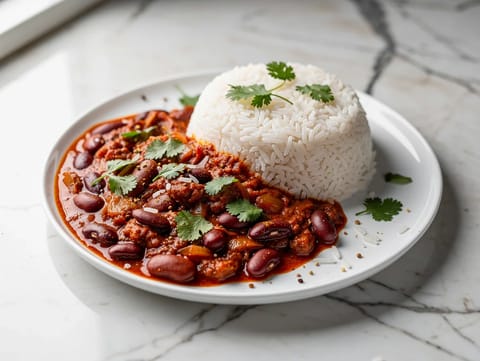
Rajma Chawal (Red Kidney Bean Curry with Rice)
Red kidney bean curry in spiced tomato gravy with basmati rice
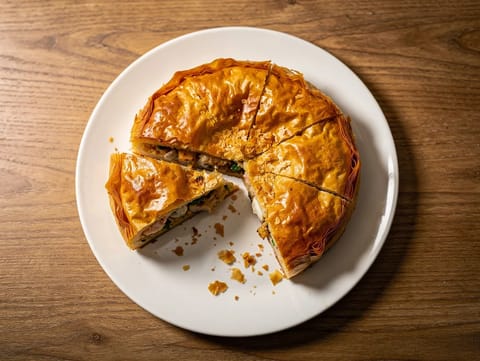
Seafood Pastilla (Moroccan Filo Pie with Prawns and White Fish)
Crisp Moroccan filo pie filled with prawns and white fish
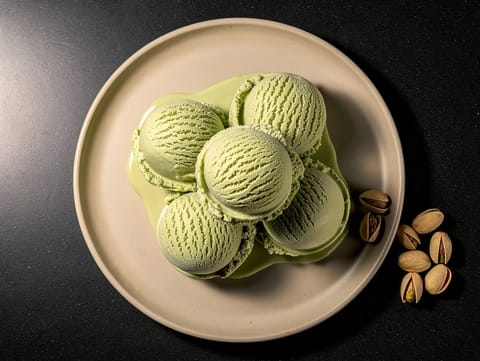
Gelato al Pistacchio (Sicilian Pistachio Gelato)
Smooth Sicilian-style pistachio gelato
Milanesa (Breaded Beef Cutlet)
Crisp fried breaded beef cutlets served with lemon
Arroz con Pollo a la Mexicana (One-Pot Chicken and Rice)
One-pot chicken and rice with tomato, peas and sweetcorn
Brandade de Morue Gratinée (Salt Cod and Potato Gratin)
Salt cod and potato brandade baked with a golden breadcrumb topping
Make this recipe easier next time
AdvertisementThese tools help you get better results with less effort.
Misen Carbon Steel Nonstick Frying Pan 12 Inch
- Works on all stovetops
- Naturally nonstick when seasoned
- Requires seasoning and maintenance
Pyrex Glass Mixing Bowls with Lids
- Microwave safe
- BPA-free lids
- Glass is heavier
All-Clad Tri-Ply Stainless Steel Saucepan
- Excellent heat control
- Premium build quality
- Expensive
KitchenAid Stainless Steel Mixing Bowls
- Non-slip base
- Stainless steel
- Not microwave safe
Enjoy cooking with JustRecipes?
Add JustRecipes as one of your preferred Google sources to discover our recipes more easily across Google Search.
Add JustRecipes to GoogleEvery recipe on JustRecipes follows the same structured editorial process. Learn how recipes are created, validated, translated, illustrated, and continuously improved across the platform. How we create recipes.
