
Baked Alaska
Why this recipe works
- Hot-and-cold contrast: A brief bake browns the meringue while the frozen ice cream stays cold inside.
- Insulating meringue: The thick meringue coating protects the ice cream from direct heat and creates the dessert’s signature finish.
- Built for serving: The dome shape makes an impressive centrepiece that can be sliced at the table straight after baking.
Get the most out of this recipe
Timing notes
- Freeze until very firm: The ice cream dome needs to be fully solid before unmoulding so it holds its shape during assembly.
- Serve immediately: Baked Alaska is at its best straight from the oven, while the meringue is warm and the centre is still frozen.
- Most of the time is inactive: The recipe looks lengthy because of freezing and cooling time; the final bake takes only a few minutes.
Texture tips
- Freeze the sponge before assembly: A short freeze helps the cake stay firm under the ice cream and gives you more time to cover everything neatly.
- Pack the ice cream tightly: Pressing the softened ice cream firmly into the lined bowl prevents air pockets and gives a cleaner dome.
- Whisk to glossy peaks: A stiff, shiny meringue spreads more evenly and holds decorative swirls during the quick bake.
Common mistakes
- Leaving gaps in the meringue: The meringue must seal all the way down to the tray; exposed ice cream can melt quickly in the oven.
- Assembling too slowly: Work quickly once the ice cream is unmoulded, and keep the tray cold until the meringue is ready.
- Baking for too long: The aim is browning the meringue, not heating the dessert through, so remove it as soon as the peaks are coloured.
Make-ahead tips
- Prepare the components ahead: The ice cream dome can be frozen and the sponge baked in advance, then brought together just before the meringue is added.
- Add meringue at the end: For the cleanest texture, make and spread the meringue close to baking rather than leaving it to stand.
- Best served freshly baked: Leftovers can be frozen, but the meringue will soften and the cake will lose its tender texture.
Equipment you'll need
Ingredients
Ice cream dome
Sponge base
Meringue
Instructions
- Line a medium bowl with a double layer of cling film, leaving plenty overhang. Soften the vanilla ice cream for 5 minutes until scoopable, then pack it firmly into the bowl and smooth the top. Cover and freeze until very firm, at least 2 hours.
- Heat the oven to 180°C (355°F). Grease and line a 20 cm cake pan. Melt the unsalted butter with the whole milk, then stir in the vanilla extract and keep warm.
- Sift the plain flour with the fine sea salt. In a stand mixer, whisk 3 eggs with 90 g caster sugar for 5 to 7 minutes until very pale, thick, and the mixture leaves a ribbon on the surface. Sift over the flour mixture and fold gently until just combined.
- Pour the warm butter and milk mixture down the side of the bowl and fold in gently until the batter is smooth. Tip into the prepared pan and bake for 18 to 22 minutes until golden and springy to the touch. Cool in the pan for 5 minutes, then turn out and cool completely.
- Once cool, trim the sponge into a neat round slightly larger than the ice cream dome, if needed. Place the sponge on a baking tray and freeze for 15 minutes so it is firm and cold. Keep the tray in the freezer while you make the meringue.
- Heat the oven to 230°C (445°F). Separate 4 eggs, putting the whites into a clean bowl and saving the yolks for another use. Whisk the whites with a pinch of fine sea salt to soft peaks, then add 200 g caster sugar a spoonful at a time, whisking to stiff, glossy peaks; whisk in the vanilla extract.
- Unmould the ice cream dome onto the frozen sponge, then work quickly to cover the ice cream and sponge completely with meringue, sealing right down to the tray. Use the back of a spoon to create swirls and peaks all over. Bake for 3 to 5 minutes until the meringue is browned in places, then serve straight away.
Recipe notes
Tips
- For the best insulation, make sure the meringue fully seals to the tray with no gaps where heat can reach the ice cream.
- If you have a kitchen thermometer, the sponge is ready when the centre reaches about 95°C (205°F) and springs back when pressed.
- Food safety note: if serving to pregnant people, young children, older adults, or anyone immunocompromised, use pasteurised egg whites for the meringue.
Substitutions
- Replace Vanilla ice cream with Vanilla ice cream that is lower fat for a slightly firmer set, but expect a less rich flavour.
- Replace Vanilla extract with Vanilla extract in a stronger concentration, using half the amount for the same vanilla impact.
- Replace Whole milk with Whole milk plus an extra 10 g Unsalted butter for a slightly richer sponge.
Storage
- Baked Alaska is best served immediately. If you have leftovers, freeze them in a sealed container and eat within 2 days; the meringue will soften and weep, and the sponge will become firm.
Ratings & reviews
Liked this recipe? Share your feedback to support our cooking community.
Tried this recipe?
Choose 1–5 stars. A comment is optional.
Stay inspired
Discover new recipes, seasonal favourites and cooking inspiration every day. Follow JustRecipes on Pinterest and Spillt.
Recipe overview
- Servings: 8 servings
- Total time: 3h 5min (55min active)
- Difficulty: Medium
- Cuisine: American
-
Allergens:
Eggs Gluten Milk Wheat
Plan your meals and get a complete grocery list automatically.
Add to meal plannerEquipment you'll need
Got ingredients left?
Find recipes using ingredients from this recipe or what you already have at home.
Find recipes with these ingredients →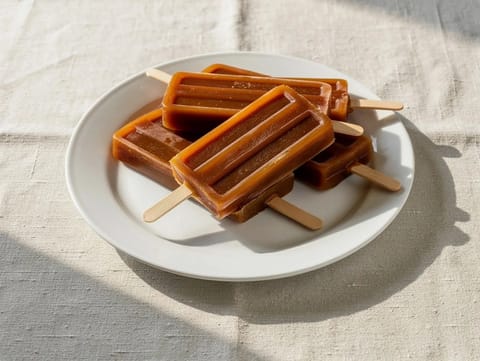
Tamarind Candy Paletas (Tamarind Ice Lollies with Chilli and Lime)
Tangy tamarind paletas with chilli and lime
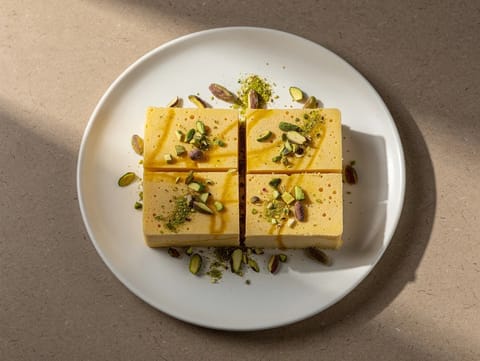
Mango Kulfi
Dense mango kulfi with reduced milk and cardamom
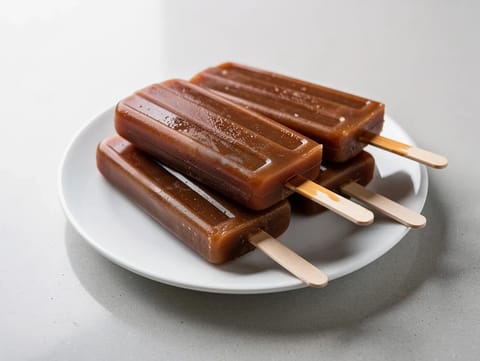
Tamarind Paletas (Chilli Tamarind Ice Lollies)
Tamarind and chilli ice lollies with lime
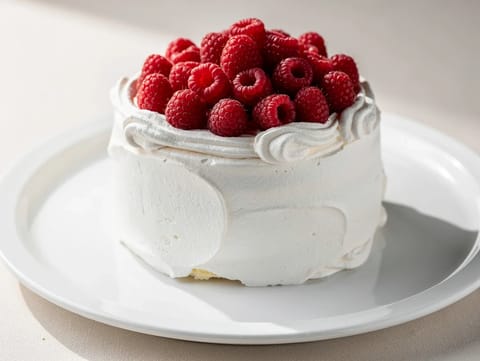
Vacherin Glacé (Meringue and Ice Cream Dessert)
Frozen dessert of meringue, vanilla ice cream and raspberries

Paletas de Mango con Chile (Mango Chilli Ice Lollies)
Mango and lime ice lollies with a pinch of chilli

Sorbetto al Limone e Basilico (Lemon and Basil Sorbet)
Italian lemon and basil sorbet churned smooth and frozen
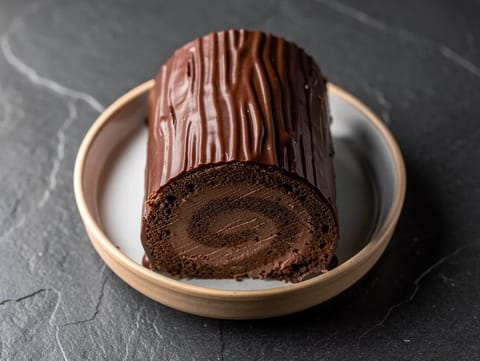
Chocolate Yule Log (Rolled Chocolate Sponge Cake)
Rolled chocolate sponge with chocolate cream and ganache
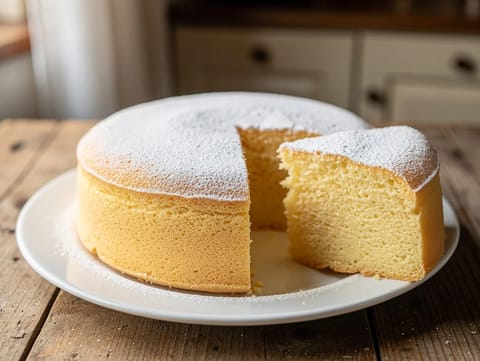
Torta Paradiso (Light Buttery Sponge Cake from Pavia)
Light buttery sponge cake finished with a dusting of icing sugar
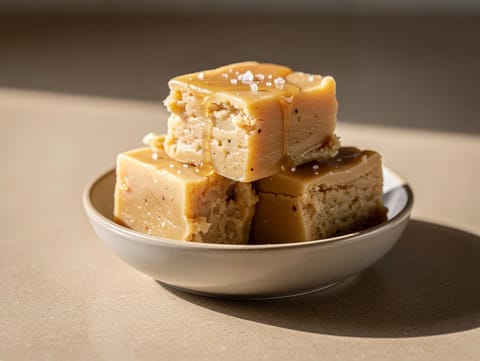
Clotted Cream Fudge with Golden Syrup
Rich clotted cream fudge set into smooth squares
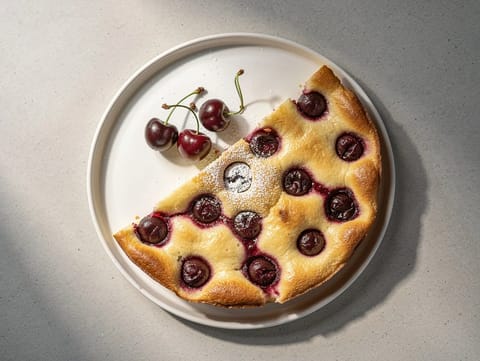
Cherry Clafoutis (French Baked Custard Dessert)
Cherry clafoutis baked in a lightly sweet custard batter
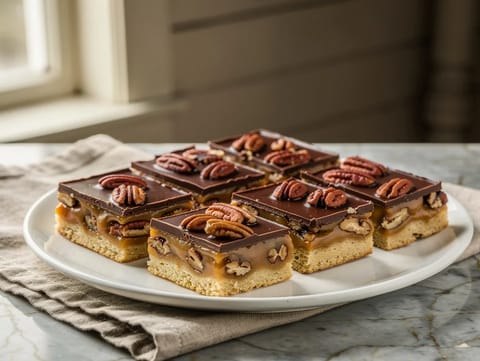
Caramel Pecan Turtle Bars
Shortbread bars topped with pecans, caramel and dark chocolate
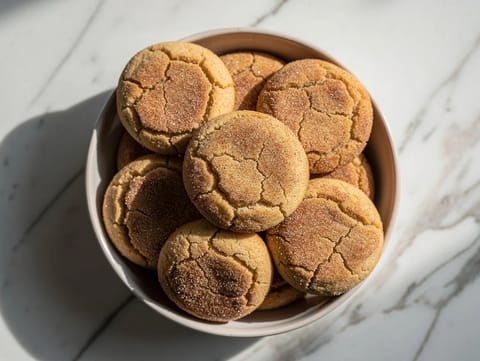
Air Fryer Snickerdoodles
Air fryer snickerdoodles rolled in cinnamon sugar and baked until puffed.
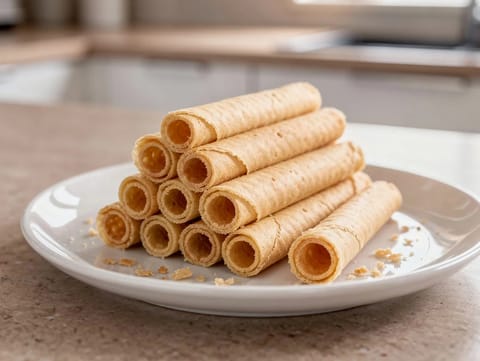
Nieuwjaarsrolletjes (Dutch New Year’s Wafer Rolls)
Crisp Dutch wafer rolls flavoured with butter and vanilla
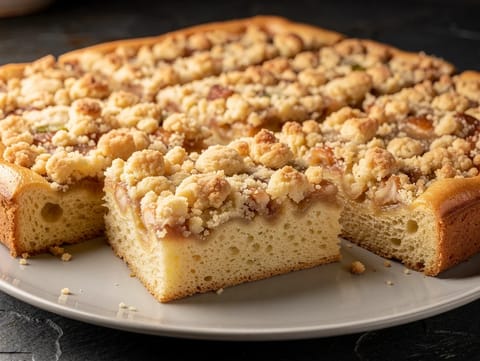
Streuselkuchen (German Yeasted Crumb Cake)
German yeasted crumb cake with a thick buttery streusel topping
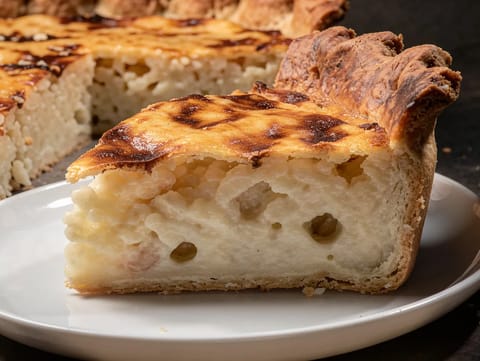
Tarte au Riz (Belgian Rice Pudding Tart)
Belgian rice pudding tart in a shortcrust case
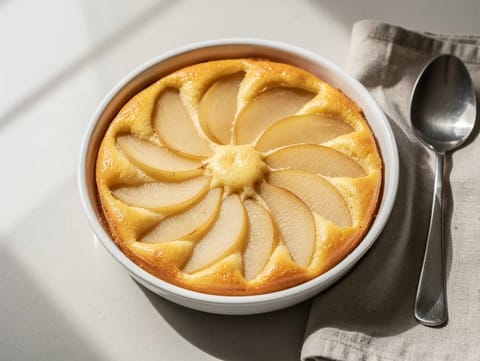
Pear Clafoutis
Pear clafoutis baked in a vanilla custard batter
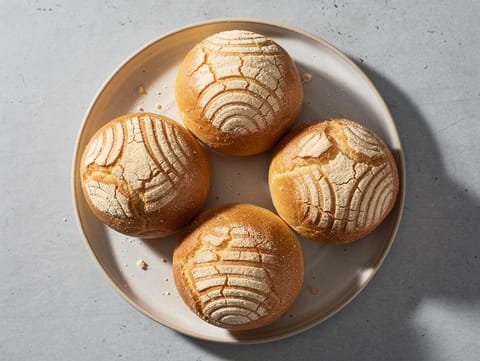
Conchas (Mexican Sweet Bread Rolls)
Soft conchas with a crackly vanilla sugar topping
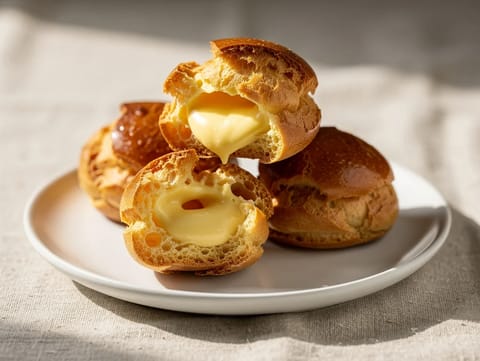
Bignè alla Crema Pasticcera (Italian Choux Buns with Custard)
Crisp choux buns filled with smooth crema pasticcera
You might also like
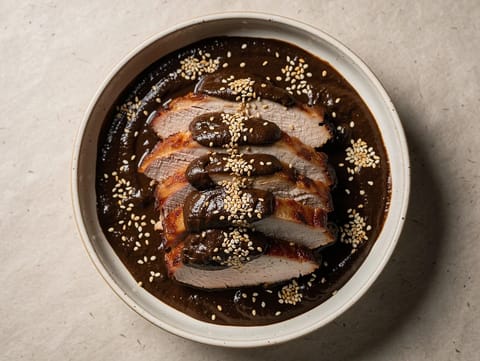
Pavo en Mole para Celebraciones (Turkey with Traditional Mole Sauce)
Roast turkey served with traditional mole sauce and dark chocolate
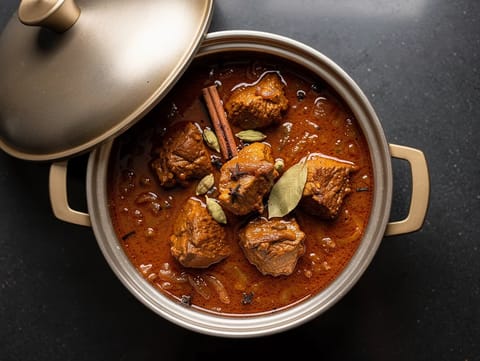
Rogan Josh (Kashmiri Spiced Lamb Curry)
Slow-cooked lamb curry with yoghurt and Kashmiri spices
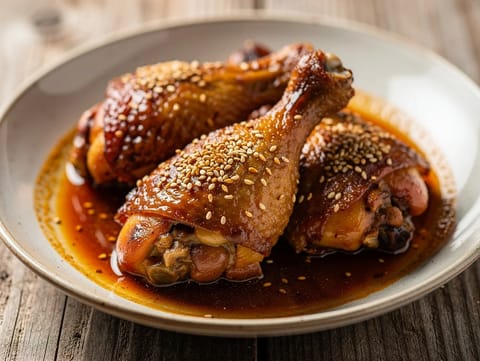
Pollo en Salsa de Tamarindo (Tamarind Chicken)
Chicken thighs in tamarind and chipotle sauce with lime

Vietnamese Iced Tea
Strong black tea sweetened and served over ice
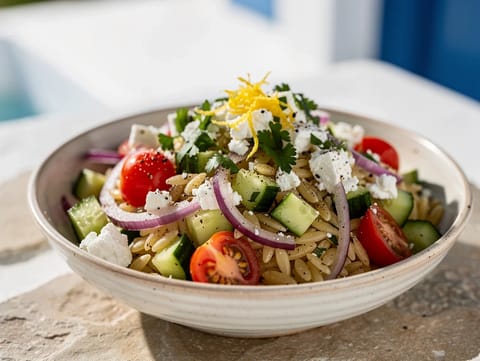
Modern Lemon Orzo Salad
Lemon orzo salad with feta, cucumber, tomatoes and parsley
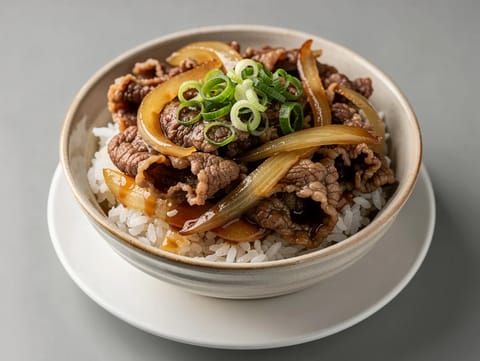
Gyudon (Beef Rice Bowl)
Beef and onion gyudon served over steamed rice
Make this recipe easier next time
AdvertisementThese tools help you get better results with less effort.
KitchenAid Stainless Steel Mixing Bowls
- Non-slip base
- Stainless steel
- Not microwave safe
Pyrex Glass Mixing Bowls with Lids
- Microwave safe
- BPA-free lids
- Glass is heavier
OXO Good Grips Stainless Mixing Bowl Set
- Non-slip base
- Comfort grip
- Higher price
Enjoy cooking with JustRecipes?
Add JustRecipes as one of your preferred Google sources to discover our recipes more easily across Google Search.
Add JustRecipes to GoogleEvery recipe on JustRecipes follows the same structured editorial process. Learn how recipes are created, validated, translated, illustrated, and continuously improved across the platform. How we create recipes.
