
Cantonese Roast Duck
Why this recipe works
- Glossy, crisp skin: Starting the duck in a hot oven helps tighten the skin and begin rendering the fat before the gentler roast finishes the meat.
- Aromatic depth: Five-spice, soy sauce and Shaoxing wine season the duck with a savoury, lightly sweet and fragrant base.
- Balanced richness: Rice vinegar in the glaze and the ginger-spring onion dip cut through the natural fattiness of the duck.
Get the most out of this recipe
Authenticity notes
- Cantonese roast style: The recipe reflects the Cantonese siu mei approach: richly seasoned roast meat with glossy skin, served sliced rather than shredded.
- Adapted for a home oven: Instead of specialist hanging-roast equipment, the duck is cooked on a rack over a tin so heat can circulate and rendered fat can drip away.
Ingredient notes
- Barley malt syrup: Barley malt syrup gives the glaze its sticky, lacquered finish; honey works as a substitute but produces a slightly lighter result.
- Rice vinegar balance: The vinegar keeps the glaze from tasting too sweet and helps sharpen the finish against the richness of the duck.
- Dry skin matters: Patting the duck thoroughly dry before roasting is essential for good colour and a cleaner, crisper finish.
Timing notes
- Mostly roasting time: The active work is limited, but the recipe needs enough time for seasoning, roasting, resting and the final glaze.
- Rest before carving: Resting after roasting and again briefly after glazing helps the juices settle and makes the duck easier to slice cleanly.
- Best served soon after glazing: The skin is at its best while still glossy and slightly tacky from the final high-heat finish.
Common mistakes
- Watch the final glaze: The malt syrup glaze can darken quickly, so keep a close eye on the duck during the final hot roast.
- Control uneven browning: If the breast colours faster than the rest of the duck, loosely cover that area with foil while the thighs finish cooking.
- Do not baste with pan juices: Basting with rendered fat or juices during roasting will soften the skin and work against the crisp finish.
Equipment you'll need
Ingredients
Instructions
- Pat the duck very dry inside and out, then place it on a rack set over a roasting tin. In a bowl, mix the five spice, caster sugar, light soy sauce and Shaoxing wine, then rub it all over the duck, including the cavity. Leave at room temperature for 30 minutes while you heat the oven.
- Heat the oven to 220°C (430°F). Roast the duck for 20 minutes to start rendering the fat and tightening the skin. Reduce the oven to 180°C (355°F).
- Continue roasting for 55 to 65 minutes, turning the tin once for even colouring, until the skin is deep golden and the thickest part of the thigh reads 75°C (170°F). If the skin is browning too quickly, loosely cover the breast area with foil. Lift the duck out to a board and rest for 15 minutes.
- While the duck rests, warm the barley malt syrup in a small saucepan over low heat until fluid, then whisk in the rice vinegar. Brush the glaze all over the duck, then return it to the oven for 8 to 10 minutes at 220°C (430°F) until glossy and slightly tacky. Rest for 5 minutes before carving.
- For the dip, peel the ginger and finely grate it, then finely slice the spring onion. Stir the ginger and spring onion together with the sesame oil and 1 tbsp of the duck roasting juices from the tin. Slice the duck and serve with the ginger and spring onion dip.
Recipe notes
Tips
- For the crispest skin, keep the duck as dry as possible before roasting and avoid basting it with pan juices during the cook.
- If you are serving children, offer the dip on the side and keep the spring onion slices a little thicker for a milder bite.
Substitutions
- Replace rice vinegar with white vinegar for a sharper, more direct acidity in the glaze.
- Replace barley malt syrup with honey for a slightly lighter, floral sweetness and a less sticky finish.
Storage
- Refrigerate up to 3 days
- Cool the duck quickly, then refrigerate in an airtight container. Reheat slices on a baking tray in a 180°C (355°F) oven until piping hot; keep an eye on the skin as it can darken. Freeze carved meat (not the dip) for up to 2 months and defrost overnight in the fridge before reheating.
Ratings & reviews
Liked this recipe? Share your feedback to support our cooking community.
Tried this recipe?
Choose 1–5 stars. A comment is optional.
Stay inspired
Discover new recipes, seasonal favourites and cooking inspiration every day. Follow JustRecipes on Pinterest and Spillt.

Recipe overview
- Servings: 4 servings
- Total time: 2h 30min (35min active)
- Difficulty: Advanced
- Cuisine: Chinese
-
Allergens:
Sesame Soybeans
Plan your meals and get a complete grocery list automatically.
Add to meal plannerEquipment you'll need
Got ingredients left?
Find recipes using ingredients from this recipe or what you already have at home.
Find recipes with these ingredients →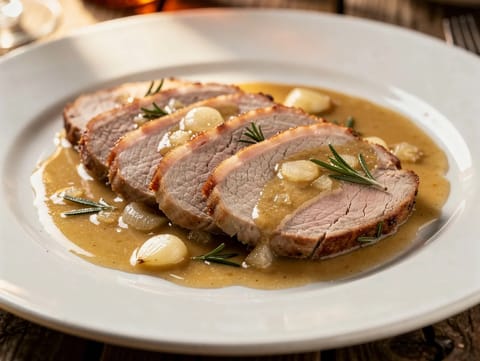
Arrosto di Vitello (Italian Roast Veal with Rosemary and White Wine)
Italian roast veal with rosemary, garlic and white wine
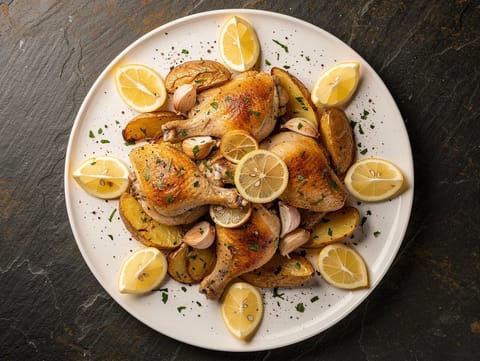
Chicken with Lemon, Garlic and Potatoes
Roasted chicken and potatoes with lemon, garlic and oregano
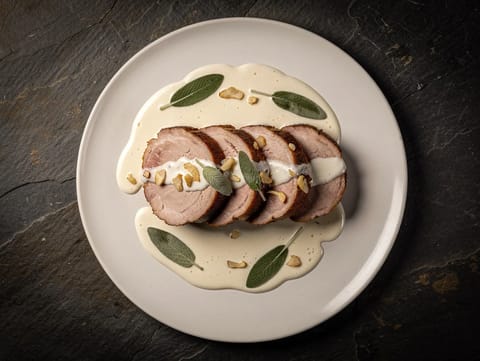
Arista di Maiale al Latte (Pork Loin Cooked in Milk)
Pork loin simmered in milk with garlic and sage
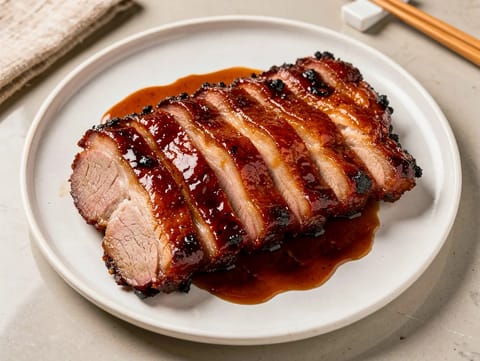
Char Siu (Cantonese Barbecued Pork)
Cantonese barbecued pork with hoisin, honey and soy glaze
Cordero Asado de Navidad (Spanish Christmas Roast Lamb)
Roast leg of lamb with rosemary, garlic and potatoes
Pollo al Mattone (Weighted Pan-Roasted Chicken)
Weighted pan-roasted chicken with rosemary, garlic and lemon
Ayam Rica-Rica (Manado-Style Spicy Chicken)
Manado-style spicy chicken simmered with chilli, tomato and lime
Côte de Bœuf with Béarnaise Sauce
Côte de bœuf served with warm tarragon béarnaise
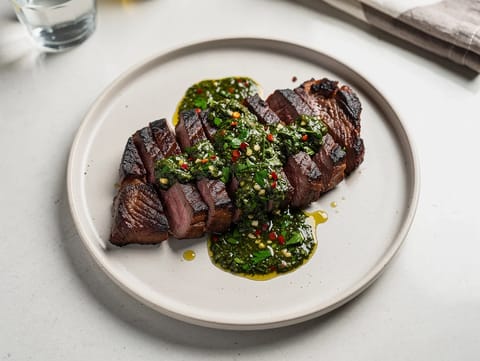
Churrasco with Chimichurri (Grilled Beef Steak)
Grilled beef steak served with herby chimichurri sauce

Erbsensuppe (Split Pea Soup with Smoked Bacon)
German split pea soup with smoked bacon, vegetables and marjoram
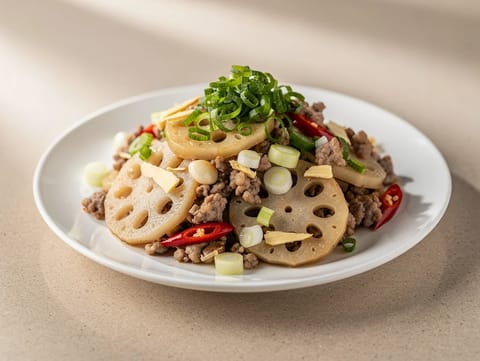
Stir-Fried Lotus Root with Pork and Chilli
Crisp lotus root stir-fry with minced pork and chilli
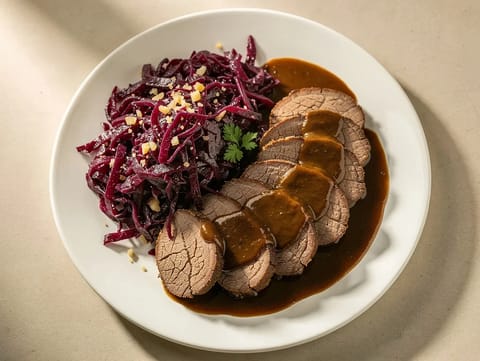
Rheinischer Sauerbraten (German Pot Roast with Red Cabbage)
German pot roast in red wine vinegar with apple red cabbage

Clay Pot Rice (Hong Kong-Style Rice Casserole)
Clay pot jasmine rice with chicken, Chinese sausage and spring onion
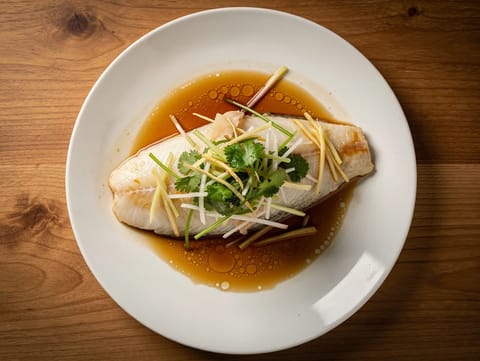
Steamed Fish with Soy and Ginger
Gently steamed fish with soy, ginger and spring onions

Hong Shao Rou (Red-Braised Pork Belly)
Red-braised pork belly simmered until tender and glossy
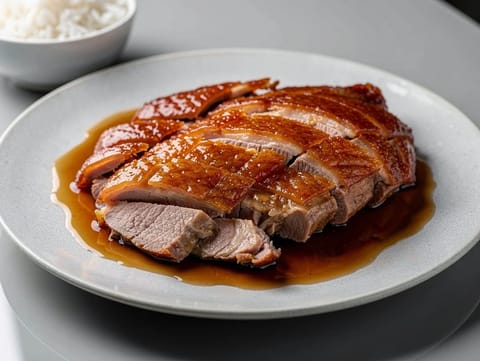
Cantonese Roast Duck (Home-Style Crispy Duck)
Cantonese roast duck with crisp skin
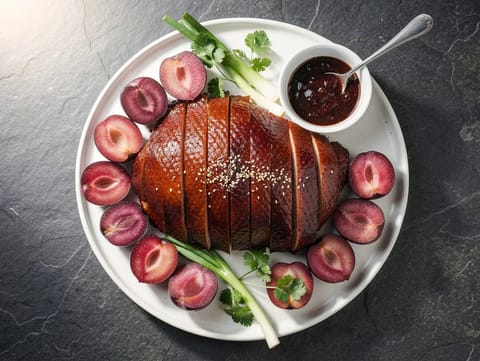
Cantonese Roast Duck with Plum Sauce
Cantonese roast duck with crisp skin and plum sauce

Congee (Rice Porridge with Ginger and Spring Onion)
Creamy jasmine rice congee with ginger and spring onion
You might also like
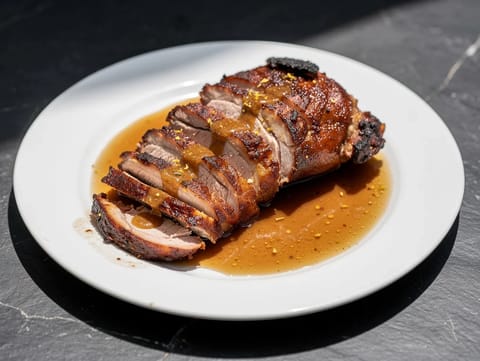
Puerto Rican Pernil (Slow-Roasted Pork Shoulder)
Slow-roasted pork shoulder with garlic, oregano and lime
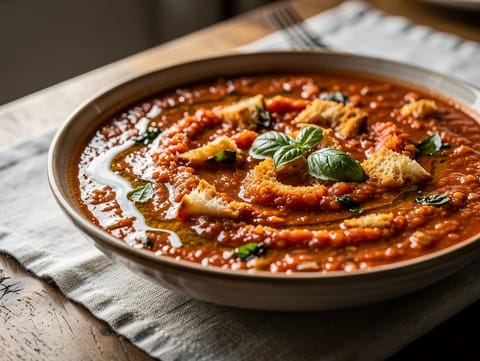
Pappa al Pomodoro (Tuscan Tomato and Bread Soup)
Tuscan tomato and bread soup finished with fresh basil

Pomegranate Mint Spritzer (Moroccan-Style)
Pomegranate spritzer with mint, lime, honey and sparkling water
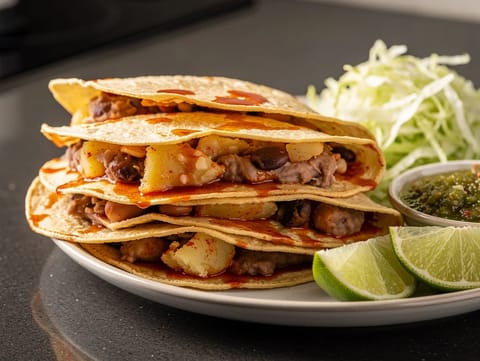
Tacos de Canasta (Basket Tacos with Beans and Potato)
Basket tacos with beans, potato and chilli oil
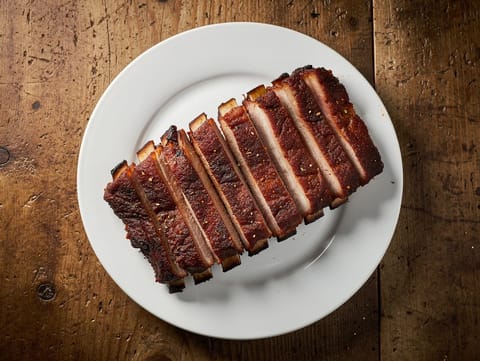
Memphis Dry-Rub Spare Ribs
Slow-roasted spare ribs with a paprika and brown sugar crust
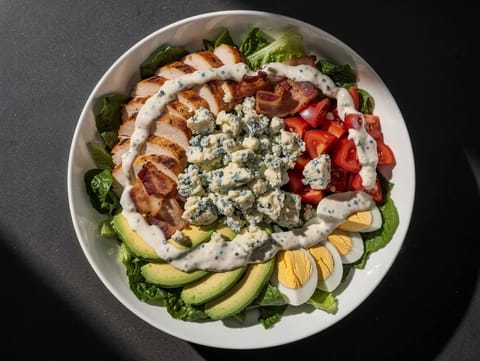
Cobb Salad with Blue Cheese Dressing
Cobb salad with chicken, bacon, avocado and blue cheese dressing
Make this recipe easier next time
AdvertisementThese tools help you get better results with less effort.
KitchenAid Stainless Steel Mixing Bowls
- Non-slip base
- Stainless steel
- Not microwave safe
T-fal Specialty Nonstick Handy Pot with Glass Lid 3 Quart
- Easy food release
- Dishwasher safe
- Not induction compatible
OXO Good Grips Stainless Mixing Bowl Set
- Non-slip base
- Comfort grip
- Higher price
WMF Mini Saucepan 16 cm with Lid
- High-quality stainless steel
- Even heat distribution
- Higher price point
Enjoy cooking with JustRecipes?
Add JustRecipes as one of your preferred Google sources to discover our recipes more easily across Google Search.
Add JustRecipes to GoogleEvery recipe on JustRecipes follows the same structured editorial process. Learn how recipes are created, validated, translated, illustrated, and continuously improved across the platform. How we create recipes.
