
Timballo di Pasta (Rigatoni Pasta Bake in Shortcrust Pastry)
Why this recipe works
- Deep savoury filling: A soffritto base, mixed beef and pork, red wine and tomato passata create a rich ragù that coats the pasta rather than overwhelming it.
- Sliceable contrast: Shortcrust pastry gives structure and crispness, while rigatoni, peas and melted cheese keep the inside hearty and satisfying.
- Built for clean slices: Cooking the pasta just shy of al dente, packing the tin firmly and resting after baking help the timballo hold its shape when cut.
Get the most out of this recipe
Timing notes
- Allow enough time: Most of the time goes into simmering the ragù, baking the pastry case and resting the finished timballo, so it suits a planned meal rather than a quick dinner.
- Rest before slicing: The rest in the tin is essential: it lets the cheese and sauce settle so the pasta can be sliced like a pie.
Texture tips
- Keep the ragù thick: The sauce should cling to the rigatoni. If it looks loose, simmer a little longer before mixing it with the pasta.
- Undercook the pasta slightly: Draining the rigatoni before it reaches full tenderness helps it stay firm after baking inside the pastry.
- Drain mozzarella well: If using fresh mozzarella, remove excess moisture before adding it so the filling stays rich rather than watery.
Common mistakes
- Using a loose sauce: A watery ragù can soften the pastry and make the timballo collapse when sliced.
- Slicing too soon: Cutting straight from the oven makes the filling more likely to spill; resting gives the structure time to firm up.
- Leaving air pockets: Pack the pasta firmly into the lined tin so the finished bake holds together instead of crumbling.
Make-ahead tips
- Make the ragù ahead: The ragù can be cooked in advance and chilled, then mixed with the pasta and cheese before assembling.
- Freeze in slices: Once fully cooled, individual slices freeze well and are easier to reheat than a whole timballo.
- Reheat gently: Warm slices in a 180°C (355°F) oven until piping hot, covering loosely with foil if the pastry is browning too quickly.
Equipment you'll need
Ingredients
Ragù
Pasta and assembly
Instructions
- Heat the olive oil in a large frying pan over a medium heat. Finely chop the onion, celery and carrot, then cook with a pinch of salt for 10 to 12 minutes until softened and sweet. Crush in the garlic and cook for 1 minute more.
- Add the minced beef and minced pork and cook over a medium-high heat, breaking it up, until no longer pink and starting to brown. Pour in the red wine and simmer for 3 to 4 minutes until reduced. Stir in the passata, then reduce the heat to low and simmer gently for 45 minutes, stirring now and then, until thick and rich.
- Meanwhile, bring a large pot of well-salted water to the boil. Cook the rigatoni until just shy of al dente, about 2 minutes less than the packet suggests, then drain well. Tip into a mixing bowl.
- Stir the peas into the hot ragù for 2 to 3 minutes until just heated through. Add the ragù to the rigatoni and mix thoroughly. Cut the mozzarella into small pieces and stir most of it through, reserving a handful for the top; stir in half the parmesan and reserve the rest for finishing.
- Heat the oven to 190°C (375°F). Roll out the shortcrust pastry and line a deep 20 cm cake tin, leaving an overhang. Pack in the pasta mixture, pressing down firmly to remove air pockets, then fold the overhang over the top to mostly cover the filling.
- Bake for 40 to 45 minutes until the pastry is deep golden and the timballo feels set when gently pressed. Scatter over the reserved mozzarella and parmesan for the last 10 minutes so it melts and browns lightly. If the pastry colours too quickly, loosely cover the top with foil.
- Rest the timballo in the tin for 15 minutes so it firms up for clean slices. Turn out onto a board, slice like a pie, and serve hot. Any ragù that escapes is a bonus, spoon it over the slices.
Recipe notes
Tips
- For neat slices, make sure the ragù is thick before mixing with the pasta; it should coat the rigatoni rather than pool in the bowl.
- Pack the pasta firmly into the pastry-lined tin to avoid gaps that can cause the timballo to crumble when sliced.
- If serving vulnerable groups, ensure the timballo is baked until piping hot throughout and the centre is fully heated.
Substitutions
- Replace rigatoni with penne for a similar shape that holds the ragù well.
- Replace Dry Red Wine with white wine for a lighter ragù, keeping the same quantity.
- Replace mozzarella with fresh mozzarella for a softer, creamier melt; drain it well first to avoid a watery filling.
Storage
- Refrigerate up to 3 days
- Cool completely, then refrigerate in a sealed container. Reheat slices in a 180°C (355°F) oven for 15 to 20 minutes until piping hot; cover loosely with foil if the pastry is browning too much. Freeze well-wrapped slices for up to 2 months and defrost overnight in the fridge before reheating.
Ratings & reviews
Liked this recipe? Share your feedback to support our cooking community.
Tried this recipe?
Choose 1–5 stars. A comment is optional.
Stay inspired
Discover new recipes, seasonal favourites and cooking inspiration every day. Follow JustRecipes on Pinterest and Spillt.
Recipe overview
- Servings: 4 servings
- Total time: 2h 55min (1h active)
- Difficulty: Advanced
- Cuisine: Italian
-
Allergens:
Gluten Milk Wheat
Plan your meals and get a complete grocery list automatically.
Add to meal plannerEquipment you'll need
Got ingredients left?
Find recipes using ingredients from this recipe or what you already have at home.
Find recipes with these ingredients →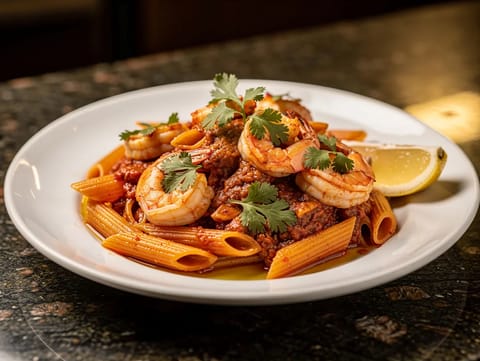
Masala Arrabbiata Prawn Pasta
Prawn penne in masala-spiced arrabbiata tomato sauce
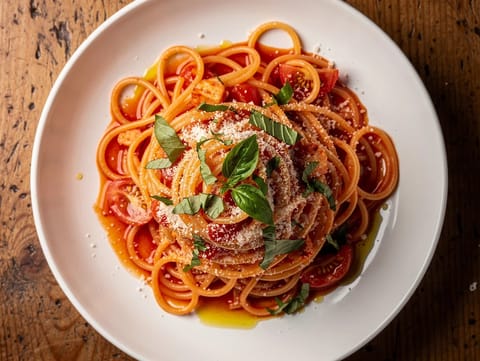
Pasta al Pomodoro Fresco (Spaghetti with Fresh Tomato and Basil)
Spaghetti with fresh tomatoes, garlic, basil and parmesan
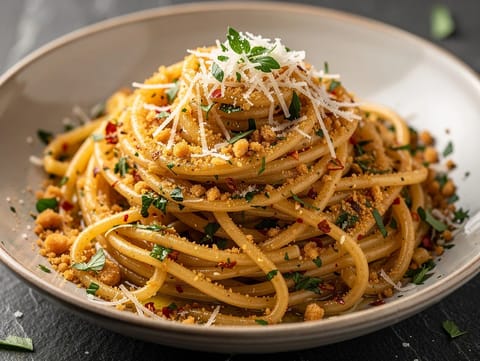
Pasta alla Carrettiera Siciliana (Garlic and Chilli Pasta)
Sicilian spaghetti with garlic, chilli and toasted breadcrumbs
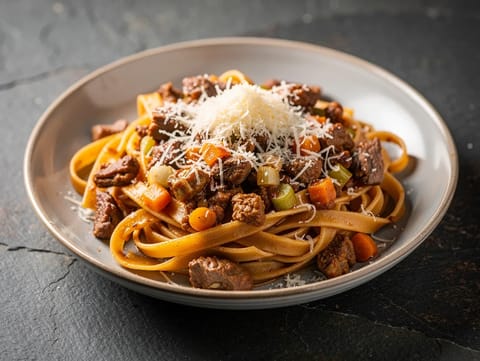
Tagliatelle al Ragù di Cinghiale (Tagliatelle with Wild Boar Ragù)
Tagliatelle with slow-simmered wild boar ragù
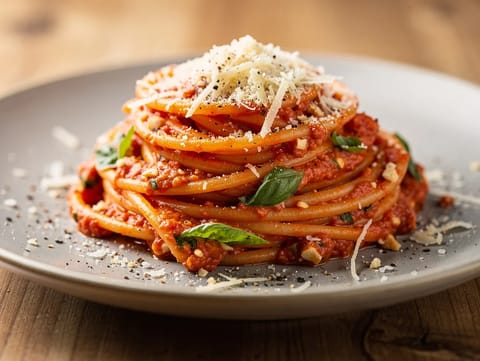
Pasta alla Trapanese (Sicilian Tomato and Almond Pesto Pasta)
Sicilian pasta with tomato, almond and basil pesto
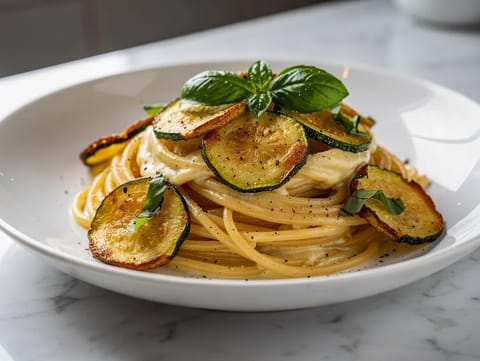
Spaghetti alla Nerano (Courgette Pasta with Provolone and Basil)
Spaghetti with fried courgettes, provolone, Parmesan and basil
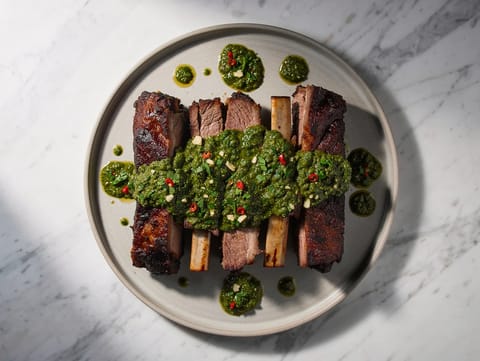
Oven-Roasted Beef Short Ribs with Chimichurri (Asado)
Slow-roasted beef short ribs served with chimichurri
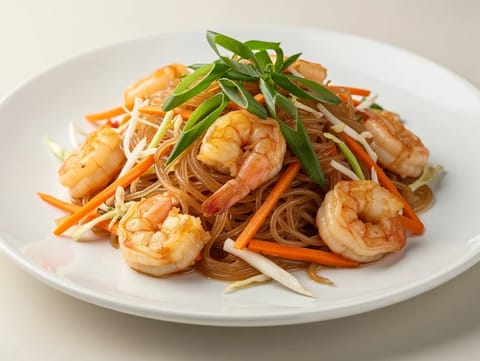
Pad Woon Sen (Thai Glass Noodle Stir-Fry with Prawns)
Thai glass noodle stir-fry with prawns, egg and vegetables
Brochettes (Moroccan Lamb Skewers with Cumin)
Grilled lamb skewers marinated with cumin, garlic and paprika
Beef Chow Fun (Stir-Fried Rice Noodles)
Cantonese stir-fried rice noodles with beef and beansprouts
Crispy Roast Pork Belly (Cantonese Siu Yuk)
Roast pork belly with tender meat and crisp, puffed crackling
Pasta con Salsiccia (Pasta with Italian Sausage)
Rigatoni with Italian sausage in tomato and white wine sauce
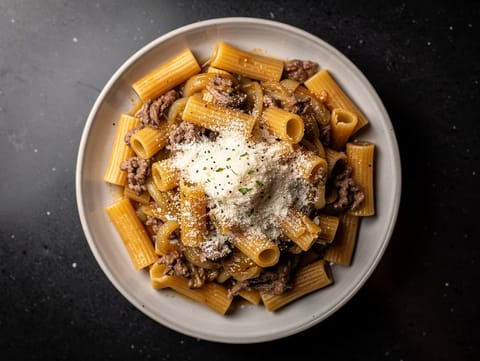
Pasta alla Genovese Campana (Slow-Cooked Onion and Beef Pasta)
Rigatoni with slow-cooked onions, beef and Parmesan
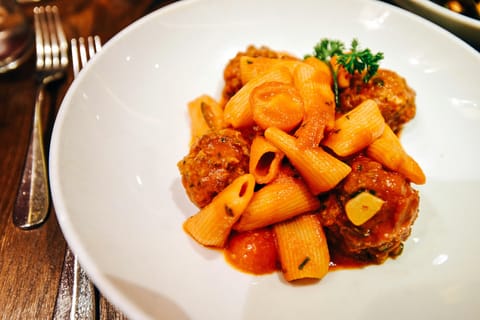
Pasta con le Polpette Napoletane (Pasta with Neapolitan Meatballs)
Rigatoni with Neapolitan meatballs simmered in tomato sauce
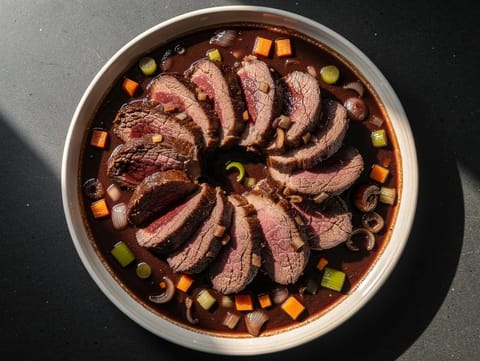
Brasato al Barolo (Beef Braised in Red Wine with Vegetables)
Beef braised in Barolo with vegetables and reduced wine sauce
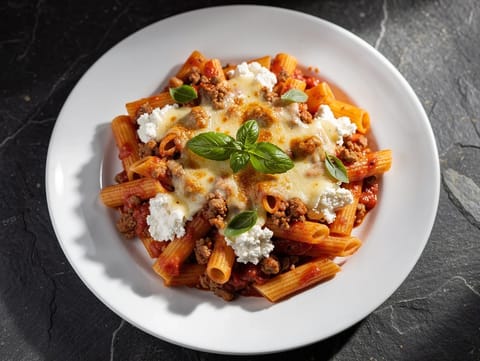
American-Style Baked Ziti with Minced Beef
Baked ziti with minced beef, ricotta and mozzarella
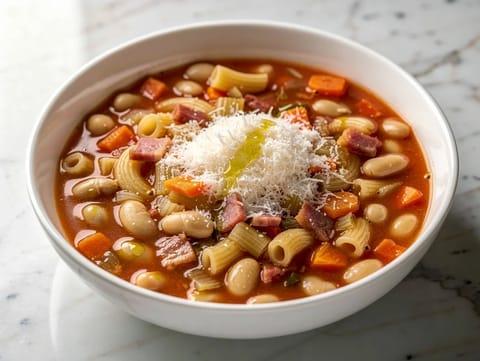
Pasta e Fagioli Tradizionale (Italian Pasta and Bean Soup)
Thick pasta and bean soup finished with olive oil and Parmesan
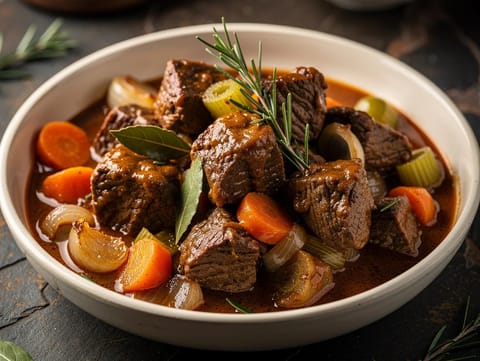
Spezzatino di Manzo (Italian Beef Stew)
Italian beef stew simmered with tomato, red wine and herbs
You might also like
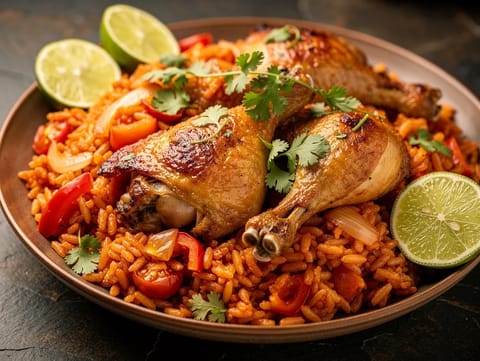
Arroz con Pollo (Cuban-Style Rice and Chicken)
One-pot Cuban-style chicken and rice with peppers and tomatoes
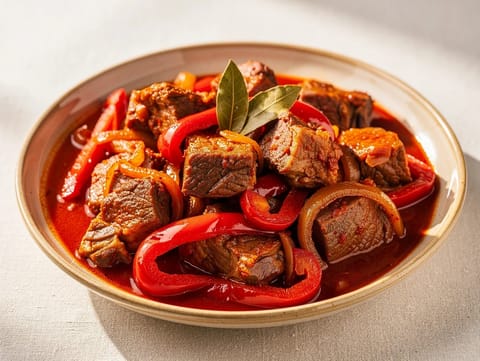
Cordero Chilindrón (Spanish Lamb with Peppers and Tomatoes)
Spanish lamb stew with tomatoes, red peppers and sweet paprika

Air Fryer New York Cheesecake
Rich New York-style cheesecake baked in an air fryer.

Strawberry Shortcake
Tender shortcakes with macerated strawberries and whipped cream
Butterscotch Pudding (Stovetop Custard)
Smooth stovetop butterscotch pudding with vanilla

Vichyssoise (Cold Leek and Potato Soup)
Chilled leek and potato soup blended with double cream
Make this recipe easier next time
AdvertisementThese tools help you get better results with less effort.
Misen Carbon Steel Nonstick Frying Pan 12 Inch
- Works on all stovetops
- Naturally nonstick when seasoned
- Requires seasoning and maintenance
Pyrex Glass Mixing Bowls with Lids
- Microwave safe
- BPA-free lids
- Glass is heavier
All-Clad HA1 Hard Anodized Nonstick Fry Pan 12 Inch
- Top-tier build quality
- Excellent heat distribution
- Expensive
KitchenAid Stainless Steel Mixing Bowls
- Non-slip base
- Stainless steel
- Not microwave safe
Enjoy cooking with JustRecipes?
Add JustRecipes as one of your preferred Google sources to discover our recipes more easily across Google Search.
Add JustRecipes to GoogleEvery recipe on JustRecipes follows the same structured editorial process. Learn how recipes are created, validated, translated, illustrated, and continuously improved across the platform. How we create recipes.
