
Cranberry-Orange Filled Twist Loaf
Why this recipe works
- Tart fruit balances the enriched dough: Cranberries retain a distinct sharpness after cooking. The sweet, buttery bread softens that acidity without making the filling bland.
- A reduced filling stays in its ribbon: Cooking off excess juice makes the fruit spreadable rather than runny. It holds between the dough layers as the loaf rises and bakes.
- Splitting exposes the filling: Cutting the rolled dough lengthways reveals the fruit layers. Twisting with those cut faces upwards creates the visible pattern without decoration.
Get the most out of this recipe
Ingredient notes
- Use bread flour: Its stronger dough supports the fruit filling during shaping and rising. Plain flour can give a softer dough that is harder to twist neatly.
- Cool the fruit completely: Warm filling softens the butter in the dough and makes shaping slippery. Spread it in a shallow dish so it cools during the first rise.
- Frozen berries are suitable: They can go straight into the saucepan. Reduce to the same thick spread rather than stopping at a fixed time.
Timing notes
- Watch the dough rather than the clock: The first rise should double the dough. After shaping, look for a puffy loaf and a slowly returning fingertip impression in the exposed dough.
- Use the first rise for the filling: Cooking and cooling the cranberries fits inside the first rise. Prepare the tin then too, keeping the shaping stage unhurried.
- Give the crumb time to settle: The filling stays hot after the crust has cooled. Cutting too soon compresses the bread and smears the fruit across the slice.
Common mistakes
- Reduce the fruit until thick: A loose sauce leaks from the split dough. Continue simmering until a spoon leaves a clear trail and the mixture sits in a soft mound.
- Protect the exposed ribbons: The sugar and fruit on top colour before the centre finishes baking. Use the loose foil cover while the bread reaches its final doneness.
Make-ahead tips
- Cook the filling in advance: Refrigerate the cooled filling in a covered container within 2 hours and use within 2 days. Let it soften just enough to spread before shaping.
- Freeze individual slices: Wrap cooled slices separately so only the required portions need thawing. Warm gently or toast on a moderate setting to revive the crumb.
Equipment you'll need
Ingredients
Instructions
- Reserve 10 g flour for shaping, 100 g sugar for the filling and 5 g butter for the tin. Mix the remaining 350 g flour and 50 g sugar with the yeast and salt in a large bowl, then warm the milk gently to about 35°C (95°F). Beat the egg and stir it into the flour mixture with the milk to form a rough dough.
- Knead on a clean work surface for 5 minutes, then work in the remaining 60 g butter in three additions. Continue kneading for 8–10 minutes until smooth, elastic and slightly tacky, scraping the surface as needed without adding more flour.
- Put the dough back in the bowl, cover and leave in a comfortably warm place for about 90 minutes until doubled in volume. Prepare and cool the fruit filling during this first rise.
- Finely grate the orange zest and squeeze its juice into a 1.5 litre saucepan with the cranberries and reserved 100 g sugar. Bring to a gentle simmer and cook for 15–20 minutes, stirring and crushing the berries, until reduced to a thick spread that leaves a clear trail when stirred, yielding about 280 g. Transfer to a shallow heatproof dish and leave until completely cool before shaping, allowing about 40 minutes within the dough rising time.
- Grease a 25 × 12 × 8 cm loaf tin with the reserved 5 g butter and line its base and long sides with baking paper. Using the reserved flour sparingly on the work surface and rolling pin, roll the risen dough into a 35 × 25 cm rectangle and spread the cold filling over it, leaving a 2 cm border. Roll up from a long edge into a log, pinch the seam closed, cut lengthways into two strands and twist them together twice with the cut faces upwards, then tuck the ends gently into the tin.
- Cover the tin loosely and leave for about 75 minutes until the dough looks puffy and has risen roughly halfway again from its shaped size. A light fingertip impression in an exposed piece of dough should spring back slowly rather than disappearing immediately. Heat the oven to 180°C (355°F) during the final 20 minutes of this rise.
- Bake on the lower-middle shelf for 40–45 minutes until deeply golden and a probe inserted into the bread beside a filling ribbon reaches about 94°C (200°F). Cover loosely with foil after 25 minutes if the exposed fruit and dough are browning too quickly.
- Leave in the tin for 15 minutes, then lift out using the paper and cool on a wire rack for at least 45 minutes more. Cut into 12 slices with a serrated knife only once the centre has cooled, so the filling and crumb stay distinct.
Recipe notes
Tips
- The total time allows 90 minutes for the first rise and 75 minutes for the second, with filling preparation and cooling done during the first rise. A cool kitchen may need longer, so use the dough cues as well as the clock.
- Do not taste raw dough, which contains uncooked egg and flour. Wash hands, the work surface and utensils after shaping, then use a clean knife and board for the baked loaf.
- Set the loaf on a board at least 30 cm long for slicing. A gentle sawing motion preserves the fruit ribbons and soft crumb better than pressing down with a plain knife.
Substitutions
- Replace the fresh cranberries with the same weight of frozen cranberries, cooking them straight from frozen and reducing the filling to the same thick consistency.
- Replace the whole milk with the same volume of unsweetened soy milk, noting the additional soy allergen.
Storage
- Refrigerate up to 3 days
- Once completely cool, wrap the loaf well and refrigerate at 4°C (40°F) or below for up to 3 days. Freeze wrapped slices with baking paper between them for up to 2 months and thaw in the refrigerator. Let a slice lose its chill before serving, or warm gently in a low oven. Stale slices also make good toast, but use moderate heat because the exposed fruit and sugar brown quickly.
Ratings & reviews
Liked this recipe? Share your feedback to support our cooking community.
Tried this recipe?
Choose 1–5 stars. A comment is optional.
Stay inspired
Discover new recipes, seasonal favourites and cooking inspiration every day. Follow JustRecipes on Pinterest and Spillt.

Recipe overview
- Servings: 12 pieces
- Yield: loaf slices
- Total time: 5h 15min (55min active)
- Difficulty: Medium
- Cuisine: Fusion
-
Allergens:
Eggs Gluten Milk Wheat
Plan your meals and get a complete grocery list automatically.
Add to meal plannerEquipment you'll need
Got ingredients left?
Find recipes using ingredients from this recipe or what you already have at home.
Find recipes with these ingredients →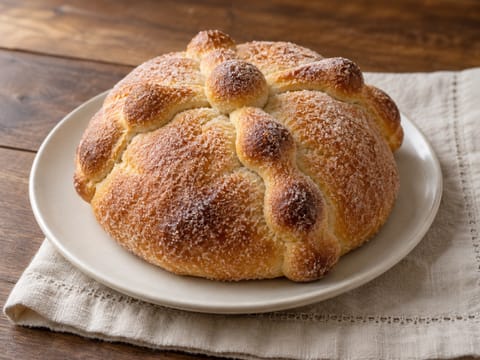
Pan de Muerto (Orange-Scented Sweet Bread)
Soft orange-scented sweet bread brushed with butter and coated in sugar
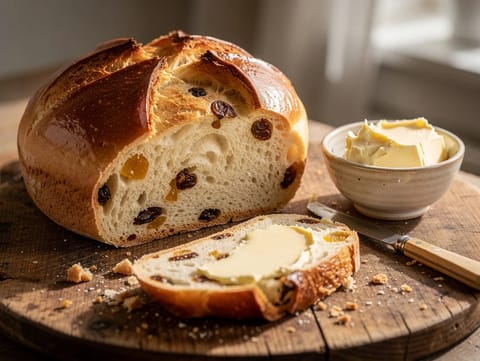
Osterbrot (German Easter Bread with Raisins and Candied Peel)
Lightly sweet German Easter bread with raisins and candied peel

Saucisson Brioché (Sausage Baked in Brioche Dough)
Pork sausage baked inside soft brioche
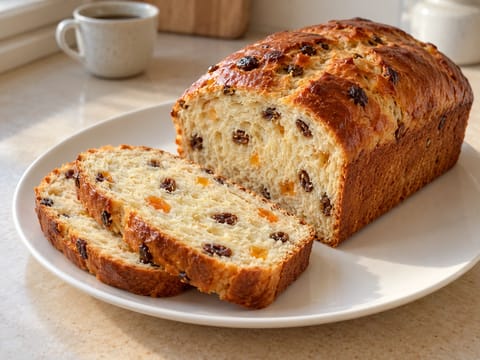
Julekake (Norwegian Christmas Bread with Raisins and Mixed Peel)
Soft Norwegian Christmas bread with raisins and mixed peel

Pan de Jamón (Venezuelan Ham Bread with Olives and Raisins)
Venezuelan ham bread rolled with olives and raisins
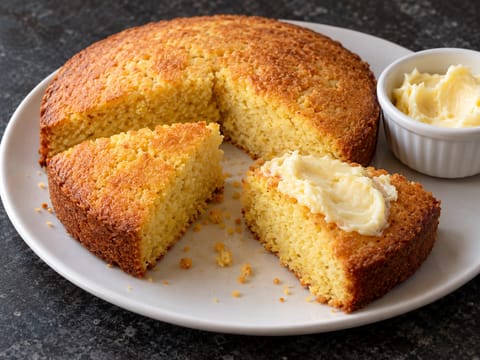
Cornbread with Honey Butter
Golden cornbread served warm with whipped honey butter
Moroccan Date Cookies (Buttery Biscuits with Spiced Date Filling)
Buttery cookies filled with spiced date paste and dusted with icing sugar

Easter Rosca (Ring-Shaped Sweet Bread with Orange and Vanilla)
Ring-shaped sweet bread with orange zest, icing and almonds

Thong Yod (Golden Drops in Sugar Syrup)
Egg yolk drops cooked and soaked in sugar syrup
Appeltaart (Dutch Apple Pie with Cinnamon Apples)
Dutch apple pie with cinnamon apples and buttery pastry
Pan de Jamón (Venezuelan Ham Bread with Olives and Raisins)
Venezuelan ham bread rolled with olives and raisins

Yule Log (British Style)
Chocolate Swiss roll filled and coated with chocolate buttercream
Cougnou (Belgian Christmas Sweet Bread)
Belgian Christmas sweet bread topped with pearl sugar
Pandoro (Italian Golden Christmas Cake)
Buttery Italian Christmas cake dusted with icing sugar
Julekake (Norwegian Christmas Bread with Raisins and Mixed Peel)
Soft Norwegian Christmas bread with raisins and mixed peel

Lussekatter (Swedish Saffron Buns with Cardamom and Raisins)
Swedish saffron buns shaped into curls with raisins
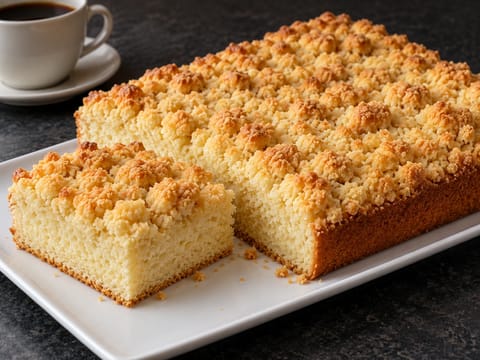
Streuselkuchen (German Yeasted Crumb Cake)
German yeasted crumb cake with a thick buttery streusel topping
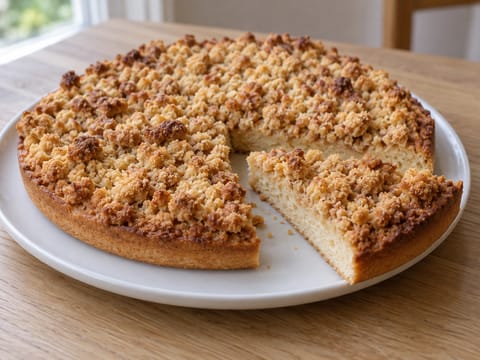
Kruimelvlaai (Dutch Crumb Tart)
Dutch crumb tart with a yeasted base and cinnamon topping
You might also like
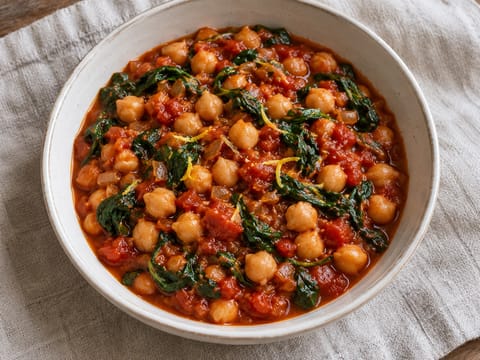
Spanish Chickpea and Tomato Bowl with Spinach
Chickpeas with tomatoes, spinach and smoked paprika
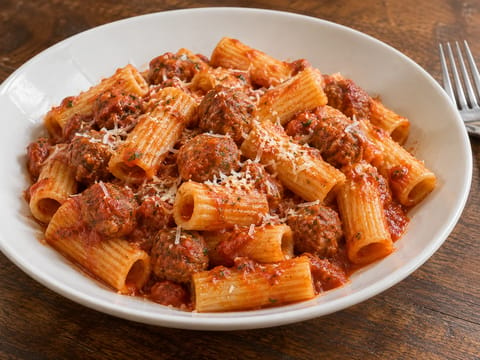
Pasta con le Polpette Napoletane (Pasta with Neapolitan Meatballs)
Rigatoni with Neapolitan meatballs simmered in tomato sauce
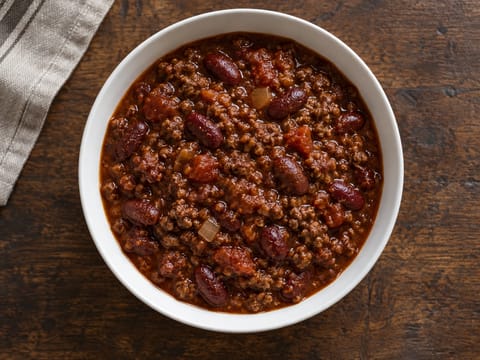
Beef and Kidney Bean Chilli
Thick beef and kidney bean chilli with tomatoes and spices

Poule au Pot (Simmered Chicken with Vegetables and Broth)
Simmered chicken with carrots, leeks, celery and clear broth
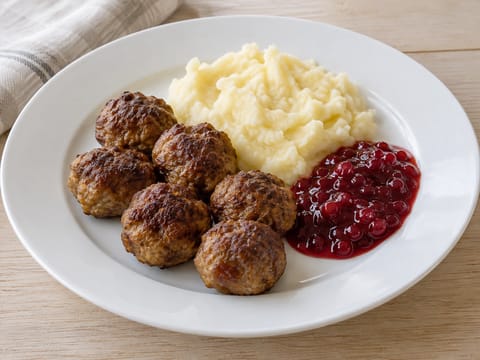
Meatballs with Lingonberry Sauce and Mashed Potatoes
Pan-fried meatballs with lingonberry sauce and mashed potatoes
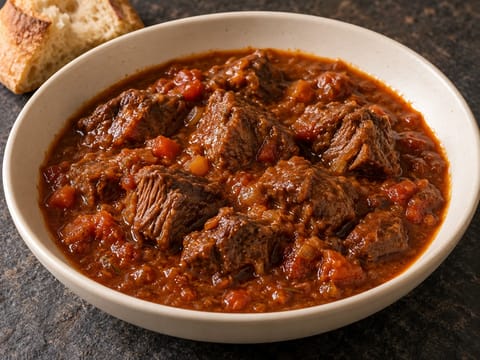
Spezzatino di Manzo (Italian Beef Stew)
Italian beef stew simmered with tomato, red wine and herbs
Make this recipe easier next time
AdvertisementThese tools help you get better results with less effort.
KitchenAid Stainless Steel Mixing Bowls
- Non-slip base
- Stainless steel
- Not microwave safe
T-fal Specialty Nonstick Handy Pot with Glass Lid 3 Quart
- Easy food release
- Dishwasher safe
- Not induction compatible
OXO Good Grips Stainless Mixing Bowl Set
- Non-slip base
- Comfort grip
- Higher price
WMF Mini Saucepan 16 cm with Lid
- High-quality stainless steel
- Even heat distribution
- Higher price point
Enjoy cooking with JustRecipes?
Add JustRecipes as one of your preferred Google sources to discover our recipes more easily across Google Search.
Add JustRecipes to GoogleEvery recipe on JustRecipes follows the same structured editorial process. Learn how recipes are created, validated, translated, illustrated, and continuously improved across the platform. How we create recipes.