
Rijstvlaai (Dutch Rice Tart)
Why this recipe works
- Creamy, sliceable filling: Slowly simmered rice pudding thickens before baking, then sets with egg so the tart holds its shape without losing its soft centre.
- Yeasted vlaai base: A lightly enriched yeasted dough gives the tart a tender, bread-like shell rather than a short, crumbly pastry crust.
- Good for preparing ahead: The tart needs to cool fully before slicing, making it well suited to baking in advance and serving at room temperature.
Get the most out of this recipe
Timing notes
- Allow the dough to rise properly: The base should look puffy and spring back slowly before shaping; rushing this stage can make the crust dense.
- Cool before adding the eggs: Let the rice pudding cool until warm rather than hot before whisking in the eggs to keep the filling smooth.
- Serve at room temperature: Rijstvlaai slices most neatly once completely cooled and has the best texture when not fridge-cold.
Texture tips
- Keep the rice pudding smooth: Stir the rice regularly as it simmers so the milk thickens evenly and the mixture does not catch on the base of the pan.
- Avoid a grainy filling: Whisk the beaten eggs into the warm rice pudding gradually and evenly; excessive heat can scramble the eggs.
- Bake until just set: The centre should have only a slight wobble when it comes out of the oven; it will continue to firm as the tart cools.
Make-ahead tips
- Bake ahead: Because the tart needs to cool fully, it can be baked earlier in the day or the day before serving.
- Warm gently if preferred: Serve at room temperature, or warm slices briefly in a 160°C (320°F) oven without overheating the filling.
- Freeze in portions: Freeze well-wrapped slices and defrost overnight in the fridge before bringing them back towards room temperature.
Ingredient notes
- Use rich milk for the filling: Whole milk gives the rice pudding its rounded dairy flavour and creamy texture; lactose-free milk can be used for a similar result.
- Choose short-grain rice: Arborio rice releases starch as it cooks, helping the filling become thick, creamy and cohesive.
- Vanilla matters here: With a simple milk-and-rice filling, vanilla is a key flavour; vanilla bean paste can give a more pronounced aroma.
Equipment you'll need
Ingredients
Yeasted base
Rice filling
Instructions
- Warm 120 ml of the milk until just lukewarm. In a mixing bowl, combine the flour, 40 g of the sugar, 1 tsp of the salt and the yeast, then add the warm milk, 75 g butter and 1 egg. Mix and knead for 8 to 10 minutes until smooth and elastic.
- Cover the bowl and leave the dough to rise in a warm place until doubled in size. It should look puffy and spring back slowly when pressed.
- Meanwhile, make the filling: bring 800 ml milk to a gentle simmer in a saucepan. Stir in the rice, 90 g sugar and a pinch of salt, then cook on low, stirring often, for 25 to 30 minutes until the rice is tender and the mixture is thick and creamy. Take off the heat and stir in the vanilla and 25 g butter.
- Leave the rice mixture to cool for 10 minutes so it is warm rather than hot. Beat the 2 eggs in a bowl, then whisk them into the warm rice pudding until fully combined. Set aside while you shape the base.
- Grease a 24 cm cake tin with a little butter. Roll the dough out on a lightly floured surface into a round large enough to line the tin with a slight overhang, then press it into the base and up the sides. Cover and leave to rise for 20 minutes while you heat the oven to 180°C (355°F).
- Stir the filling once more, then spoon it into the dough-lined tin and smooth the top. Bake for 35 to 40 minutes until the edges are deep golden and the centre is set with only a slight wobble. Cool in the tin for 20 minutes, then turn out and cool completely on a rack before slicing.
Recipe notes
Tips
- Keep the milk at a gentle simmer for the rice pudding and stir regularly so it does not catch on the base of the pan.
- Whisk the eggs into the rice mixture only once it has cooled slightly; if it is too hot, the eggs can scramble and make the filling grainy.
- For food safety, if serving to pregnant people, young children, older adults, or anyone immunocompromised, use eggs that are produced to be eaten lightly cooked and ensure the tart is baked until the centre is properly set.
Substitutions
- Replace Vanilla extract with vanilla bean paste for a more pronounced vanilla flavour.
- Replace Whole milk with lactose-free milk for a lactose-free version with a similar richness.
Storage
- Refrigerate up to 3 days
- Store covered in the fridge. Serve at room temperature, or warm slices briefly in a 160°C (320°F) oven for 8 to 10 minutes. Freeze slices well wrapped for up to 2 months and defrost overnight in the fridge.
Ratings & reviews
Liked this recipe? Share your feedback to support our cooking community.
Tried this recipe?
Choose 1–5 stars. A comment is optional.
Stay inspired
Discover new recipes, seasonal favourites and cooking inspiration every day. Follow JustRecipes on Pinterest and Spillt.
Recipe overview
- Servings: 8 servings
- Yield: rice tart (24 cm)
- Total time: 3h (50min active)
- Difficulty: Medium
- Cuisine: Dutch
-
Allergens:
Eggs Gluten Milk Wheat
Plan your meals and get a complete grocery list automatically.
Add to meal plannerEquipment you'll need
Got ingredients left?
Find recipes using ingredients from this recipe or what you already have at home.
Find recipes with these ingredients →
Tarte à l’Oignon Alsacienne (Alsatian Onion Tart with Bacon)
Alsatian onion tart with bacon and crème fraîche custard
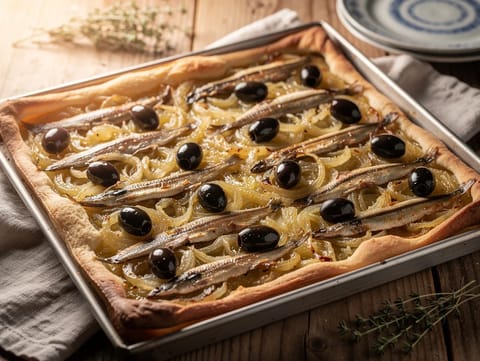
Pissaladière (Niçoise Onion Tart with Anchovies and Olives)
Niçoise onion tart topped with anchovies and black olives
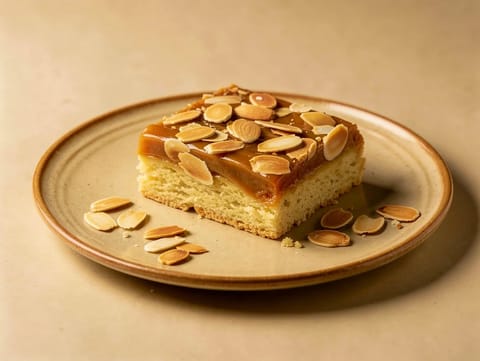
Mazurek (Polish Easter Shortcrust Tart)
Polish shortcrust tart topped with caramel and toasted almonds

Tarta de Tamarindo (Tamarind Tart with Lime)
Sweet pastry tart with tangy tamarind and lime filling

Tarte Tatin aux Oignons (Savoury Onion Tarte Tatin)
Upside-down puff pastry tart topped with caramelised onions
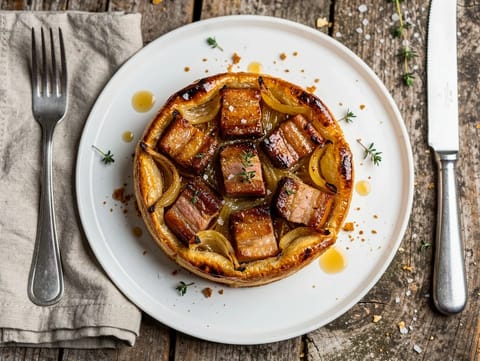
Savoury Tarte Tatin with Pork Belly and Caramelised Onions
Savoury tarte Tatin with pork belly and caramelised onions

Crostate di Frutta Fresca (Italian Fresh Fruit Tartlets)
Shortcrust tartlets with vanilla pastry cream and fresh fruit

Krapfen (Italian-Style Jam Doughnuts)
Yeast doughnuts filled with apricot jam and sugar

Picarones (Fried Squash and Sweet Potato Doughnuts)
Fried squash and sweet potato ring doughnuts with cinnamon orange syrup

Pepperkaker (Nordic Gingerbread Biscuits with Golden Syrup)
Thin Nordic gingerbread biscuits with warm spices

Thong Yod (Golden Drops in Sugar Syrup)
Egg yolk drops cooked and soaked in sugar syrup

Tarte au Riz (Belgian Rice Pudding Tart)
Belgian rice pudding tart in a shortcrust case
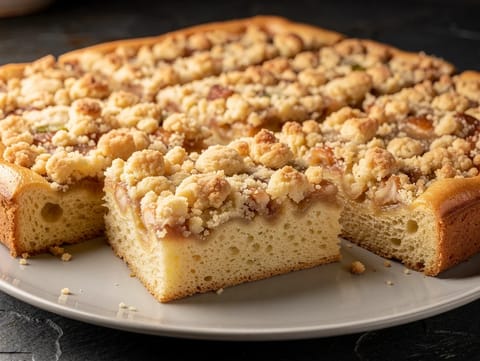
Streuselkuchen (German Yeasted Crumb Cake)
German yeasted crumb cake with a thick buttery streusel topping
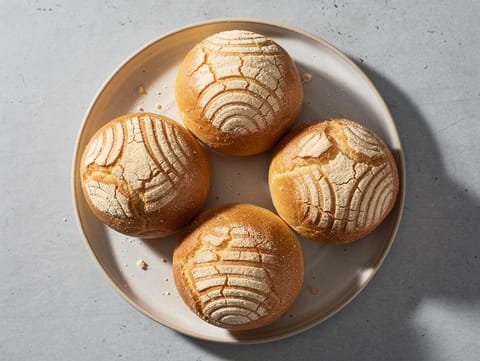
Conchas (Mexican Sweet Bread Rolls)
Soft conchas with a crackly vanilla sugar topping

Hefezopf (German Braided Yeast Bread)
German braided yeast bread enriched with butter, eggs and milk

New Year’s Waffles (Gaufres du Nouvel An)
Yeast-raised Belgian waffles dusted with icing sugar

Nieuwjaarsrolletjes (Dutch New Year’s Wafer Rolls)
Crisp Dutch wafer rolls flavoured with butter and vanilla

Baba au Rhum (French Rum-Soaked Sponge Cakes)
Rum-soaked yeasted sponge cakes served with whipped cream
You might also like
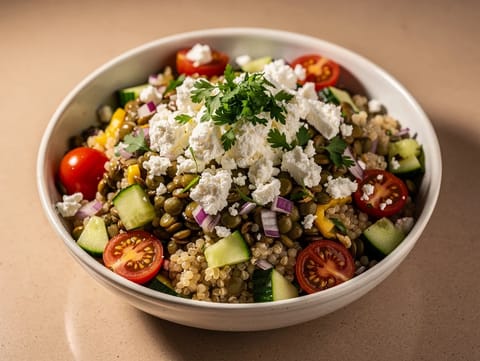
Greek Lentil Grain Bowl
Lentil and bulgur bowl with lemon dressing and feta
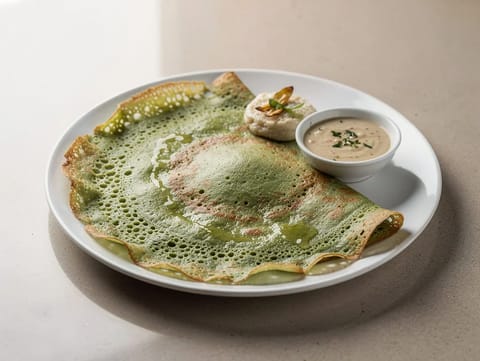
Pesarattu (Green Gram Dosa)
Crisp green gram dosa served with ginger chutney

Sichuan Cold Chicken with Chilli Oil
Chilled poached chicken dressed with chilli oil and black vinegar
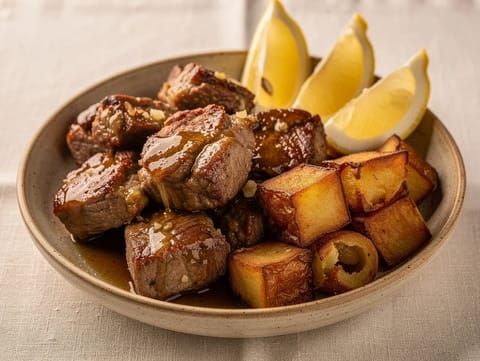
Rojões à Minhota (Pork Fried in Lard with Potatoes)
Marinated pork fried in lard with crisp potatoes and lemon

Pipián Verde (Green Pumpkin Seed Mole with Chicken)
Chicken coated in thick pumpkin seed and tomatillo sauce
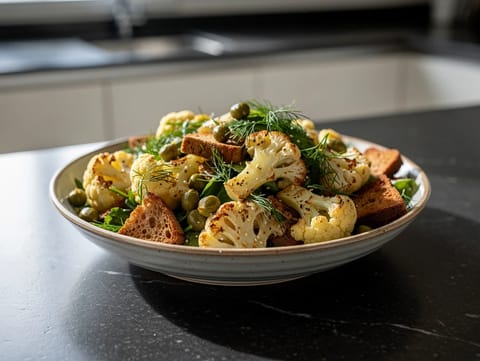
Warm Cauliflower and Rye Salad with Dill and Mustard Dressing
Warm salad of roasted cauliflower and toasted rye with dill
Make this recipe easier next time
AdvertisementThese tools help you get better results with less effort.
KitchenAid Stainless Steel Mixing Bowls
- Non-slip base
- Stainless steel
- Not microwave safe
T-fal Specialty Nonstick Handy Pot with Glass Lid 3 Quart
- Easy food release
- Dishwasher safe
- Not induction compatible
OXO Good Grips Stainless Mixing Bowl Set
- Non-slip base
- Comfort grip
- Higher price
WMF Mini Saucepan 16 cm with Lid
- High-quality stainless steel
- Even heat distribution
- Higher price point
Enjoy cooking with JustRecipes?
Add JustRecipes as one of your preferred Google sources to discover our recipes more easily across Google Search.
Add JustRecipes to GoogleEvery recipe on JustRecipes follows the same structured editorial process. Learn how recipes are created, validated, translated, illustrated, and continuously improved across the platform. How we create recipes.
