
Chole (Punjabi Chickpea Curry)
Why this recipe works
- Bloomed spices: Cinnamon and bay leaves are cooked in fat first, giving the curry a fragrant base before the onion and tomato masala develops.
- Deep savoury base: Slowly cooking the onion until golden, then reducing the tomatoes until glossy, creates a concentrated gravy with rounded spice flavour.
- Bright finish: Lemon juice and fresh coriander are added off the heat, keeping the final curry lively rather than heavy.
Get the most out of this recipe
Adjust the heat
- For a gentler curry: Use less green chilli, or remove the seeds before chopping, while keeping the garam masala for warmth and aroma.
- For more heat: Add extra green chilli with the ginger and garlic, or finish with a small pinch of additional garam masala to taste.
- Keep the heat rounded: Add lemon juice gradually at the end; acidity sharpens the spices and helps the curry taste balanced.
Authenticity notes
- Punjabi-style masala: The onion, tomato, ginger, garlic and garam masala base gives this chole its recognisable North Indian character.
- Cooked from dried chickpeas: Using dried chickpeas and their cooking liquid helps create a naturally full-bodied gravy rather than a thin sauce.
- How to serve it: Chole is commonly eaten with flatbreads such as chapati or naan, and also works well with plain basmati rice.
Common mistakes
- Check the chickpeas first: The chickpeas should be fully tender before they go into the masala; they will absorb flavour as they simmer, but they will not soften quickly in the thick gravy.
- Watch the masala: Once the tomatoes thicken and the oil begins to separate, stir more often so the onion-tomato base does not catch on the pan.
- Reduce gently: Simmer gently after adding the chickpeas so the gravy thickens and coats them without becoming dry or sticking.
Make-ahead tips
- Cook the chickpeas in advance: The chickpeas can be cooked ahead and kept chilled with some of their cooking liquid, ready to add to the masala.
- Freezes well: Cool the finished curry completely before freezing in a sealed container; defrost in the fridge before reheating.
- Reheat with moisture: Warm gently in a saucepan with a splash of water, stirring until the gravy loosens and the curry is piping hot throughout.
Equipment you'll need
Ingredients
Instructions
- Put the chickpeas in a large pot, cover with plenty of cold water, and bring to the boil. Reduce to a steady simmer and cook for 35 to 45 minutes until tender, topping up with water if needed. Drain, reserving 400 ml of the cooking liquid.
- Meanwhile, finely chop the onion, grate the ginger, and finely chop the garlic and green chilli. Roughly chop the tomatoes and finely chop the fresh coriander; keep the coriander aside for finishing. Cut the lemon in half and set aside.
- Heat the rapeseed oil and ghee in a saucepan over medium heat. Add the cinnamon stick and bay leaves and cook for 30 to 60 seconds until fragrant. Stir in the onion with a pinch of the salt and cook for 8 to 10 minutes until deep golden.
- Add the ginger, garlic and green chilli and cook for 1 minute, stirring. Add the ground cumin, ground coriander and 1 teaspoon of the garam masala and cook for 30 seconds. Tip in the tomatoes and cook for 10 to 12 minutes until the mixture is thick, glossy and the oil begins to separate at the edges.
- Stir in the cooked chickpeas, the reserved cooking liquid, and the remaining salt. Simmer gently for 10 to 12 minutes, stirring occasionally, until the gravy is rich and thick and the chickpeas are well coated. Taste and adjust with a little more salt if needed.
- Turn off the heat and stir in the remaining garam masala. Squeeze in the lemon juice to taste and scatter over the fresh coriander. Serve hot, removing the cinnamon stick and bay leaves as you dish up if you like.
Recipe notes
Serving suggestions
This recipe pairs well with:
Tips
- For a thicker, restaurant-style gravy, lightly crush a ladleful of chickpeas against the side of the pan, then stir back in and simmer for 2 minutes.
- Keep the heat gentle once the chickpeas go in so the sauce reduces without catching; stir more often as it thickens.
- If serving vulnerable groups, ensure the chickpeas are fully tender and piping hot throughout before serving.
Substitutions
- Replace Ghee with Rapeseed oil for a fully plant-based finish.
- Replace Green chili pepper with a smaller amount of Garam masala for warmth without fresh chilli heat.
Storage
- Refrigerate up to 3 days
- Cool completely, then refrigerate in a sealed container for up to 3 days. Freeze for up to 3 months; defrost overnight in the fridge and reheat in a saucepan with a splash of water until piping hot.
Ratings & reviews
Liked this recipe? Share your feedback to support our cooking community.
Tried this recipe?
Choose 1–5 stars. A comment is optional.
Stay inspired
Discover new recipes, seasonal favourites and cooking inspiration every day. Follow JustRecipes on Pinterest and Spillt.
Recipe overview
- Servings: 4 servings
- Total time: 55min (20min active)
- Difficulty: Medium
- Cuisine: Indian
-
Allergens:
Milk
Plan your meals and get a complete grocery list automatically.
Add to meal plannerEquipment you'll need
Got ingredients left?
Find recipes using ingredients from this recipe or what you already have at home.
Find recipes with these ingredients →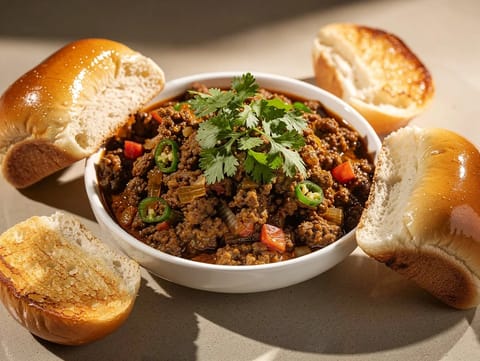
Keema Pav (Spiced Minced Lamb with Bread Rolls)
Spiced minced lamb keema served with buttered bread rolls
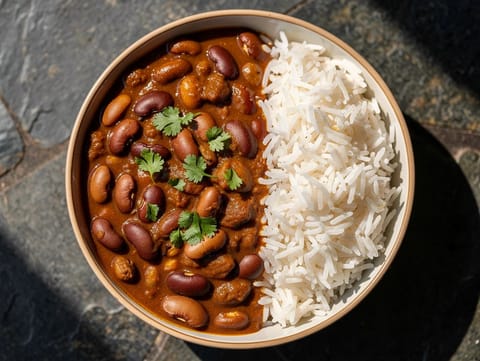
Rajma Chawal (Kidney Bean Curry with Basmati Rice)
Kidney bean curry served with steamed basmati rice
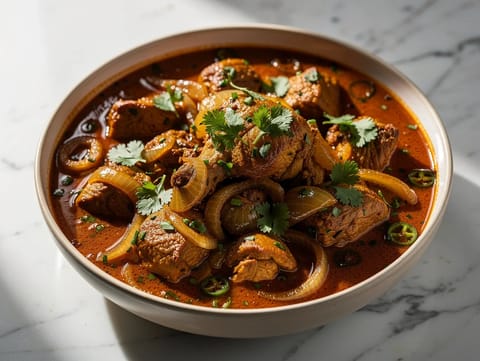
Chicken Do Pyaza (Chicken Curry with Onions)
North Indian chicken curry with onions, tomatoes, spices and yoghurt
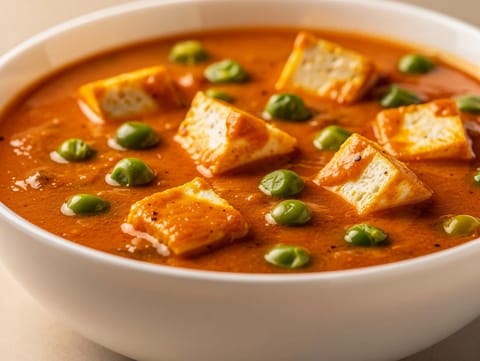
Matar Paneer (Paneer and Pea Curry)
Paneer and peas simmered in a spiced tomato-onion gravy
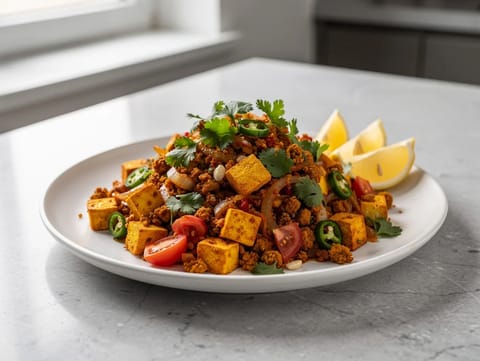
Paneer Bhurji (Scrambled Paneer)
Scrambled paneer cooked with onions, tomatoes and spices
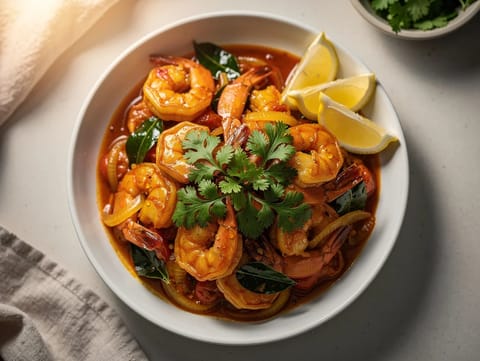
Prawn Masala with Curry Leaves
Quick prawn masala with curry leaves in a tomato-onion sauce

Air Fryer Honey BBQ Chicken Tenders
Crispy chicken tenders finished with a honey barbecue glaze.
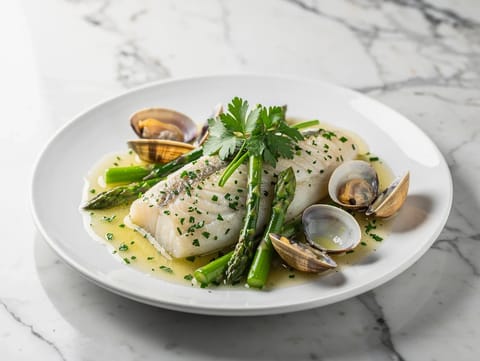
Merluza a la Vasca (Basque-Style Hake with Parsley Sauce)
Poached hake with parsley sauce, clams and asparagus
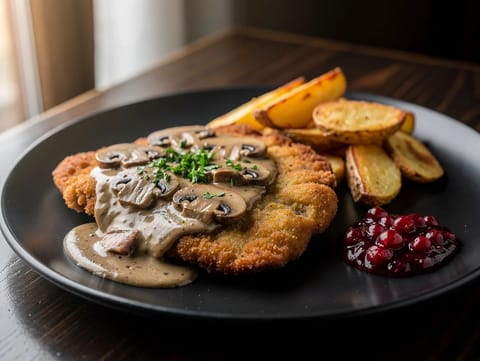
Jägerschnitzel (Pork Schnitzel with Mushroom Gravy)
Crisp pork schnitzel topped with creamy mushroom gravy
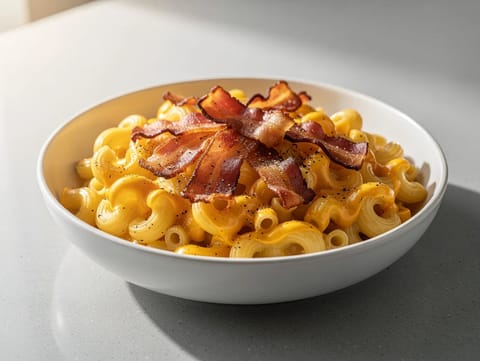
Skillet Mac and Cheese with Bacon
Skillet macaroni in creamy Cheddar sauce with crispy bacon
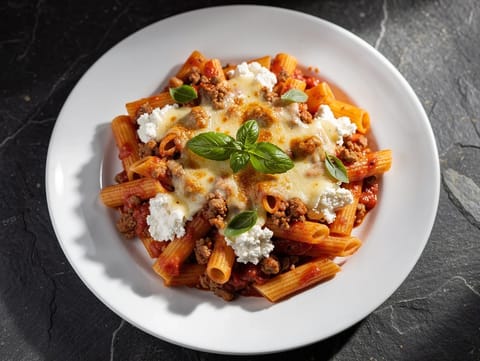
American-Style Baked Ziti with Minced Beef
Baked ziti with minced beef, ricotta and mozzarella
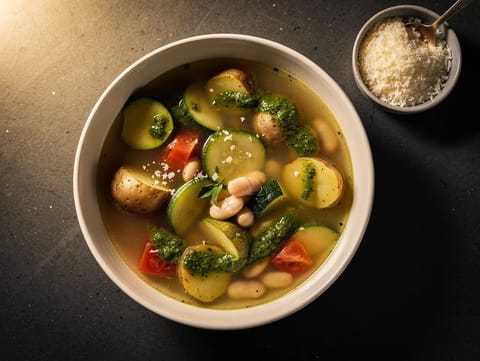
Soupe au Pistou (Vegetable Soup with Basil Sauce)
Vegetable and bean soup finished with basil pistou
Chicken Do Pyaza (Chicken Curry with Onions)
North Indian chicken curry with onions, tomatoes, spices and yoghurt
Paneer Bhurji (Scrambled Paneer)
Scrambled paneer cooked with onions, tomatoes and spices
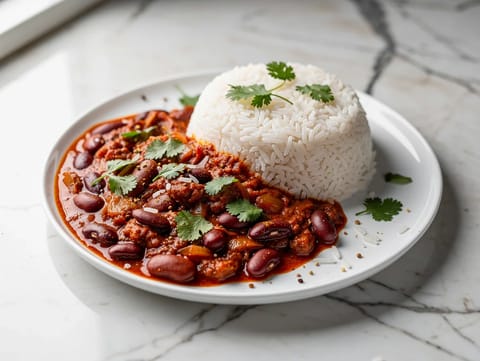
Rajma Chawal (Red Kidney Bean Curry with Rice)
Red kidney bean curry in spiced tomato gravy with basmati rice
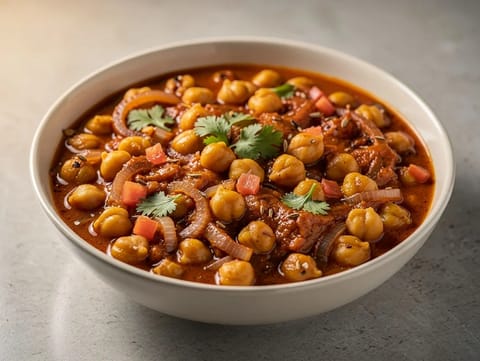
Vegan Chana Masala (Chickpea Curry)
Vegan chickpea curry in spiced tomato and onion gravy
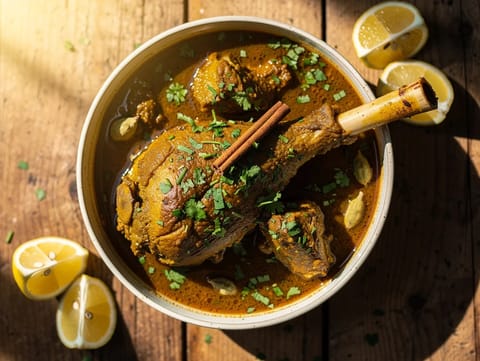
Lamb Nihari (Slow-Cooked Shank Stew)
Slow-cooked lamb shank stew with a richly spiced gravy
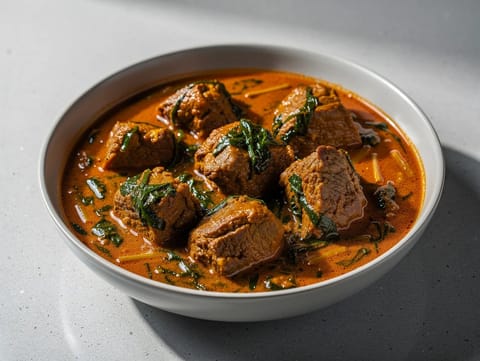
Saag Gosht (Lamb and Mustard Greens Curry)
Lamb curry simmered with mustard greens and spices
You might also like
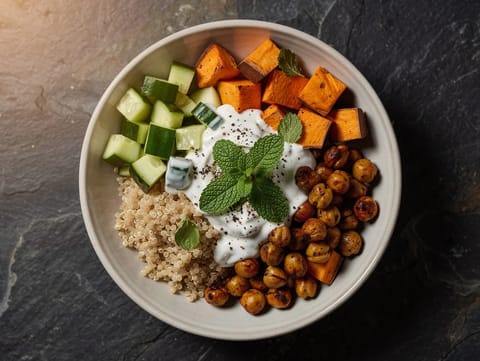
Moroccan Chickpea and Quinoa Grain Bowl with Yoghurt Dressing
Quinoa bowl with spiced chickpeas, sweet potato, cucumber and yoghurt
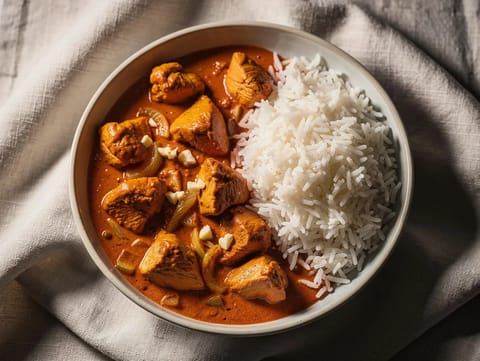
Chicken Tikka Masala with Basmati Rice
Chicken tikka masala in a creamy tomato sauce with basmati rice
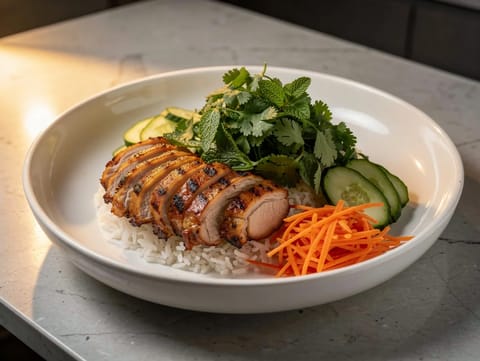
Vietnamese Herb Chicken Bowl with Jasmine Rice
Grilled chicken bowl with jasmine rice, herbs and dressing
Rajma Chawal (Red Kidney Bean Curry with Rice)
Red kidney bean curry in spiced tomato gravy with basmati rice

Tres Leches Cake (Sponge Soaked in Three Milks)
Sponge cake soaked in three milks with cinnamon whipped cream
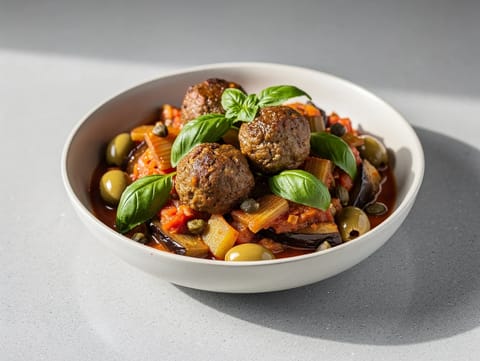
Aubergine Caponata with Beef Meatballs (Caponata di Melanzane con Polpette)
Aubergine caponata with tender beef meatballs, capers and olives
Make this recipe easier next time
AdvertisementThese tools help you get better results with less effort.
Misen 8-Inch Chef Knife
- AUS-10 steel
- Balanced design
- Less traditional feel
Titanium & PP Double-Sided Cutting Board
- Separate surfaces for meat and produce
- Resists odors and stains
- Harder on knife edges than wood or plastic
All-Clad Tri-Ply Stainless Steel Saucepan
- Excellent heat control
- Premium build quality
- Expensive
OXO Good Grips 2-Piece Cutting Board Set
- Two useful sizes with reversible cutting surfaces
- Dishwasher safe and easy to clean
- Plastic surfaces will show knife marks over time
Enjoy cooking with JustRecipes?
Add JustRecipes as one of your preferred Google sources to discover our recipes more easily across Google Search.
Add JustRecipes to GoogleEvery recipe on JustRecipes follows the same structured editorial process. Learn how recipes are created, validated, translated, illustrated, and continuously improved across the platform. How we create recipes.
