
Traditional Beef Cottage Pie
Why this recipe works
- Deep savoury base: Browning the beef, softening the vegetables and simmering the stock with tomato purée and Worcestershire sauce builds a fuller, more rounded gravy.
- Crisp top, saucy centre: Forked ridges on the mash catch the heat in the oven, giving the pie a golden surface while the filling stays rich underneath.
- Good for planning ahead: The pie can be assembled in advance, chilled or frozen, then reheated until piping hot for an easy later meal.
- Hearty and familiar: Minced beef in gravy and buttery mash make this a satisfying cold-weather dinner with broad family appeal.
Get the most out of this recipe
Authenticity notes
- Cottage pie uses beef: In British usage, cottage pie is traditionally made with beef, while shepherd’s pie is made with lamb.
- Home-style finish: A fork-roughened mashed potato topping is a typical practical finish, helping the surface brown without adding extra garnish.
Texture tips
- For a better potato crust: Spread the mash right to the edges and rake the surface with a fork so the ridges brown and crisp in the oven.
- For smoother mash: Drain the potatoes well and mash them while hot before adding warmed milk, which helps keep the topping fluffy and spreadable.
- For a thicker filling: Let the gravy simmer until it lightly coats the back of a spoon before spooning it into the baking dish.
Make-ahead tips
- Assemble ahead: Prepare the beef filling and mash in advance, then assemble and bake when ready to serve.
- Freeze after cooking: Cool the pie completely before freezing. Thaw overnight in the fridge for the best texture before reheating.
- Reheat thoroughly: Reheat covered in a 180°C (355°F) oven until piping hot all the way through, uncovering near the end if the top needs refreshing.
Common mistakes
- Thin gravy: Do not top the pie while the filling is watery; the gravy should be rich enough to hold its shape slightly under the mash.
- Wet mash: Poorly drained potatoes can make the topping heavy and damp, so let them steam off briefly in the hot pan before mashing.
- Serving too soon: A short rest after baking helps the filling settle, making the pie easier to spoon without losing the sauce.
Equipment you'll need
Ingredients
Beef filling
Mash topping
Instructions
- Heat the oven to 200°C (390°F). Finely chop the onion and dice the carrots.
- Melt the butter in a large frying pan over medium heat. Add the onion and carrots and cook for 8 to 10 minutes, stirring, until softened and lightly golden.
- Add the minced beef and cook for 6 to 8 minutes, breaking it up with a spoon, until browned with no pink remaining. Stir in the thyme, tomato purée and Worcestershire sauce for 1 minute.
- Pour in the beef stock and bring to a gentle simmer. Cook for 15 to 20 minutes, stirring occasionally, until the gravy is rich and lightly thickened; remove the thyme sprigs, then stir in the peas.
- Meanwhile, peel the potatoes and cut into even chunks. Boil in salted water for 15 to 18 minutes, until very tender when pierced with a knife, then drain well.
- Return the potatoes to the pan and mash until smooth. Warm the milk, then beat it into the mash until fluffy and spreadable.
- Spoon the beef filling into a baking dish and level the top. Dollop over the mash, spread to the edges, then rough up the surface with a fork for a crisp top.
- Bake for 20 minutes, until bubbling at the edges and golden on top. Rest for 5 minutes before serving so the filling settles slightly.
Recipe notes
Tips
- For the best browned top, rake the mash with a fork to create ridges, then bake on the upper shelf for the final 5 minutes.
- If the gravy looks thin after simmering, keep it at a gentle bubble for a few extra minutes; it should coat the back of a spoon before you top it.
- If serving vulnerable groups, make sure the pie is piping hot all the way through before serving.
Substitutions
- Replace Fresh thyme with 1 tsp dried thyme, stirred in with the tomato purée.
- Replace Whole milk with the same amount of Beef stock for a lighter mash.
Storage
- Refrigerate up to 3 days
- Cool completely, then cover and refrigerate. Reheat in a 180°C (355°F) oven for 25 to 35 minutes until piping hot; if frozen, thaw overnight in the fridge before reheating for best texture.
Ratings & reviews
Liked this recipe? Share your feedback to support our cooking community.
Tried this recipe?
Choose 1–5 stars. A comment is optional.
Stay inspired
Discover new recipes, seasonal favourites and cooking inspiration every day. Follow JustRecipes on Pinterest and Spillt.

Recipe overview
- Servings: 4 servings
- Total time: 1h 25min (30min active)
- Difficulty: Medium
- Cuisine: British
-
Allergens:
Milk
Plan your meals and get a complete grocery list automatically.
Add to meal plannerEquipment you'll need
Got ingredients left?
Find recipes using ingredients from this recipe or what you already have at home.
Find recipes with these ingredients →
Enchiladas Verdes with Chicken and Crema
Baked chicken enchiladas with tomatillo sauce and crema
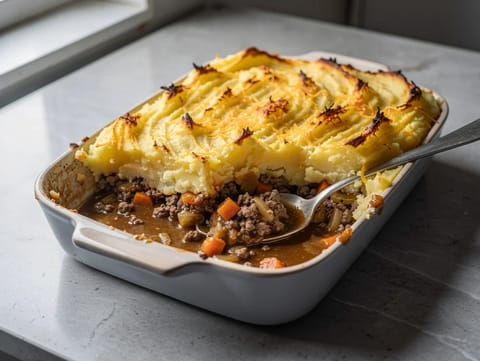
Cottage Pie with Cheesy Mash Topping
Cottage pie topped with cheddar mash and baked until golden

Baked Stuffed Peppers with Beef, Rice and Cheddar
Baked green peppers stuffed with beef, rice and cheddar

Cazuela de Mariscos (Seafood Casserole)
Spanish seafood casserole in saffron tomato broth
Brandade de Morue Gratinée (Salt Cod and Potato Gratin)
Salt cod and potato brandade baked with a golden breadcrumb topping
Vegan Shepherd’s Pie with Lentils, Mushrooms and Mash
Vegan shepherd’s pie with lentils, mushrooms and olive oil mash

Air Fryer Teriyaki Salmon
Air-fried salmon glazed with soy, mirin and brown sugar.

Mixiotes (Steamed Pork Parcels in Chilli Marinade)
Steamed pork parcels in chilli and tomato marinade

Chicken Provençal (Tomato, Olive and White Wine Stew)
Chicken stew with tomatoes, olives, peppers and courgette
Kleftiko (Greek Slow-Roasted Lamb with Potatoes and Onion)
Greek slow-roasted lamb with lemon, oregano and potatoes
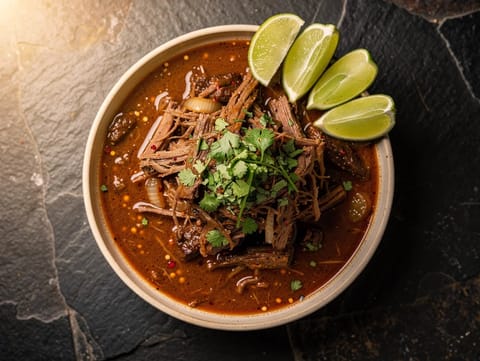
Barbacoa de Res (Slow-Cooked Beef in Chilli and Lime Broth)
Slow-cooked beef in a chilli and lime broth
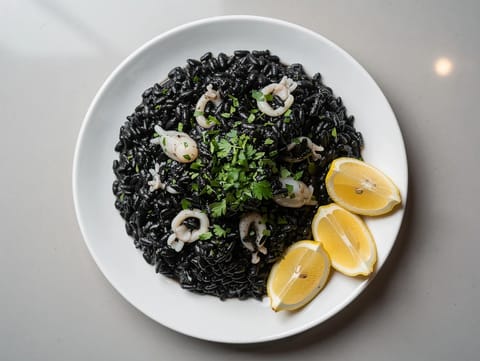
Arroz Negro (Squid Ink Rice)
Spanish squid ink rice cooked with squid and fish stock
Cottage Pie with Cheesy Mash Topping
Cottage pie topped with cheddar mash and baked until golden
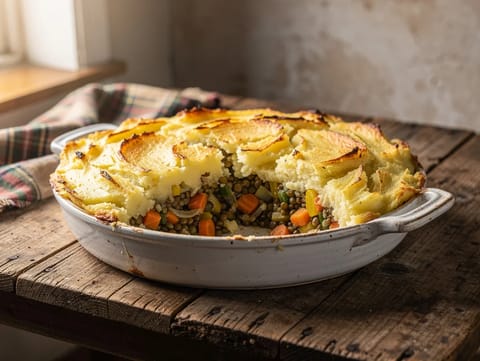
Vegetarian Shepherd’s Pie with Lentils
Vegetarian shepherd's pie with lentils and mashed potato topping
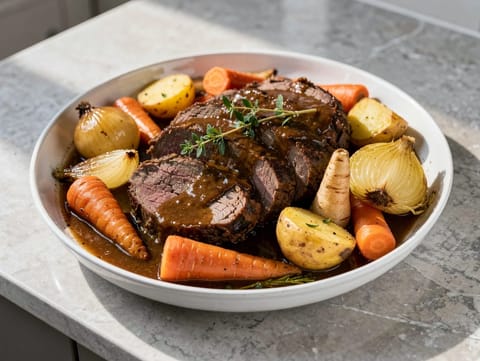
Slow Cooker Beef Pot Roast with Root Vegetables
Slow cooker beef pot roast with root vegetables and gravy
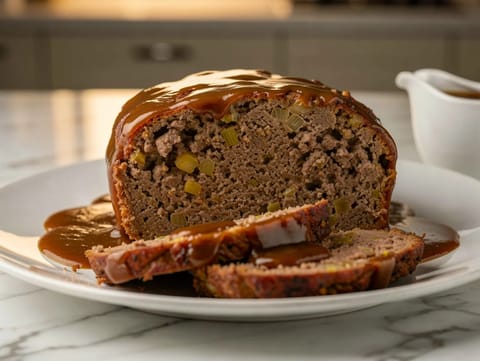
Classic Beef Meatloaf with Brown Gravy
Minced beef meatloaf served with simple brown gravy
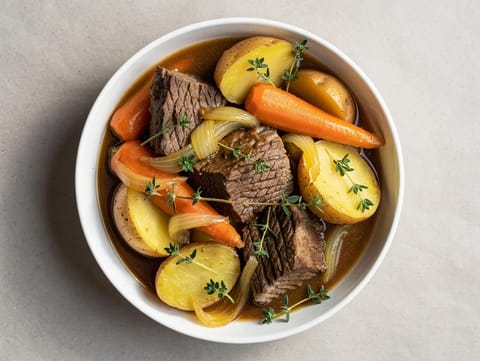
Beef Pot Roast with Carrots and Potatoes
Slow-braised beef pot roast with carrots and potatoes
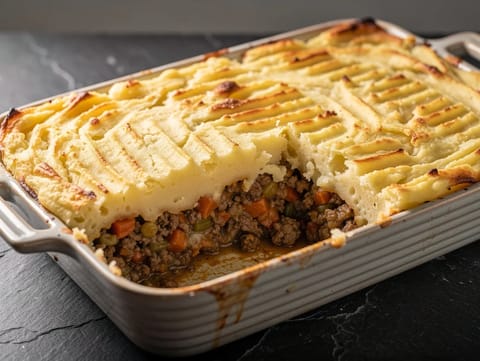
Scottish Shepherd’s Pie (Minced Lamb and Mashed Potato Bake)
Shepherd’s pie with minced lamb and creamy mash
You might also like

Saucisson Brioché (Sausage Baked in Brioche Dough)
Pork sausage baked inside soft brioche
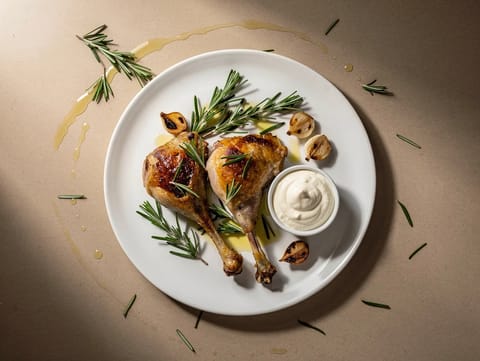
Conejo al Romero con Alioli (Rosemary Rabbit with Alioli)
Rosemary rabbit served with homemade garlic alioli
Stir-Fried Lotus Root with Pork and Chilli
Crisp lotus root stir-fry with minced pork and chilli

Tostadas de Ceviche de Atún (Tuna Ceviche Tostadas)
Crisp tostadas topped with tuna ceviche and avocado

Fettuccine al Tartufo Nero (Black Truffle Fettuccine)
Fettuccine in butter and Parmesan, finished with black truffle

Insalata di Polpo (Octopus Salad with Potatoes and Olives)
Octopus salad with potatoes, olives, capers and lemon dressing
Make this recipe easier next time
AdvertisementThese tools help you get better results with less effort.
Misen Carbon Steel Nonstick Frying Pan 12 Inch
- Works on all stovetops
- Naturally nonstick when seasoned
- Requires seasoning and maintenance
T-fal Specialty Nonstick Handy Pot with Glass Lid 3 Quart
- Easy food release
- Dishwasher safe
- Not induction compatible
All-Clad HA1 Hard Anodized Nonstick Fry Pan 12 Inch
- Top-tier build quality
- Excellent heat distribution
- Expensive
WMF Mini Saucepan 16 cm with Lid
- High-quality stainless steel
- Even heat distribution
- Higher price point
Enjoy cooking with JustRecipes?
Add JustRecipes as one of your preferred Google sources to discover our recipes more easily across Google Search.
Add JustRecipes to GoogleEvery recipe on JustRecipes follows the same structured editorial process. Learn how recipes are created, validated, translated, illustrated, and continuously improved across the platform. How we create recipes.
