
Agnolotti dal Plin with Brown Butter and Sage
Why this recipe works
- Traditional shape: The small pinched parcels give agnolotti dal plin their recognisable form and help hold the rich meat filling neatly inside.
- Deep savoury filling: Braising the beef with onion, carrot, celery, wine and stock builds a concentrated base before it is mixed with ricotta and Parmesan.
- Richness kept in check: White wine in the braise adds brightness, while the sage-scented brown butter keeps the final sauce simple rather than heavy.
Get the most out of this recipe
Timing notes
- Rest the dough: The pasta dough needs time to relax before rolling; skipping this makes it more elastic and harder to shape thinly.
- Most of the work is before boiling: The braise, filling and shaping take the longest; once assembled, the agnolotti cook very quickly.
- Serve straight away: Brown butter is at its best when glossy and aromatic, so toss the pasta and serve as soon as it is coated.
Authenticity notes
- Piedmontese style: Agnolotti dal plin are associated with Piedmont and are defined by their small pinched shape rather than a large ravioli-style parcel.
- The ‘plin’ pinch: Pressing firmly around each mound of filling removes air and creates the compact pinched form that helps the pasta cook evenly.
- Simple butter finish: A restrained sauce of brown butter, sage and Parmesan lets the pasta and meat filling remain the focus.
Make-ahead tips
- Make the filling ahead: The beef filling can be prepared in advance, cooled and chilled, then used once firm enough to spoon neatly into the pasta.
- Freeze uncooked agnolotti: Freeze the shaped pasta on a tray first, then transfer to a container. Boil from frozen, allowing a little extra cooking time.
- Reheat gently: Warm leftovers in a frying pan with a small splash of water until piping hot, taking care not to break the pasta.
Common mistakes
- Loose filling: A wet filling makes the agnolotti difficult to seal. Reduce excess braising liquid and let the mixture stand if it feels too soft.
- Rolling unrested dough: Unrested pasta dough resists rolling and can shrink back, making thin, even sheets harder to achieve.
- Burning the butter: Brown butter changes quickly from nutty to bitter, so keep the heat moderate and swirl the pan as the milk solids darken.
Equipment you'll need
Ingredients
Pasta dough
Beef and ricotta filling
To finish
Instructions
- Make the pasta dough: tip the flour onto a work surface, make a well, then add the eggs. Beat the eggs with a fork, gradually drawing in flour, then knead until smooth and elastic, about 8 to 10 minutes. Cover and rest at room temperature for 30 minutes.
- Meanwhile, start the braise: melt 30 g of the butter in a dutch oven over medium heat. Finely chop the onion, carrot and celery, then cook with a pinch of salt until softened, 8 to 10 minutes. Increase the heat to medium-high, add the beef and cook until well browned all over, 8 to 10 minutes.
- Pour in the wine and simmer for 2 to 3 minutes, scraping up any browned bits. Add the stock, bring to a gentle simmer, then cover and braise on low heat until the beef is very tender, about 60 to 75 minutes. Uncover for the last 10 minutes if you need to reduce the liquid so it is glossy rather than soupy.
- Lift the beef out with a slotted spoon and let it cool slightly, then finely chop it until it is almost minced. Stir the chopped beef with the ricotta and finely grated parmesan, then taste and adjust seasoning with salt if needed. If the mixture feels loose, let it stand for 5 minutes so it firms up.
- Roll and fill: divide the dough into 2 pieces and roll each into a thin sheet. Place small mounds of filling along one half of a sheet, leaving space between them, then fold the dough over and press firmly around each mound to seal, pushing out any air. Cut into small agnolotti and keep them covered while you repeat with the remaining dough and filling.
- Bring a large pot of well-salted water to the boil. Cook the agnolotti in batches until just tender and they float, about 2 to 3 minutes, then lift out with a slotted spoon. Reserve a small splash of the cooking water before draining the last batch.
- Brown the butter: melt the remaining 90 g butter in a frying pan over medium heat and cook until it smells nutty and the milk solids are deep golden, 3 to 5 minutes. Add the sage leaves and cook for 30 to 60 seconds until fragrant. Add the agnolotti and toss gently, loosening with a splash of pasta water if needed, then serve with extra parmesan if you like.
Recipe notes
Tips
- Seal the agnolotti firmly and press out any air pockets, as trapped air can make them burst in the water.
- When browning the butter, keep the heat moderate and swirl the pan often; it can go from nutty to burnt quickly.
- If serving anyone who is pregnant, elderly, or immunocompromised, use eggs from a trusted source and ensure the pasta is cooked until fully tender and piping hot.
Substitutions
- Replace Dry White Wine with the same amount of Beef stock for an alcohol-free braise.
- Replace Ricotta with the same amount of Mascarpone for a richer, silkier filling.
Storage
- Refrigerate up to 2 days
- Cool leftovers quickly and refrigerate in a sealed container. Reheat gently in a frying pan with a small splash of water until piping hot. Uncooked agnolotti freeze well on a tray, then transfer to a container and boil from frozen, adding 1 to 2 minutes to the cooking time.
Ratings & reviews
Liked this recipe? Share your feedback to support our cooking community.
Tried this recipe?
Choose 1–5 stars. A comment is optional.
Stay inspired
Discover new recipes, seasonal favourites and cooking inspiration every day. Follow JustRecipes on Pinterest and Spillt.
Recipe overview
- Servings: 4 servings
- Total time: 2h 30min (1h 30min active)
- Difficulty: Advanced
- Cuisine: Italian
-
Allergens:
Eggs Gluten Milk Wheat
Plan your meals and get a complete grocery list automatically.
Add to meal plannerEquipment you'll need
Got ingredients left?
Find recipes using ingredients from this recipe or what you already have at home.
Find recipes with these ingredients →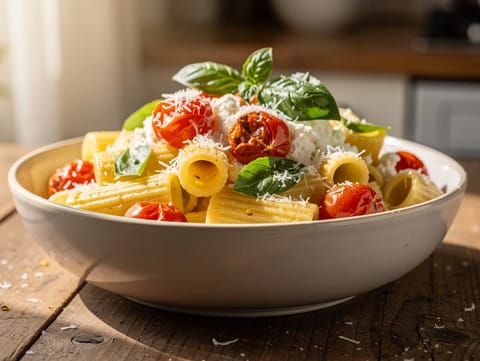
Rigatoni with Lemony Ricotta and Blistered Cherry Tomatoes
Rigatoni with blistered tomatoes and lemony ricotta
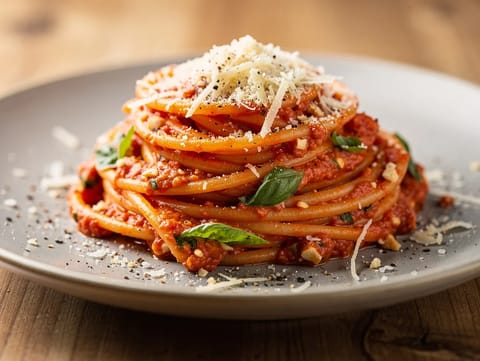
Pasta alla Trapanese (Sicilian Tomato and Almond Pesto Pasta)
Sicilian pasta with tomato, almond and basil pesto
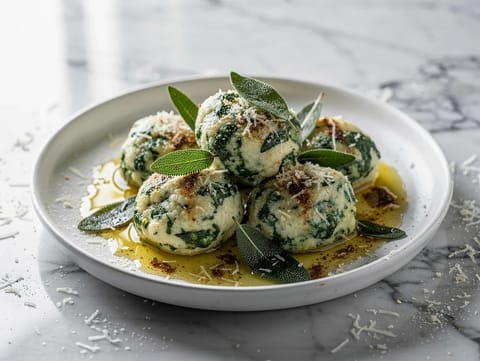
Spinach and Ricotta Gnudi with Butter and Sage
Soft spinach and ricotta gnudi finished with butter and sage
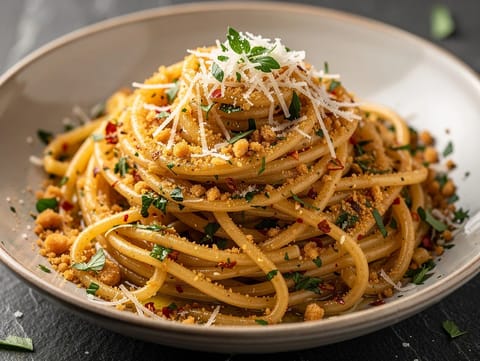
Pasta alla Carrettiera Siciliana (Garlic and Chilli Pasta)
Sicilian spaghetti with garlic, chilli and toasted breadcrumbs
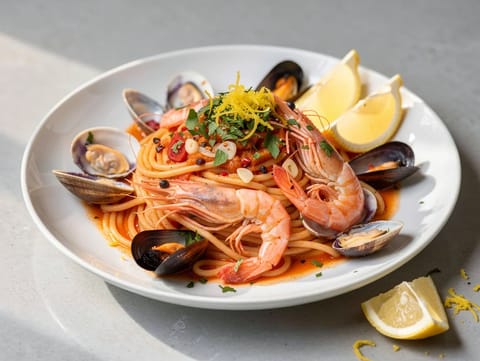
Linguine allo Scoglio (Italian Seafood Pasta)
Seafood linguine with mussels, clams and prawns
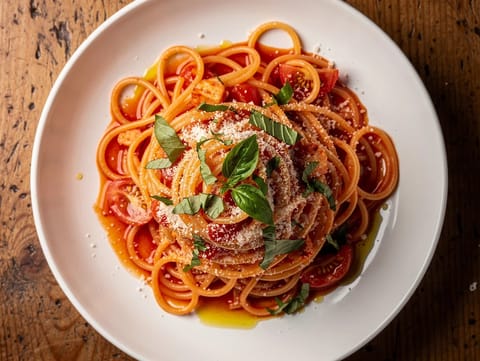
Pasta al Pomodoro Fresco (Spaghetti with Fresh Tomato and Basil)
Spaghetti with fresh tomatoes, garlic, basil and parmesan
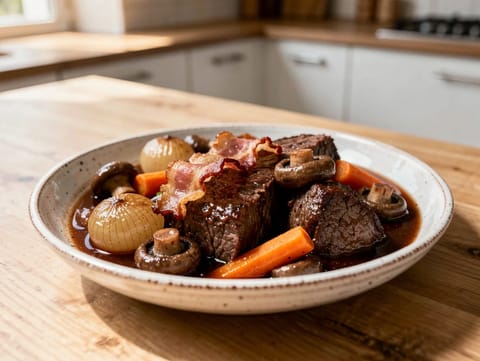
Boeuf Bourguignon Traditionnel (Burgundy Beef Stew)
Red wine beef stew with bacon, mushrooms and pearl onions
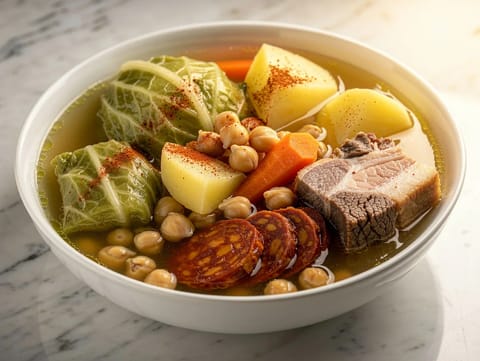
Cocido Madrileño (Madrid Chickpea Stew with Beef, Pork and Chorizo)
Madrid chickpea stew with beef, pork belly and chorizo
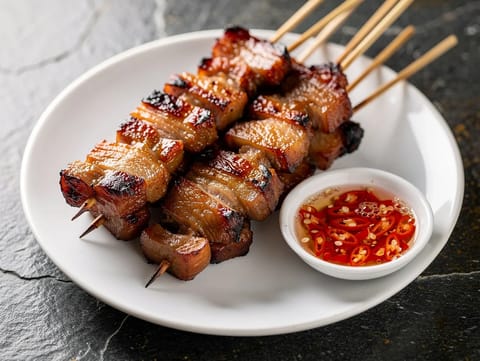
Moo Ping (Thai Grilled Pork Skewers)
Thai grilled pork skewers marinated with coconut milk and fish sauce
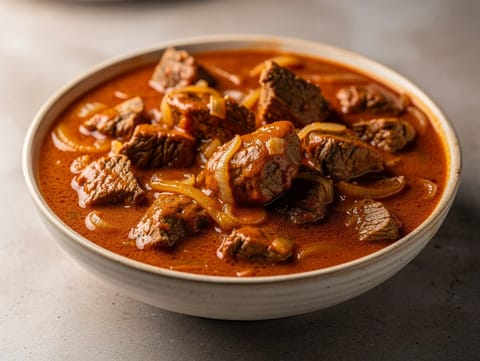
Gulasz Wołowy (Polish Beef Goulash)
Polish beef goulash with paprika, tomato and marjoram
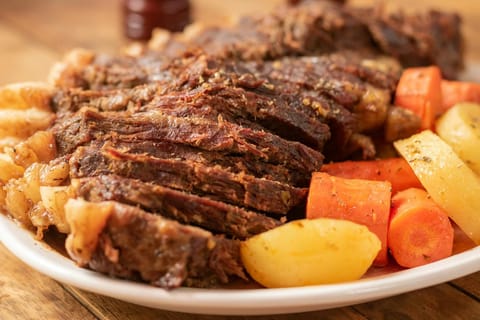
Yankee Pot Roast (Braised Beef Brisket with Vegetables)
Braised beef brisket with carrots, potatoes and gravy
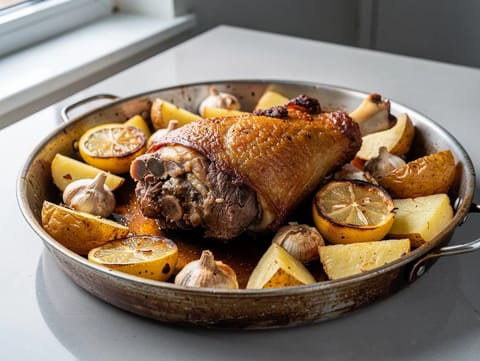
Arni Kleftiko (Slow-Roasted Lamb with Potatoes and Lemon)
Slow-roasted lamb with potatoes, lemon and oregano
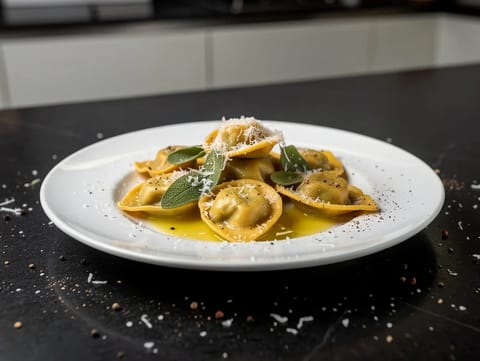
Agnolotti dal Plin al Burro e Salvia (Stuffed Pasta with Butter and Sage)
Stuffed agnolotti tossed in butter, sage and Parmesan
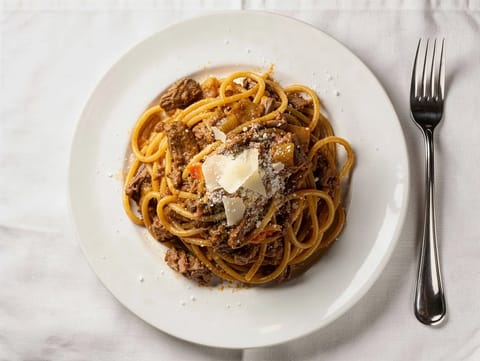
Pasta alla Genovese (Onion-Braised Beef Pasta)
Spaghetti with onion-braised beef sauce and Parmesan
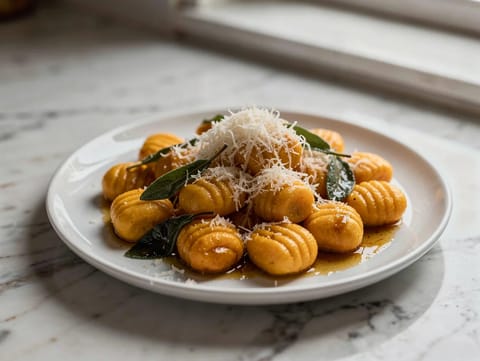
Gnocchi di Zucca (Pumpkin Gnocchi with Butter and Sage)
Pumpkin gnocchi with butter, sage and Parmigiano Reggiano
Spinach and Ricotta Gnudi with Butter and Sage
Soft spinach and ricotta gnudi finished with butter and sage
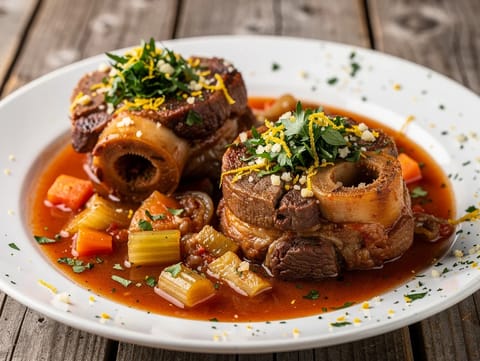
Ossobuco (Braised Veal Shanks)
Veal shanks braised with tomatoes, white wine and gremolata
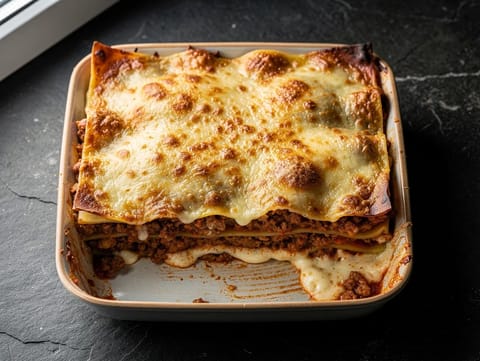
Lasagne al Forno (Baked Lasagne with Beef Ragù and Béchamel)
Baked lasagne layered with beef ragù and béchamel
You might also like

Pimm’s Cup (Summer Fruit Cup) with Lemonade, Cucumber and Mint
Pimm’s Cup with lemonade, cucumber, fruit and fresh mint
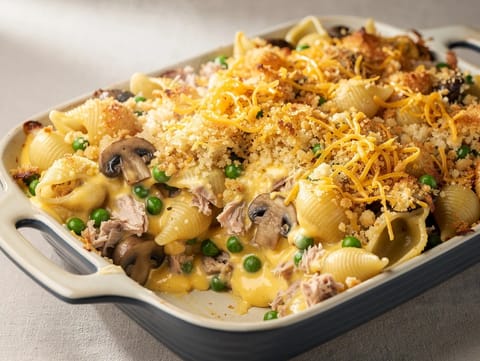
Tuna Casserole (Baked Pasta with Mushrooms and Breadcrumbs)
Baked tuna pasta casserole with mushrooms and crisp breadcrumbs
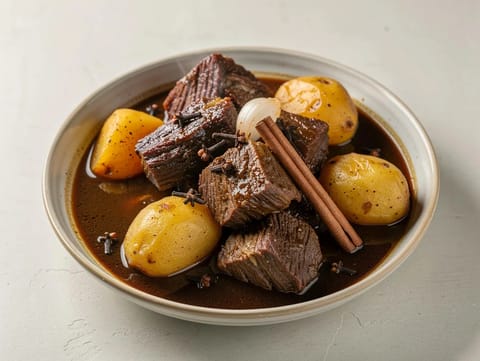
Semur Daging (Indonesian Beef in Sweet Soy Stew)
Indonesian beef stew braised in sweet soy with potatoes
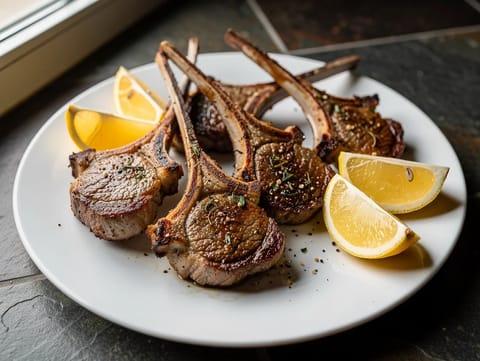
Air Fryer Lamb Chops
Air fryer lamb chops with olive oil, lemon, garlic, and oregano.

Air Fryer Samosas
Crisp air-fryer samosas with spiced potato and pea filling.

Mango Condensed Milk Smoothie
Blend mango with condensed milk, whole milk and ice.
Make this recipe easier next time
AdvertisementThese tools help you get better results with less effort.
KitchenAid Stainless Steel Mixing Bowls
- Non-slip base
- Stainless steel
- Not microwave safe
Pyrex Glass Mixing Bowls with Lids
- Microwave safe
- BPA-free lids
- Glass is heavier
OXO Good Grips Stainless Mixing Bowl Set
- Non-slip base
- Comfort grip
- Higher price
Enjoy cooking with JustRecipes?
Add JustRecipes as one of your preferred Google sources to discover our recipes more easily across Google Search.
Add JustRecipes to GoogleEvery recipe on JustRecipes follows the same structured editorial process. Learn how recipes are created, validated, translated, illustrated, and continuously improved across the platform. How we create recipes.
