
Bolo Rainha (Queen’s Cake)
Why this recipe works
- Classic enriched dough: Milk, egg and butter create a soft, tender crumb while proper kneading gives the ring enough structure to hold its shape.
- Nutty, spiced filling: Walnuts, almonds, raisins and cinnamon bring sweetness, warmth and texture through every slice.
- Built for sharing: The ring shape makes the loaf easy to slice and serve as part of a festive table, breakfast spread or afternoon coffee.
Get the most out of this recipe
Timing notes
- Judge the dough, not just the clock: Rise times will vary with room temperature. Look for the dough to double on the first rise and become visibly puffy after shaping.
- Cool before dusting: Let the loaf cool completely before adding icing sugar so the finish stays powdery rather than melting into the crust.
- Best texture: The crumb is at its softest on the day it is baked, though the loaf keeps well when stored airtight.
Authenticity notes
- Portuguese festive style: Bolo Rainha is a Portuguese celebration bread shaped into a ring and usually served in slices during the festive season.
- How it differs from Bolo Rei: Bolo Rainha is typically made without candied fruit, putting the focus on nuts, raisins and a lighter icing sugar finish.
Texture tips
- Keep the dough supple: After adding the butter, the dough may feel sticky at first. Continue kneading until smooth rather than adding too much extra flour.
- Shape an even ring: Keep the rope an even thickness and seal the join firmly so the loaf bakes evenly and does not split at the seam.
- Watch the colour: If the top browns before the bread is baked through at 180°C (355°F), cover it loosely with foil for the remaining time.
Make-ahead tips
- Bake ahead: The loaf can be baked in advance and kept airtight, then dusted with icing sugar just before serving.
- Freezer-friendly: Freeze the cooled loaf well wrapped, then defrost at room temperature before serving.
- Refresh before serving: To revive the texture after freezing, warm briefly in a 160°C (320°F) oven, then cool slightly and dust with icing sugar.
Equipment you'll need
Ingredients
Dough and filling
To finish
Instructions
- Warm the milk until just lukewarm. Stir in 1 tbsp of the caster sugar, then mix in the yeast and leave for 5 minutes until lightly foamy.
- In a large bowl, mix the flour with the salt and cinnamon. Add the yeast mixture and the eggs, then mix to a shaggy dough.
- Knead until smooth and elastic, about 8 to 10 minutes by hand or 6 to 8 minutes in a stand mixer. Work in the butter a little at a time until fully incorporated and the dough is glossy.
- Cover and leave the dough to rise in a warm place until doubled in size. This should take about 60 to 75 minutes depending on room temperature.
- Meanwhile, roughly chop the walnuts and almonds. Mix them with the raisins and the remaining caster sugar.
- Tip the dough onto a lightly floured surface and gently press it out into a rough rectangle. Scatter over the nut and raisin mixture, then fold and knead briefly just until evenly distributed.
- Shape the dough into a long rope, then join the ends to form a ring and pinch well to seal. Transfer to a baking tray and cover loosely, then leave to prove until puffy, about 35 to 45 minutes.
- Heat the oven to 180°C (355°F). Bake for 30 to 35 minutes until lightly browned and the loaf sounds hollow when tapped underneath; if it colours too quickly, cover loosely with foil.
- Cool on a rack until completely cold. Dust with the icing sugar just before serving.
Recipe notes
Tips
- If the dough feels sticky after adding the butter, keep kneading rather than adding lots of extra flour; it will become smoother as the gluten develops.
- For an even ring, make the rope the same thickness all the way along and seal the join firmly so it does not split during baking.
- If serving to young children, older adults, pregnant people, or anyone immunocompromised, use eggs that are produced to be eaten lightly cooked and ensure the bread is baked through.
Substitutions
- Replace Walnuts with Pecan nuts for a slightly sweeter, softer nut filling.
- Replace Almonds with Hazelnuts for a deeper, toastier flavour.
- Replace Raisin with Sultana for a lighter, more delicate sweetness.
Storage
- Refrigerate up to 3 days
- Keep in an airtight container at room temperature for up to 3 days. Freeze, well wrapped, for up to 2 months; defrost at room temperature and refresh in a 160°C (320°F) oven for 8 to 10 minutes, then dust with icing sugar.
Ratings & reviews
Liked this recipe? Share your feedback to support our cooking community.
Tried this recipe?
Choose 1–5 stars. A comment is optional.
Stay inspired
Discover new recipes, seasonal favourites and cooking inspiration every day. Follow JustRecipes on Pinterest and Spillt.
Recipe overview
- Servings: 10 servings
- Yield: ring sweet bread
- Total time: 3h 20min (45min active)
- Difficulty: Advanced
- Cuisine: Portuguese
-
Allergens:
Almonds Eggs Gluten Milk
Plan your meals and get a complete grocery list automatically.
Add to meal plannerEquipment you'll need
Got ingredients left?
Find recipes using ingredients from this recipe or what you already have at home.
Find recipes with these ingredients →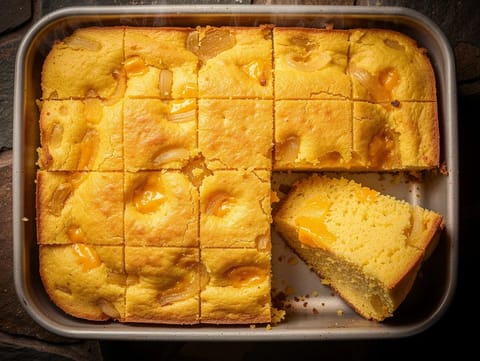
Sopa Paraguaya (Savoury Cornbread with Cheese and Onion)
Savoury cornbread baked with cheese and softened onions

Bolo Rei (King’s Cake)
Portuguese sweet ring bread with candied peel and raisins
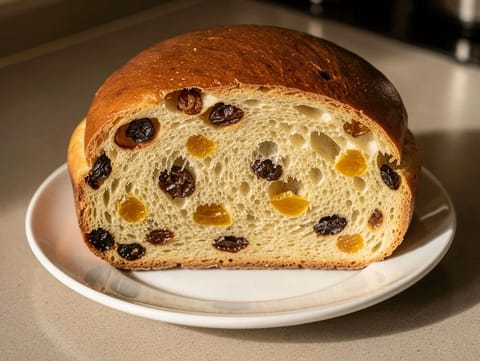
Julekake (Norwegian Christmas Bread with Raisins and Mixed Peel)
Soft Norwegian Christmas bread with raisins and mixed peel
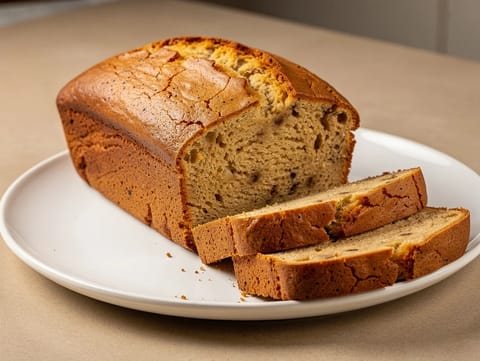
American Banana Bread
Moist banana bread loaf with vanilla
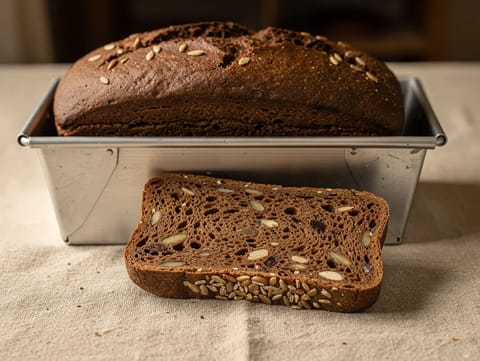
Nordic Rugbrød (Dense Rye Bread with Sunflower Seeds)
Dense Nordic rye bread with treacle and sunflower seeds
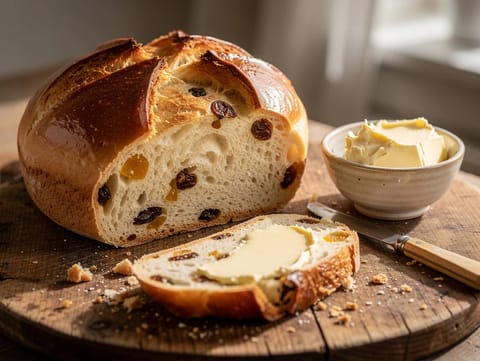
Osterbrot (German Easter Bread with Raisins and Candied Peel)
Lightly sweet German Easter bread with raisins and candied peel
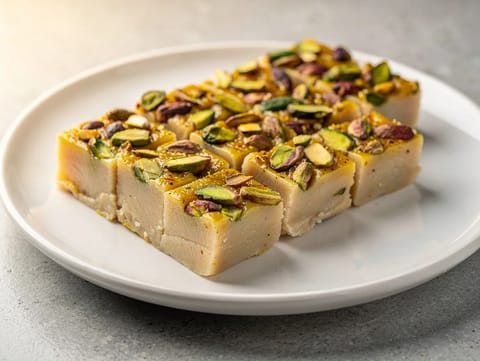
Barfi (Milk Sweet Bars)
Fudgy barfi made from reduced milk, cardamom and pistachios
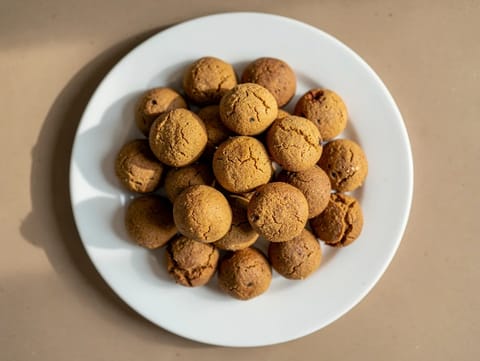
Pepernoten (Dutch Spiced Cookies)
Small Dutch spiced cookies baked until crisp

Tyropitakia (Greek Cheese Mini-Pastries with Filo)
Greek filo triangles filled with feta, ricotta and dill
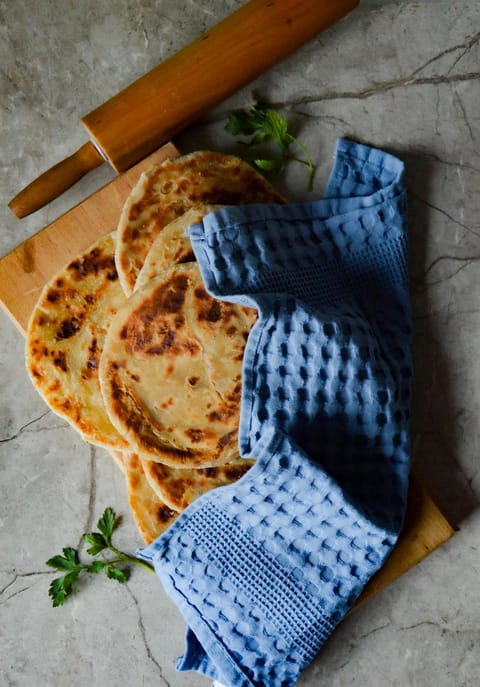
Msemen (Moroccan Layered Flatbread)
Layered Moroccan flatbread folded with olive oil and griddled
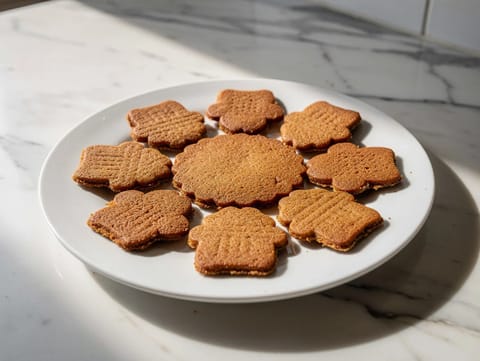
Speculaasjes (Dutch Spiced Biscuits)
Crisp Dutch spiced biscuits with cinnamon and mixed spice

Bignè alla Crema (Italian Cream Puffs with Vanilla Pastry Cream)
Choux cream puffs filled with vanilla pastry cream

Gubana (Friulian Sweet Spiral Loaf with Nuts and Raisins)
Friulian sweet spiral loaf with nuts, raisins and rum

Cornetto al Burro (Italian Butter Croissant)
Italian butter cornetti baked golden and finished with icing sugar

Filhoses (Portuguese Fried Christmas Pastries)
Portuguese fried pastries coated in cinnamon sugar
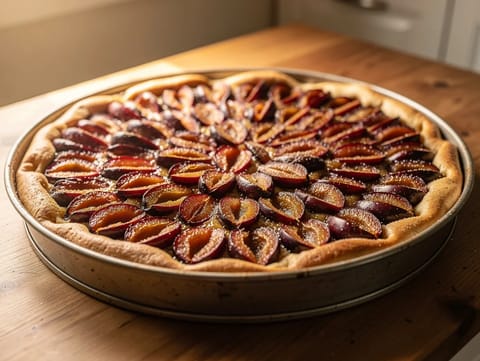
Zwetschgenkuchen (German Plum Cake with Yeasted Base)
German plum cake with yeasted base and cinnamon sugar

New Year’s Waffles (Gaufres du Nouvel An)
Yeast-raised Belgian waffles dusted with icing sugar

Kaiserschmarrn (Torn Pancake) with Apple Compote
Fluffy torn pancake with raisins, icing sugar and apple compote
You might also like
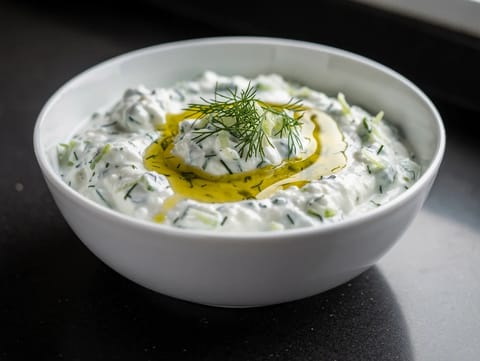
Cacik (Turkish Yoghurt and Cucumber Dip)
Chilled Turkish yoghurt and cucumber dip with dill and garlic

Empanadas Argentinas (Baked Beef-Filled Pastries)
Baked pastries filled with minced beef, onion and spices

Thai Chicken Lettuce Cups
Lettuce cups filled with minced chicken, lime and herbs

Chè Trôi Nước (Vietnamese Floating Rice Balls in Ginger Syrup)
Glutinous rice balls with mung bean in ginger syrup

Classic Baked Mac and Cheese
Baked macaroni in creamy cheddar sauce with a breadcrumb topping

Tarka Dal with Crispy Fried Onions
Creamy tarka dal topped with crispy fried onions
Make this recipe easier next time
AdvertisementThese tools help you get better results with less effort.
KitchenAid Stainless Steel Mixing Bowls
- Non-slip base
- Stainless steel
- Not microwave safe
Pyrex Glass Mixing Bowls with Lids
- Microwave safe
- BPA-free lids
- Glass is heavier
OXO Good Grips Stainless Mixing Bowl Set
- Non-slip base
- Comfort grip
- Higher price
Enjoy cooking with JustRecipes?
Add JustRecipes as one of your preferred Google sources to discover our recipes more easily across Google Search.
Add JustRecipes to GoogleEvery recipe on JustRecipes follows the same structured editorial process. Learn how recipes are created, validated, translated, illustrated, and continuously improved across the platform. How we create recipes.
