
Whoopie Pies with Vanilla Buttercream
Why this recipe works
- Soft cake, creamy filling: The tender chocolate rounds stay light enough to sandwich neatly around a whipped vanilla buttercream.
- Balanced sweetness: Cocoa and buttermilk give the cakes a gentle tang and depth, keeping the sweet buttercream from feeling flat.
- Easy to portion: Baking the batter as individual rounds makes the finished pies simple to serve, pack and share.
- Chills well: The filled pies can be refrigerated, which helps the buttercream set and makes them practical for preparing in advance.
Get the most out of this recipe
Timing notes
- Cool completely before filling: Even slightly warm cakes can soften or melt the buttercream, so let the rounds cool fully on a rack before assembling.
- Serve slightly softened: If refrigerated, let the whoopie pies stand at room temperature before serving so the cake softens and the filling tastes creamy rather than firm.
Texture tips
- Keep the crumb tender: Once the flour mixture and buttermilk are added, mix only until the batter is smooth and no dry pockets remain.
- Check for springiness: The cakes are ready when the tops spring back lightly; baking too long can make the rounds dry rather than soft.
- Smooth the batter rounds: Lightly smoothing the tops before baking helps the cakes rise into neater, more even sandwich halves.
Make-ahead tips
- Chill to set the filling: A short chill after assembly helps the buttercream firm up, especially in a warm kitchen.
- Freeze assembled pies: Freeze in a single layer until firm, then pack into an airtight container and defrost overnight in the fridge.
- Best packed cold: For transporting, chill the pies first so the filling holds its shape and the sandwiches stay tidy.
Ingredient notes
- Use softened butter: Softened butter creams more evenly into both the cake batter and the buttercream, helping create a lighter texture.
- Buttermilk matters: Buttermilk gives the chocolate cakes tenderness and a mild tang; if using the suggested milk-and-vinegar substitute, let it stand before adding.
- Choose good cocoa: Cocoa is the main flavour in the cake rounds, so a well-flavoured cocoa powder will make the finished pies taste more chocolatey.
Equipment you'll need
Ingredients
Chocolate cakes
Vanilla buttercream filling
Instructions
- Heat the oven to 180°C (355°F) and line two baking trays. In a bowl, whisk together the flour, cocoa and bicarbonate of soda until evenly combined.
- In a separate bowl, beat the butter and granulated sugar until pale and fluffy. Beat in the egg and vanilla until smooth.
- Add the dry ingredients in two additions, alternating with the buttermilk, mixing just until you have a thick, smooth batter. Scrape down the bowl so there are no dry pockets.
- Spoon the batter into 16 even rounds on the trays, leaving space for spreading. Bake for 10 to 12 minutes, until the tops spring back when lightly pressed.
- Cool the cakes on the trays for 5 minutes, then transfer to a rack to cool completely. If they are even slightly warm, the filling will melt.
- Make the buttercream: beat the butter until very soft and creamy, then add the icing sugar in stages so it does not puff everywhere. Beat in the vanilla, then add the milk and cream and beat for 1 to 2 minutes until light and fluffy.
- Turn half the cakes upside down and spread or pipe the buttercream over them, using it all. Sandwich with the remaining cakes, pressing gently so the filling reaches the edges.
Recipe notes
Tips
- For evenly sized cakes, use a tablespoon measure or a small ice cream scoop to portion the batter, then smooth the tops lightly with the back of the spoon.
- If your kitchen is warm, chill the filled whoopie pies for 15 minutes to help the buttercream set before serving.
Substitutions
- Replace Buttermilk with Milk and cream mixed with 1 tsp distilled white vinegar, then leave for 5 minutes before using.
- Replace Vanilla extract with Madagascar vanilla paste for a more intense vanilla flavour.
Storage
- Refrigerate up to 3 days
- Store whoopie pies in an airtight container in the fridge. Let them sit at room temperature for 15 to 20 minutes before serving; freeze in a single layer until firm, then pack into a container and defrost overnight in the fridge.
Ratings & reviews
Liked this recipe? Share your feedback to support our cooking community.
Tried this recipe?
Choose 1–5 stars. A comment is optional.
Stay inspired
Discover new recipes, seasonal favourites and cooking inspiration every day. Follow JustRecipes on Pinterest and Spillt.
Recipe overview
- Servings: 8 servings
- Total time: 55min (35min active)
- Difficulty: Medium
- Cuisine: American
-
Allergens:
Eggs Gluten Milk Wheat
Plan your meals and get a complete grocery list automatically.
Add to meal plannerEquipment you'll need
Got ingredients left?
Find recipes using ingredients from this recipe or what you already have at home.
Find recipes with these ingredients →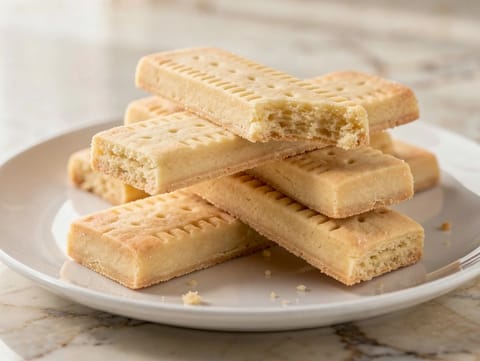
Scottish Shortbread
Buttery Scottish shortbread baked until pale gold
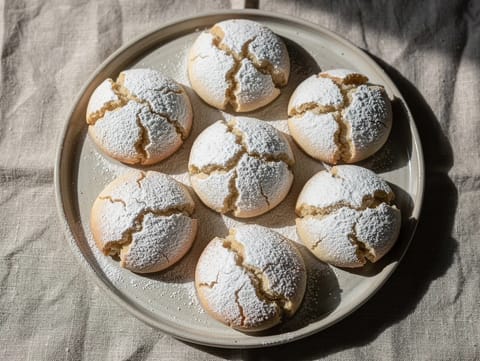
Ghriba (Moroccan Crackled Almond Biscuits)
Crackled almond biscuits flavoured with orange blossom water

Gingerbread Cookies with Treacle and Warm Spices
Treacle gingerbread cookies with warm spices and crisp edges
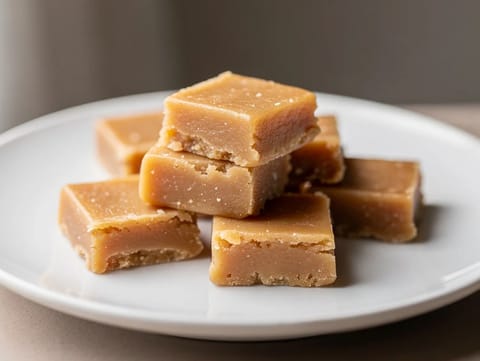
Scottish Tablet (Crumbly Butter Sweets)
Crumbly Scottish tablet made with butter and condensed milk
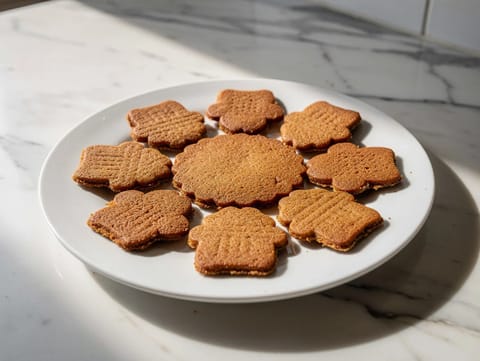
Speculaasjes (Dutch Spiced Biscuits)
Crisp Dutch spiced biscuits with cinnamon and mixed spice
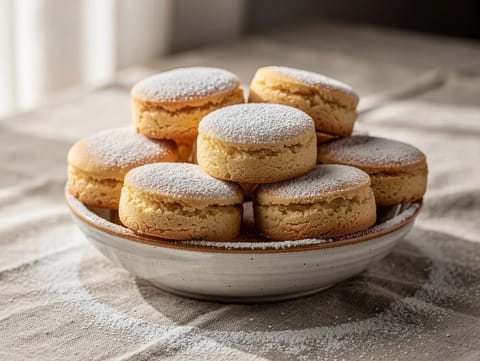
Mantecados (Spanish Holiday Shortbread Biscuits)
Tender shortbread biscuits with cinnamon, vanilla and icing sugar
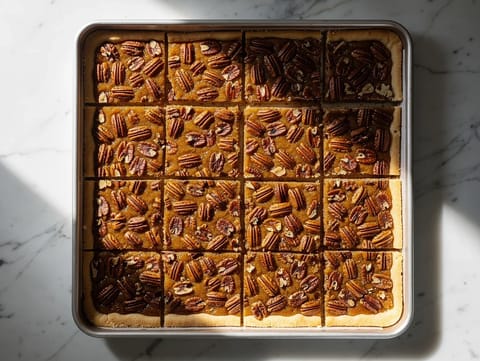
Pecan Pie Bars
Shortbread bars topped with maple and brown sugar pecans
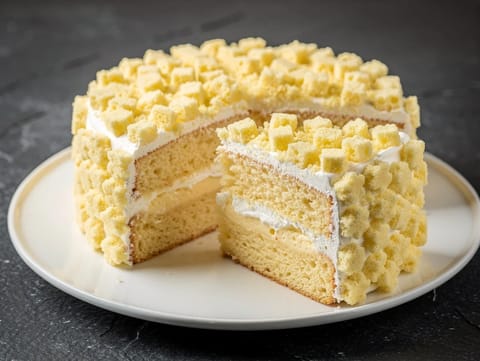
Torta Mimosa (Italian Sponge Cake with Pastry Cream)
Italian sponge cake with pastry cream and whipped cream
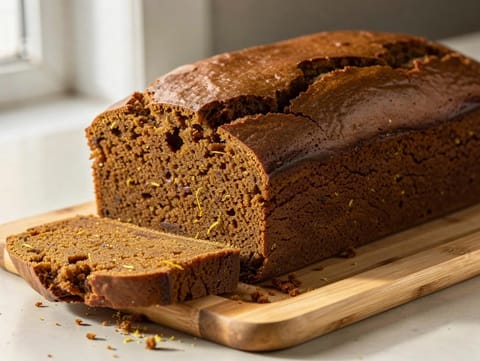
Pain d’Épices (French Honey and Rye Gingerbread Loaf)
French honey and rye gingerbread loaf with warming spices
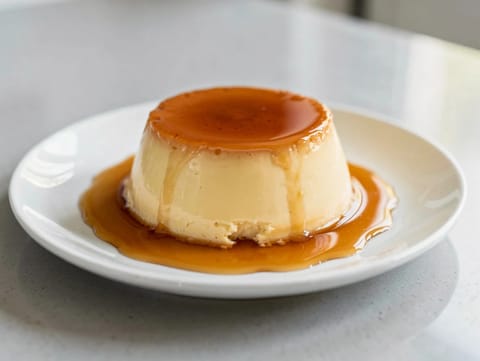
Gluten-Free Crème Caramel (Vanilla Baked Custard with Caramel)
Silky vanilla custard turned out with caramel sauce
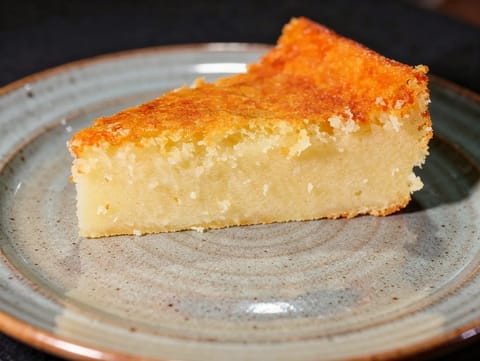
Toucinho do Céu (Portuguese Almond Cake)
Dense Portuguese almond cake finished with icing sugar
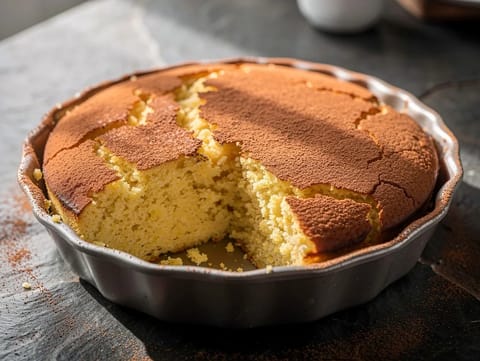
Pastel de Elote (Mexican Corn Cake)
Mexican sweetcorn cake with condensed milk and cinnamon
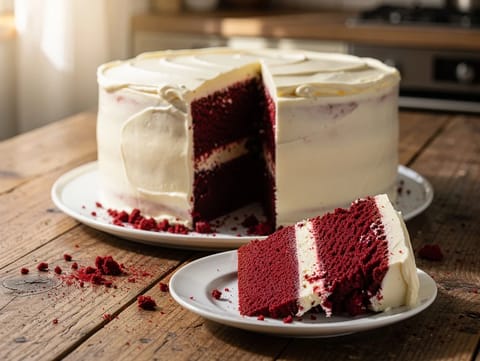
Red Velvet Cake with Cream Cheese Icing
Red velvet cake with cocoa and cream cheese icing
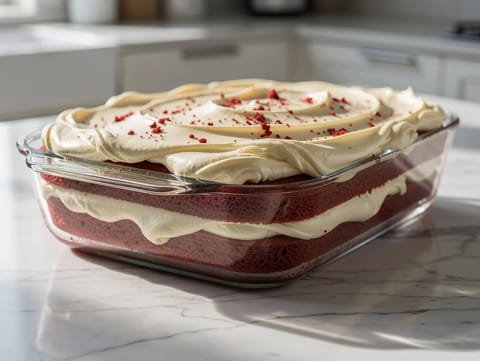
Red Velvet Cake with Cream Cheese Frosting
Red velvet cake with tangy cream cheese frosting
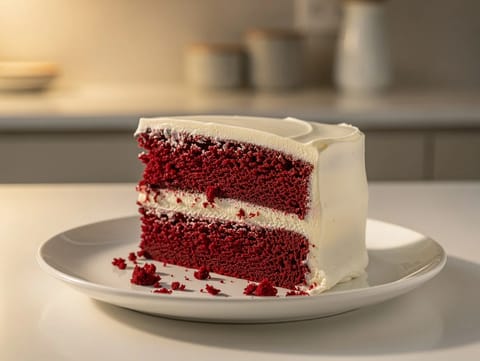
Red Velvet Cake with Cream Cheese Frosting
Red velvet cake layered with cream cheese frosting
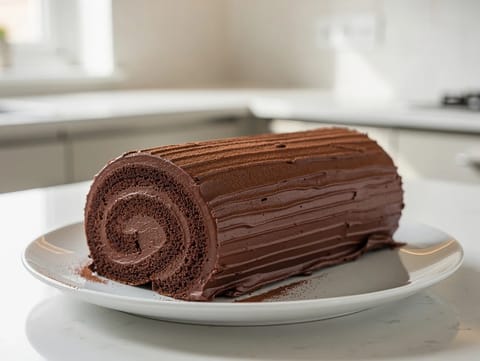
Bûche de Noël (Yule Log Cake) with Chocolate Buttercream
Chocolate sponge roll filled and coated with chocolate buttercream
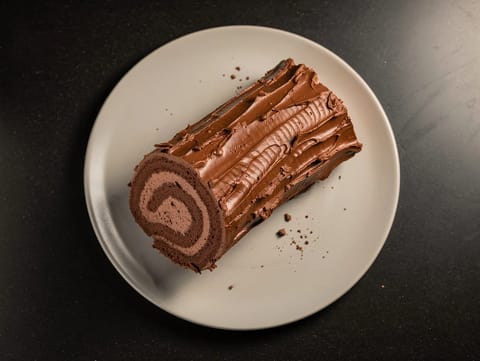
Yule Log (British Style)
Chocolate Swiss roll filled and coated with chocolate buttercream
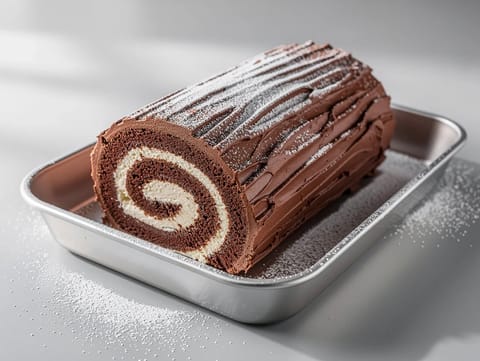
Nordic Yule Log Cake (Chocolate Swiss Roll)
Cocoa Swiss roll filled with whipped cream and buttercream
You might also like

Smoked Sardine Pasta
Smoked sardine pasta with lemon, garlic and parsley
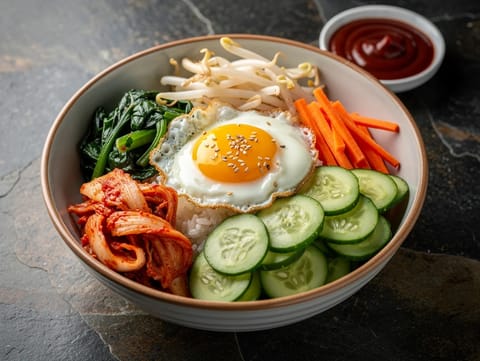
Modern Bibimbap Bowl
Bibimbap bowl with rice, vegetables, fried egg and gochujang

Kotlet Schabowy (Polish Breaded Pork Cutlet)
Breaded Polish pork cutlet fried until golden and crisp
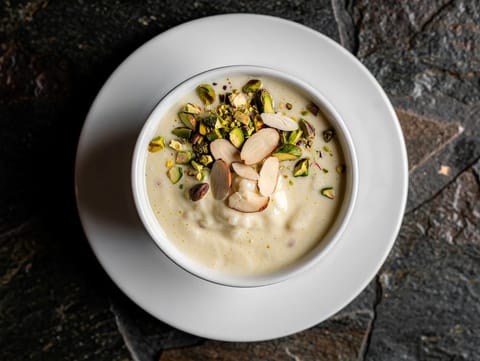
Phirni (Chilled Rice Pudding with Saffron)
Chilled phirni rice pudding with cardamom, saffron and nuts

Sichuan Glazed Salmon
Pan-seared salmon with a sticky Sichuan-style soy glaze
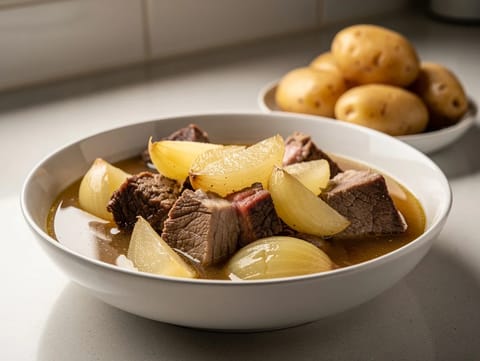
Karelian Stew (Karjalanpaisti)
Slow-cooked beef and pork stew with allspice
Make this recipe easier next time
AdvertisementThese tools help you get better results with less effort.
KitchenAid Stainless Steel Mixing Bowls
- Non-slip base
- Stainless steel
- Not microwave safe
Pyrex Glass Mixing Bowls with Lids
- Microwave safe
- BPA-free lids
- Glass is heavier
OXO Good Grips Stainless Mixing Bowl Set
- Non-slip base
- Comfort grip
- Higher price
Enjoy cooking with JustRecipes?
Add JustRecipes as one of your preferred Google sources to discover our recipes more easily across Google Search.
Add JustRecipes to GoogleEvery recipe on JustRecipes follows the same structured editorial process. Learn how recipes are created, validated, translated, illustrated, and continuously improved across the platform. How we create recipes.
