
Baklava (Greek Walnut Phyllo Dessert)
Why this recipe works
- Crisp layered pastry: Lightly buttered phyllo sheets bake into distinct, flaky layers rather than becoming heavy.
- Warm, nutty filling: Walnuts, cinnamon and cloves give the filling depth without overpowering the honey syrup.
- Brightened syrup: Lemon cuts through the sweetness of the honey and sugar, keeping the finish glossy but not flat.
- Improves as it rests: Resting allows the syrup to absorb evenly and helps the cut pieces hold their shape.
Get the most out of this recipe
Timing notes
- Cool before serving: Let the baklava cool fully at room temperature so the syrup settles into the layers instead of pooling.
- Best after a short rest: A brief rest after cooling gives cleaner slices and a more even texture.
- Good the next day: Baklava holds well, and the flavour becomes more rounded once the syrup has had time to absorb.
Texture tips
- Keep the phyllo light: Brush each sheet lightly with butter; too much can weigh down the pastry and reduce crispness.
- Bake until deeply golden: A pale top usually means the inner layers need more time to crisp before the syrup is added.
- Cut before baking: Scoring all the way through before baking gives defined pieces and lets syrup reach the edges evenly.
Ingredient notes
- Use fresh walnuts: Walnuts are central to the flavour, so avoid any that taste stale or bitter.
- Chop, don’t paste: The nuts should be finely chopped but still textured; over-processing makes the filling dense.
- Choose good honey: The syrup is simple, so a clean-tasting honey makes a noticeable difference.
Make-ahead tips
- Make ahead for serving: Baklava is well suited to preparing in advance because it needs time for the syrup to absorb.
- Refresh gently: To revive crispness, warm pieces in a 160°C (320°F) oven until lightly refreshed.
- Freeze after baking: Freeze cooled pieces in a single layer before packing airtight, then thaw at room temperature.
Equipment you'll need
Ingredients
Instructions
- Heat the oven to 170°C (340°F). Melt the butter in a saucepan over low heat, then keep it warm so it stays fluid.
- Make the filling: finely chop the walnuts (a food processor is easiest, but do not turn them into a paste). Tip into a bowl and mix with the ground cinnamon and ground cloves.
- Brush a baking dish generously with melted butter. Lay in a sheet of phyllo, brush lightly with butter, then repeat to build a base of about 10 sheets, keeping the remaining phyllo covered so it does not dry out.
- Sprinkle over a thin, even layer of the walnut mixture. Add 5 sheets of phyllo, buttering each one, then add another layer of walnuts; repeat until the walnuts are used up, finishing with about 10 buttered sheets on top.
- Using a sharp knife, cut the baklava into 12 squares (or diamonds) all the way through to the base. Drizzle any remaining butter over the top, letting it run into the cuts.
- Bake for 60 to 70 minutes until deeply golden and crisp, rotating the dish halfway through for even colour. While it bakes, make the syrup.
- Put the caster sugar, honey and water into a saucepan. Finely grate in the lemon zest, then squeeze in the juice; simmer for 8 to 10 minutes until slightly thickened and glossy, then stir in the vanilla extract.
- As soon as the baklava comes out of the oven, slowly pour the warm syrup evenly over the hot pastry, aiming for the cuts and edges. Leave uncovered at room temperature until fully cool and the syrup is absorbed.
- Once cool, re-cut along the lines to separate cleanly, then lift out the pieces. For the best texture, rest for at least 30 minutes before serving so the layers set.
Recipe notes
Tips
- Keep the phyllo covered with a barely damp tea towel while you work, and only take out a few sheets at a time to prevent cracking.
- Butter each sheet lightly rather than soaking it; too much butter can make the layers heavy instead of crisp.
- If serving to vulnerable groups, use pasteurised eggs in any accompanying custards or creams, and ensure the baklava is fully baked and cooled before storing.
Substitutions
- Replace Walnuts with Pistachios for a greener, slightly sweeter filling.
- Replace Honey with Maple syrup for a different but still glossy syrup.
Storage
- Refrigerate up to 5 days
- Store in an airtight container at cool room temperature for the crispest layers, or in the fridge if your kitchen is warm. To refresh, warm pieces in a 160°C (320°F) oven for 6 to 8 minutes. Freeze in a single layer, then pack airtight; thaw at room temperature and re-crisp briefly in the oven.
Ratings & reviews
Liked this recipe? Share your feedback to support our cooking community.
Tried this recipe?
Choose 1–5 stars. A comment is optional.
Stay inspired
Discover new recipes, seasonal favourites and cooking inspiration every day. Follow JustRecipes on Pinterest and Spillt.
Recipe overview
- Servings: 12 pieces
- Yield: baklava squares
- Total time: 3h (55min active)
- Difficulty: Advanced
- Cuisine: Greek
-
Allergens:
Gluten Milk Tree nuts Walnuts Wheat
Plan your meals and get a complete grocery list automatically.
Add to meal plannerEquipment you'll need
Got ingredients left?
Find recipes using ingredients from this recipe or what you already have at home.
Find recipes with these ingredients →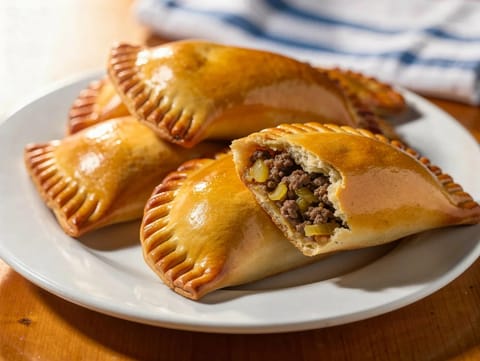
Empanadas Argentinas (Baked Beef-Filled Pastries)
Baked pastries filled with minced beef, onion and spices
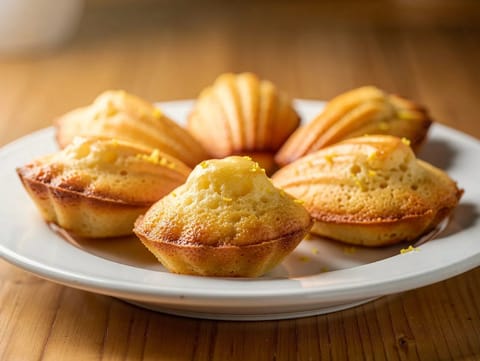
Madeleines (French Shell Cakes with Lemon and Vanilla)
Buttery shell-shaped cakes with lemon zest and vanilla
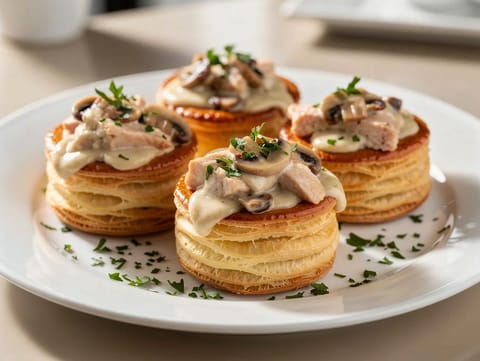
Bouchées à la Reine (Vol-au-Vents with Creamy Chicken and Mushrooms)
Vol-au-vents filled with creamy chicken and mushroom sauce
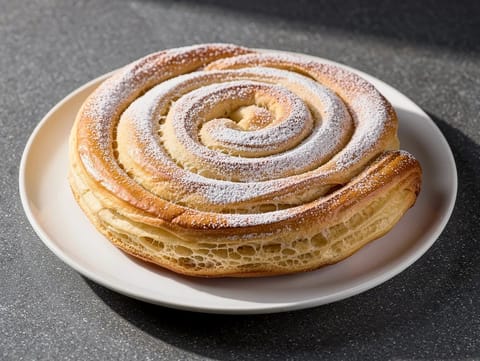
Ensaimada (Mallorcan Sweet Spiral Pastry)
Mallorcan spiral yeast pastry brushed with lard and icing sugar
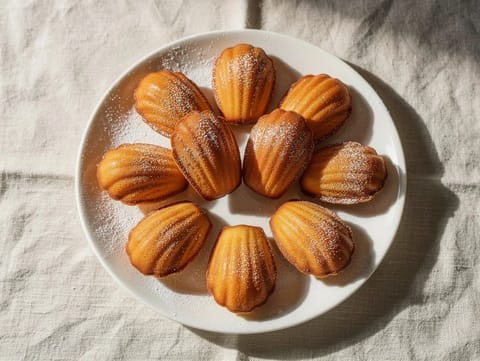
Madeleines de Commercy (French Shell Cakes)
French shell cakes with lemon zest, vanilla and icing sugar
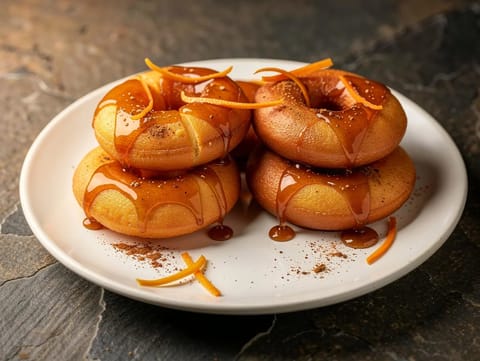
Picarones (Fried Squash and Sweet Potato Doughnuts)
Fried squash and sweet potato ring doughnuts with cinnamon orange syrup
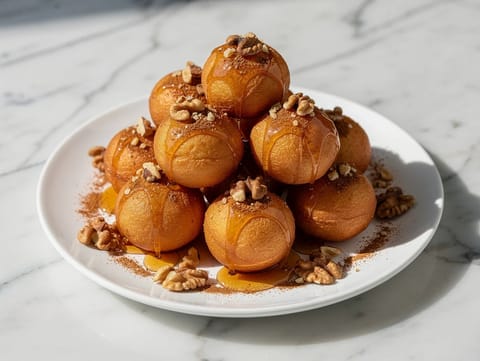
Loukoumades (Greek Honey Doughnuts with Walnuts and Cinnamon)
Greek honey doughnuts topped with walnuts and cinnamon
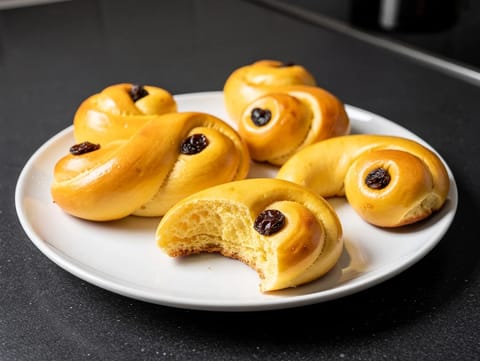
Lussekatter (Swedish Saffron Buns with Cardamom and Raisins)
Swedish saffron buns shaped into curls with raisins
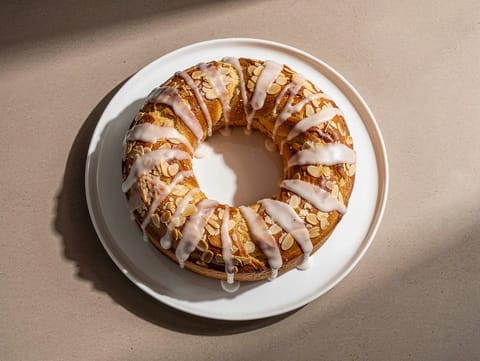
Amandelkrans (Almond Wreath Pastry)
Buttery almond wreath pastry with flaked almonds and icing glaze
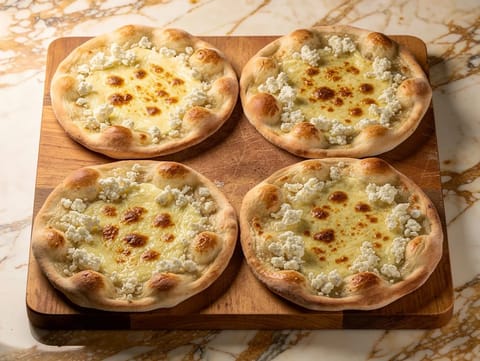
Manakish Cheese (Middle Eastern Flatbread)
Yeasted flatbreads topped with mozzarella and feta
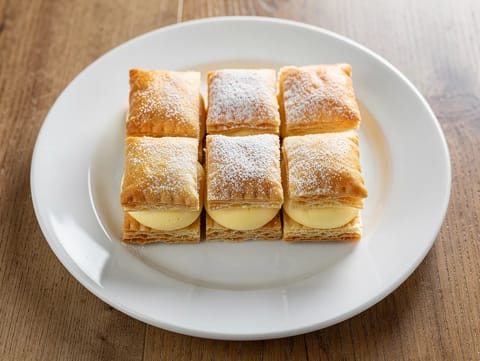
Millefoglie con Crema Pasticcera (Italian Mille-Feuille)
Crisp puff pastry layered with vanilla custard
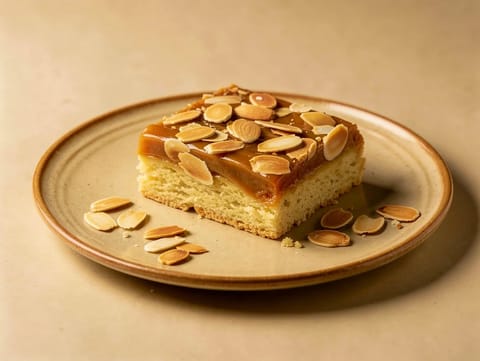
Mazurek (Polish Easter Shortcrust Tart)
Polish shortcrust tart topped with caramel and toasted almonds
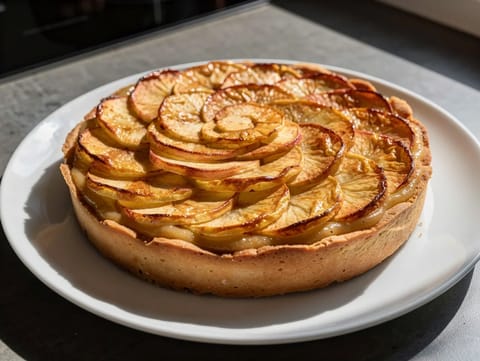
Croustade aux Pommes (Apple Pastry Tart)
Buttery apple tart with compote and cinnamon
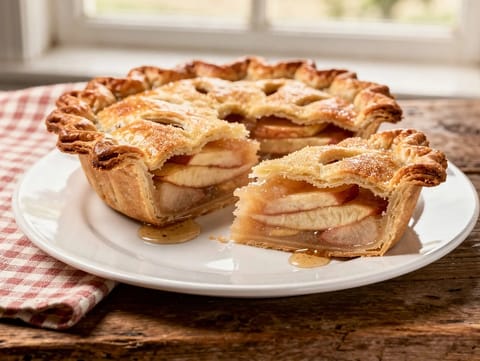
Classic Apple Pie with Shortcrust Pastry
Shortcrust apple pie with cinnamon and lemon
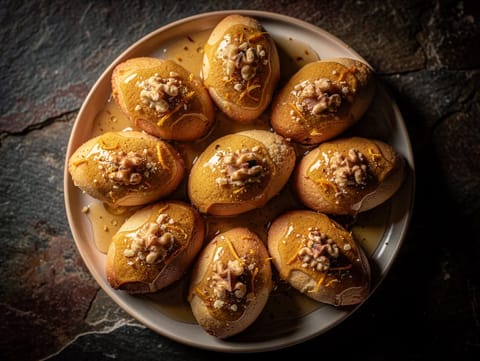
Melomakarona (Greek Honey Christmas Biscuits)
Greek honey-soaked biscuits with orange, spices and walnuts
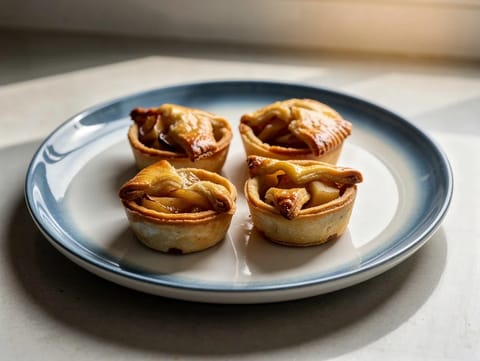
Air Fryer Mini Apple Pies
Mini apple pies air-fried with cinnamon and lemon.
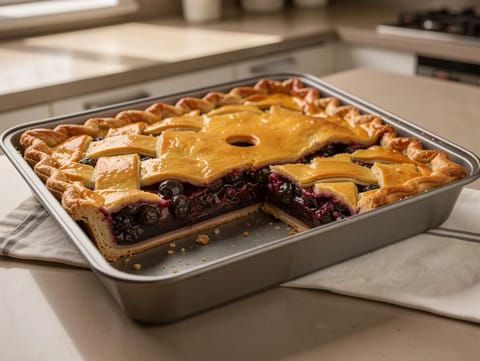
Air Fryer Blueberry Pie
Air fryer blueberry pie with lemon and cornflour-thickened filling.
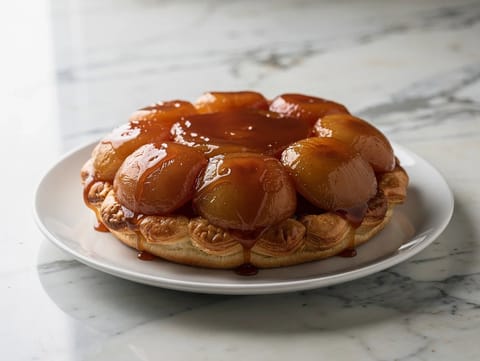
Tarte Tatin (Caramelised Apple Tart)
Upside-down caramelised apple tart with puff pastry
You might also like
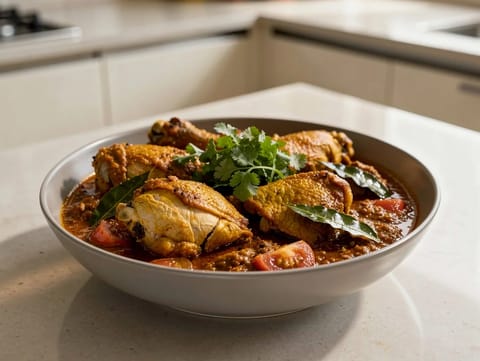
Chicken Chettinad Curry
South Indian chicken curry with toasted spices, pepper and coconut
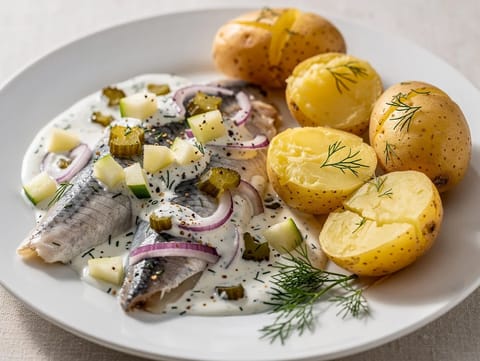
Matjesfilet nach Hausfrauenart (Pickled Herring in Cream Sauce)
Pickled herring in sour cream with apple and gherkins
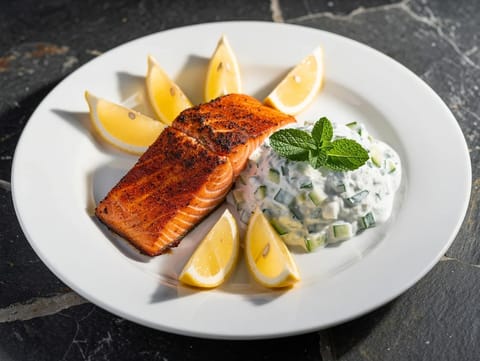
Tandoori Salmon with Cucumber Raita
Baked tandoori-style salmon with cucumber and mint raita
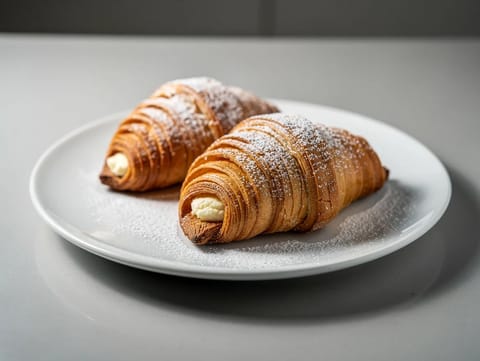
Sfogliatelle Ricce (Layered Italian Pastries with Ricotta and Semolina)
Crisp sfogliatelle ricce with ricotta and semolina filling
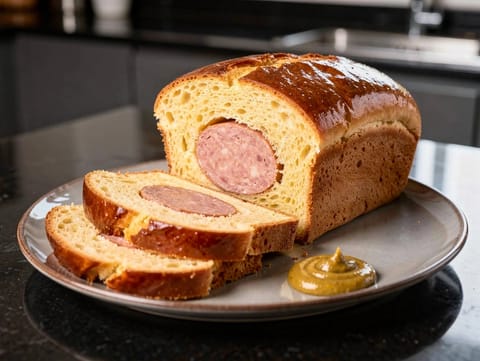
Saucisson Brioché (Sausage Baked in Brioche Dough)
Pork sausage baked inside soft brioche
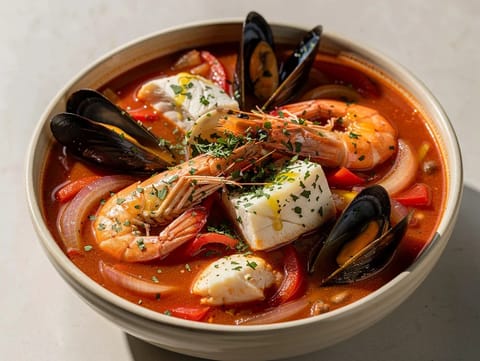
Cazuela de Mariscos (Chilean Seafood Casserole)
Seafood casserole with prawns, mussels and white fish
Make this recipe easier next time
AdvertisementThese tools help you get better results with less effort.
Misen 8-Inch Chef Knife
- AUS-10 steel
- Balanced design
- Less traditional feel
T-fal Specialty Nonstick Handy Pot with Glass Lid 3 Quart
- Easy food release
- Dishwasher safe
- Not induction compatible
WÜSTHOF Classic 8-Inch Chef's Knife
- Excellent build quality
- Reliable edge retention
- Expensive
WMF Mini Saucepan 16 cm with Lid
- High-quality stainless steel
- Even heat distribution
- Higher price point
Enjoy cooking with JustRecipes?
Add JustRecipes as one of your preferred Google sources to discover our recipes more easily across Google Search.
Add JustRecipes to GoogleEvery recipe on JustRecipes follows the same structured editorial process. Learn how recipes are created, validated, translated, illustrated, and continuously improved across the platform. How we create recipes.
