
Religieuse (Chocolate-Filled Choux Buns with Glaze)
Why this recipe works
- Crisp choux structure: Cooking the flour paste before baking helps the buns rise into light, hollow shells that can hold plenty of filling.
- Smooth chocolate filling: The crème pâtissière thickens on the hob, then chocolate adds richness and helps it set to a pipeable consistency.
- Classic pâtisserie finish: The glaze secures the stacked buns and the buttercream collar creates the recognisable religieuse shape.
Get the most out of this recipe
Timing notes
- Chill the filling fully: The chocolate crème pâtissière needs to be cold and pipeable before filling the buns, otherwise it will be too loose.
- Cool the choux completely: Fill only once the buns are fully cool; warm choux can soften the custard and lose its crispness.
- Best texture window: Assembled religieuse soften as they stand, so serve once the glaze and collar have set for the cleanest contrast.
Texture tips
- Bake to a deep golden colour: Pale choux often collapse or turn soggy, so bake until well coloured and dry before cooling.
- Dry the shells in the oven: Leaving the buns in the switched-off oven with the door cracked helps steam escape and keeps the shells sturdier.
- Loosen the custard before piping: Briefly whisk the chilled crème pâtissière until smooth so it pipes cleanly into the buns.
Common mistakes
- Opening the oven too early: Do not open the oven door during the first stage of baking, as the sudden temperature drop can make the choux collapse.
- Adding eggs too quickly: Beat the eggs into the choux paste gradually and stop when it falls from the spoon in a thick V shape.
- Undercooking the custard: Cook the crème pâtissière until thick and bubbling so it sets properly and is safe to serve.
Authenticity notes
- Stacked choux construction: Religieuse are defined by a larger filled choux bun topped with a smaller one, joined with glaze or buttercream.
- Chocolate version: Chocolate crème pâtissière and chocolate glaze are among the most recognisable versions of this French pastry.
- Neat finishing: A piped buttercream collar hides the join and gives the pastry its polished pâtisserie appearance.
Equipment you'll need
Ingredients
Chocolate crème pâtissière
Choux pastry
Chocolate glaze and buttercream collar
Instructions
- Make the chocolate crème pâtissière: warm the milk with the vanilla in a saucepan over medium heat until steaming but not boiling. In a bowl, whisk the eggs with the sugar, then whisk in the cornflour and cocoa until smooth. Pour the hot milk onto the egg mixture in a steady stream, whisking constantly.
- Return the custard base to the saucepan and cook over medium heat, whisking continuously, for 2 to 4 minutes until thick and bubbling. Take off the heat, add the chocolate and whisk until fully melted and glossy. Tip into a bowl, cover the surface directly, and chill until cold and pipeable.
- Heat the oven to 200°C (390°F). Line two baking trays. For the choux, put the butter, milk, water, sugar and salt in a saucepan and bring to a rolling boil.
- Take the pan off the heat, add the flour all at once, and beat hard with a wooden spoon until a smooth paste forms. Return to medium heat and cook the paste for 1 to 2 minutes, stirring, until it forms a ball and leaves a thin film on the base of the pan. Tip into a bowl and leave for 5 minutes to cool slightly.
- Beat in the eggs one at a time until you have a smooth, glossy paste that drops from the spoon in a thick V shape. Pipe 8 large buns (about 5 cm) and 8 small buns (about 3 cm) onto the trays, leaving space for expansion. Smooth any peaks with a fingertip dipped in water.
- Bake for 20 minutes, then reduce the oven to 180°C (355°F) and bake for 10 to 15 minutes more until deep golden and crisp. Turn the oven off, crack the door open, and leave the buns inside for 10 minutes to dry. Cool completely on a rack before filling.
- Whisk the chilled crème pâtissière briefly until smooth, then spoon into a piping bag. Pierce the base of each bun and pipe in the custard until the bun feels heavy. Set aside while you make the glaze.
- For the chocolate glaze, heat the cream in a small saucepan until steaming. Take off the heat, add the chocolate, leave for 1 minute, then stir until smooth and shiny. Dip the tops of the buns into the glaze and let them set for 10 minutes.
- For the buttercream collar, beat the softened butter with the icing sugar and cocoa until smooth and pipeable. Use a little buttercream to stick a small bun on top of each large bun, then pipe a neat collar around the join. Leave to set for 10 minutes before serving.
Recipe notes
Tips
- For evenly risen choux, do not open the oven door during the first 20 minutes of baking, and make sure the buns are a deep golden colour before you cool them.
- If the crème pâtissière feels too firm after chilling, whisk it briefly to loosen it before piping; if it feels loose, chill it a little longer so it holds its shape.
- If serving to pregnant people, young children, older adults, or anyone immunocompromised, use pasteurised eggs where available and ensure the custard is cooked until bubbling and thickened.
Substitutions
- Replace Vanilla extract with vanilla bean paste for a more pronounced vanilla flavour.
- Replace Dark baking chocolate with milk baking chocolate for a sweeter, milder chocolate finish.
Storage
- Refrigerate up to 2 days
- Store assembled religieuse in an airtight container in the fridge for up to 2 days. For the best texture, let them sit at room temperature for 15 minutes before serving; the choux will soften slightly as they stand.
Ratings & reviews
Liked this recipe? Share your feedback to support our cooking community.
Tried this recipe?
Choose 1–5 stars. A comment is optional.
Stay inspired
Discover new recipes, seasonal favourites and cooking inspiration every day. Follow JustRecipes on Pinterest and Spillt.
Recipe overview
- Servings: 8 pieces
- Yield: religieuse towers
- Total time: 2h 30min (1h 15min active)
- Difficulty: Advanced
- Cuisine: French
-
Allergens:
Eggs Gluten Milk Wheat
Plan your meals and get a complete grocery list automatically.
Add to meal plannerEquipment you'll need
Got ingredients left?
Find recipes using ingredients from this recipe or what you already have at home.
Find recipes with these ingredients →
Air Fryer Samosas
Crisp air-fryer samosas with spiced potato and pea filling.
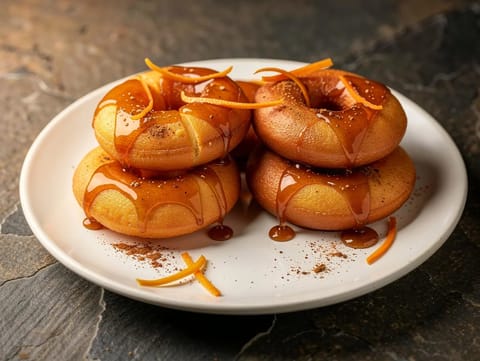
Picarones (Fried Squash and Sweet Potato Doughnuts)
Fried squash and sweet potato ring doughnuts with cinnamon orange syrup
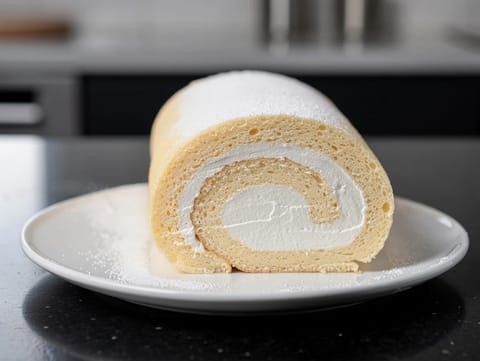
Brazo de Gitano (Swiss Roll with Cream)
Spanish Swiss roll filled with sweetened whipped cream
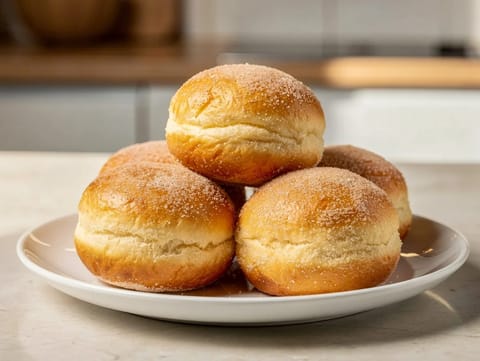
Bomboloni (Italian Filled Doughnuts)
Sugar-coated Italian doughnuts filled with vanilla pastry cream
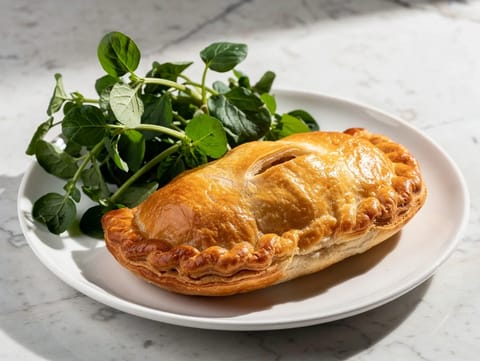
Chicken and Leek Pasty
Baked chicken and leek pasty with a creamy mustard filling.
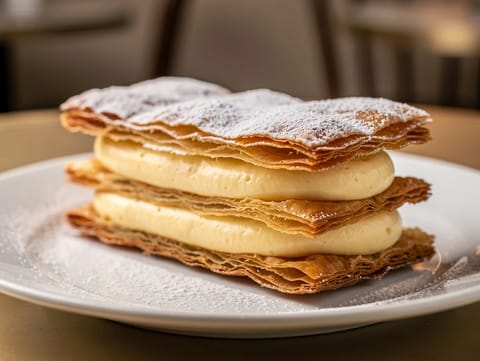
Millefeuille (Vanilla Custard Slice)
Puff pastry layers filled with thick vanilla custard
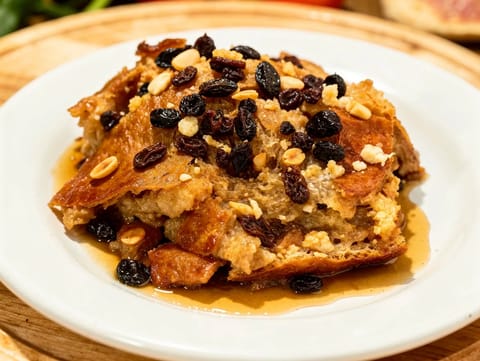
Capirotada (Mexican Bread Pudding with Piloncillo Syrup)
Mexican bread pudding with piloncillo syrup
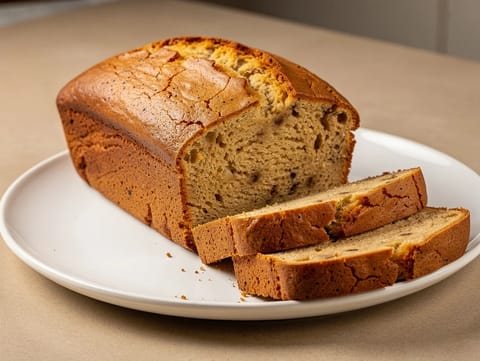
American Banana Bread
Moist banana bread loaf with vanilla
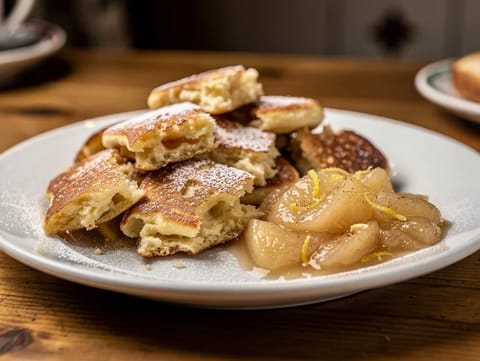
Kaiserschmarrn (Torn Pancake) with Apple Compote
Fluffy torn pancake with raisins, icing sugar and apple compote
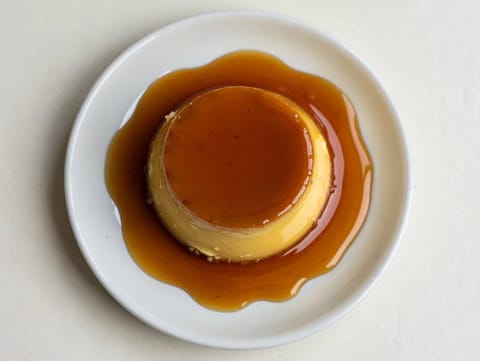
Flan de Naranja (Orange Caramel Flan)
Baked orange caramel flan turned out with its caramel sauce
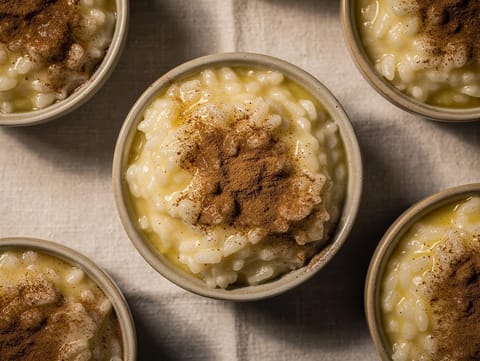
Arroz Doce (Portuguese Rice Pudding)
Portuguese rice pudding with cinnamon, egg yolks and lemon zest
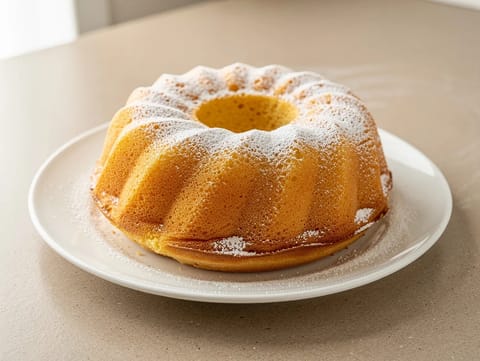
Ciambella (Italian Ring Cake)
Tender Italian ring cake with olive oil and icing sugar
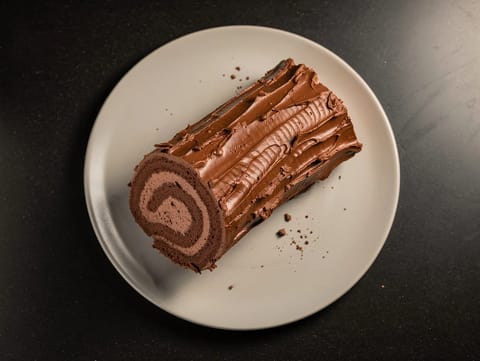
Yule Log (British Style)
Chocolate Swiss roll filled and coated with chocolate buttercream
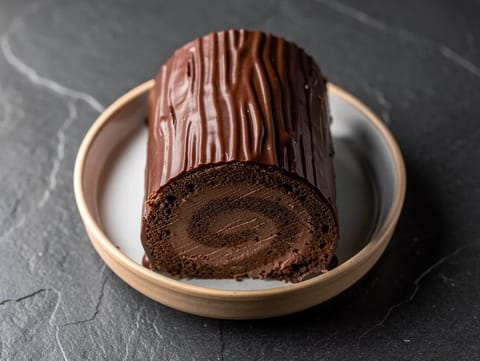
Chocolate Yule Log (Rolled Chocolate Sponge Cake)
Rolled chocolate sponge with chocolate cream and ganache
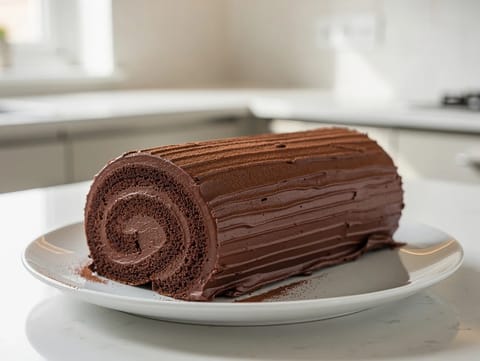
Bûche de Noël (Yule Log Cake) with Chocolate Buttercream
Chocolate sponge roll filled and coated with chocolate buttercream
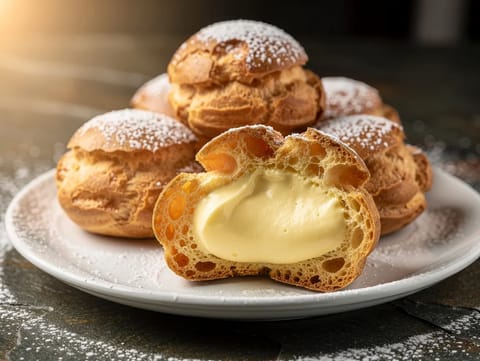
Bignè alla Crema (Italian Cream Puffs with Vanilla Pastry Cream)
Choux cream puffs filled with vanilla pastry cream
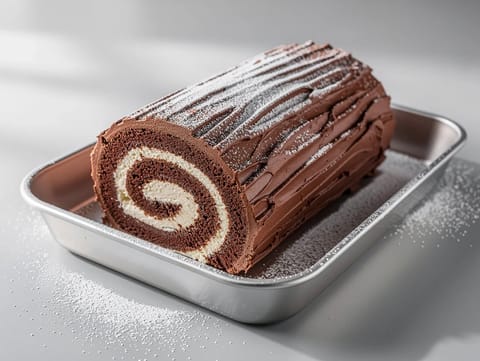
Nordic Yule Log Cake (Chocolate Swiss Roll)
Cocoa Swiss roll filled with whipped cream and buttercream
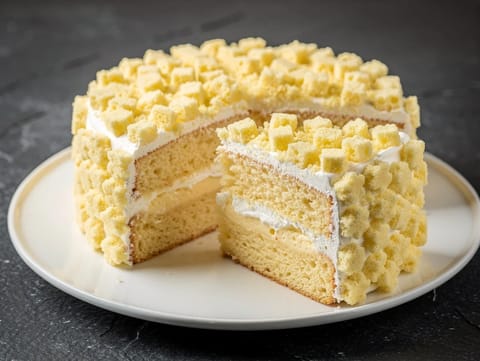
Torta Mimosa (Italian Sponge Cake with Pastry Cream)
Italian sponge cake with pastry cream and whipped cream
You might also like
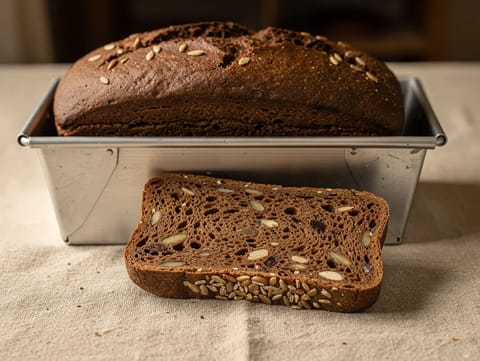
Nordic Rugbrød (Dense Rye Bread with Sunflower Seeds)
Dense Nordic rye bread with treacle and sunflower seeds
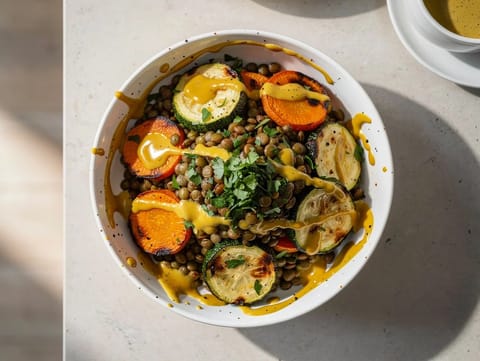
French Lentil and Roasted Vegetable Bowl with Dijon Dressing
Green lentils with roasted carrots and courgettes in Dijon dressing
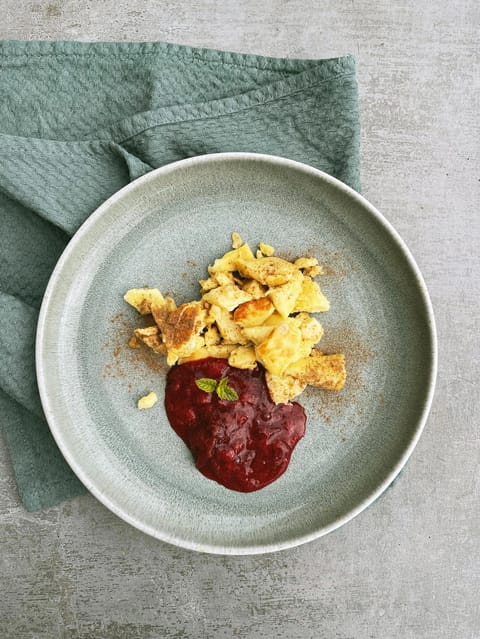
Kaiserschmarrn (Shredded Pancake with Plum Compote)
Fluffy shredded pancake dusted with icing sugar and plum compote
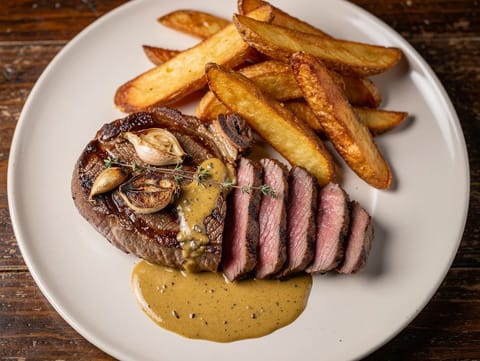
Steak Frites (Sirloin Steak with Twice-Cooked Chips)
Sirloin steak with twice-cooked chips and Dijon shallot sauce
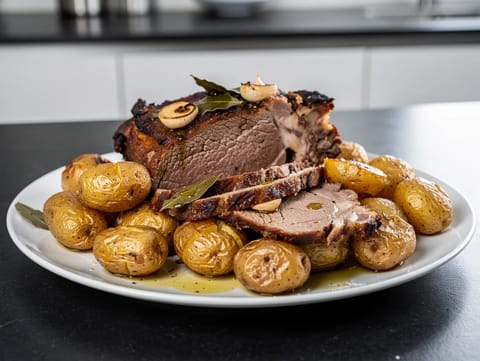
Borrego no Forno (Portuguese Roast Lamb with Potatoes)
Roast lamb with potatoes cooked in the same pan
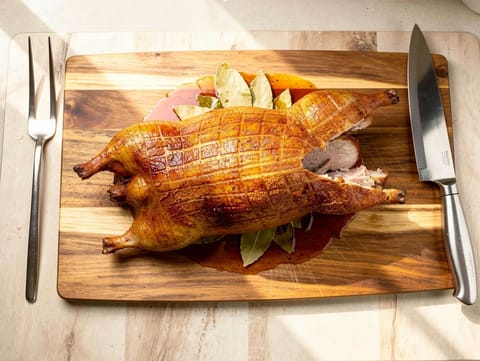
Leitão Assado à Bairrada (Bairrada Roast Suckling Pig)
Roast suckling pig with garlic, bay, paprika and white wine
Make this recipe easier next time
AdvertisementThese tools help you get better results with less effort.
KitchenAid Stainless Steel Mixing Bowls
- Non-slip base
- Stainless steel
- Not microwave safe
T-fal Specialty Nonstick Handy Pot with Glass Lid 3 Quart
- Easy food release
- Dishwasher safe
- Not induction compatible
OXO Good Grips Stainless Mixing Bowl Set
- Non-slip base
- Comfort grip
- Higher price
WMF Mini Saucepan 16 cm with Lid
- High-quality stainless steel
- Even heat distribution
- Higher price point
Enjoy cooking with JustRecipes?
Add JustRecipes as one of your preferred Google sources to discover our recipes more easily across Google Search.
Add JustRecipes to GoogleEvery recipe on JustRecipes follows the same structured editorial process. Learn how recipes are created, validated, translated, illustrated, and continuously improved across the platform. How we create recipes.
