
Appeltaart (Dutch Apple Pie with Cinnamon Apples)
Why this recipe works
- Classic Dutch structure: The deep springform shape and lattice top give the pie its recognisable appeltaart style, with plenty of apple filling held inside a sturdy pastry shell.
- Balanced apple filling: Tart apples and lemon keep the sweetness in check, while cinnamon adds warmth without overpowering the fruit.
- Firm crust, soft filling: Chilling the butter-rich dough helps the pastry keep its shape as the apples bake down into a tender, fragrant filling.
- Slices cleanly after cooling: A short rest allows the apple juices to settle, making the pie easier to release, cut and serve neatly.
Get the most out of this recipe
Timing notes
- Chill the pastry properly: The dough needs time to firm before lining the tin; if it feels soft or greasy while shaping, return it to the fridge briefly.
- Let the filling settle: Cooling in the tin before slicing helps the apple filling thicken and keeps the tall pie from collapsing.
- Serve warm or room temperature: Warm slices feel softer and more fragrant, while room-temperature slices hold their shape more cleanly.
Ingredient notes
- Choose firm tart apples: Braeburn works well because it keeps some structure during baking; Granny Smith gives a sharper, more tangy filling.
- Adjust the sweetness gently: If your apples are especially sweet, keep the lemon prominent; if they are very sharp, balance with a little extra sugar to taste.
- Pack the apples firmly: Pressing the sliced apples down before adding the lattice helps the filling bake into a compact layer that slices neatly.
Texture tips
- Keep the pastry cold: Cold butter and chilled dough help the crust bake up rich and defined rather than slumping in the tin.
- Bake until bubbling: The filling should bubble at the edges and the pastry should be deep golden, signalling that the apples have cooked through and excess moisture has reduced.
Make-ahead tips
- Bake earlier in the day: Appeltaart holds well after cooling, so it can be baked ahead and served later at room temperature.
- Freeze in slices: Cool the pie completely, wrap individual slices well and freeze for later; thaw overnight in the fridge before reheating.
- Reheat for a fresher crust: Warm slices in a 180°C (355°F) oven until heated through to revive the pastry more effectively than microwaving.
Equipment you'll need
Ingredients
Pastry
Apple filling
Instructions
- Put the flour, caster sugar, salt and cinnamon in a mixing bowl. Rub in the cold butter with your fingertips until it looks like fine crumbs. Beat the egg and mix it in to form a dough.
- Divide off about a quarter of the dough for the lattice and set it aside. Press the remaining dough into a disc, wrap and chill both pieces until firm. Chill for 30 minutes.
- Heat the oven to 180°C (355°F). Peel, core and slice the apples, then put them in a bowl. Add the caster sugar, cinnamon and the juice of the lemon, then toss well.
- Press the larger piece of dough evenly over the base and up the sides of a 23 cm springform tin. Tip in the apples and pack them down firmly so the pie holds together when sliced. Level the top.
- Roll out the reserved dough and cut it into strips. Lay the strips over the apples in a lattice pattern, pressing the ends onto the pastry edge to seal. Bake for 55 to 60 minutes until deep golden and the filling is bubbling at the edges.
- Cool the pie in the tin for 15 minutes, then release the ring and transfer to a rack. Leave for at least 10 minutes more before slicing so the filling settles. Serve warm or at room temperature.
Recipe notes
Tips
- If the pastry softens while you are lining the tin, chill it for 10 minutes before adding the apples to help it keep its shape in the oven.
- For neat slices, let the pie cool until just warm; the filling thickens as it stands.
- If serving to vulnerable groups, use eggs with a recognised food safety standard and bake the pie until the centre is piping hot and bubbling.
Substitutions
- Replace Braeburn apple with Granny Smith apple for a sharper, more tart filling.
- Replace caster sugar with light brown sugar for a deeper, caramel-like sweetness.
Storage
- Refrigerate up to 3 days
- Cool completely, then cover and refrigerate. Reheat slices in a 180°C (355°F) oven for 10 to 12 minutes until warmed through, or microwave briefly. Freeze wrapped slices for up to 2 months and thaw overnight in the fridge before reheating.
Ratings & reviews
Liked this recipe? Share your feedback to support our cooking community.
Tried this recipe?
Choose 1–5 stars. A comment is optional.
Stay inspired
Discover new recipes, seasonal favourites and cooking inspiration every day. Follow JustRecipes on Pinterest and Spillt.
Recipe overview
- Servings: 8 servings
- Yield: apple pie (23 cm)
- Total time: 2h (40min active)
- Difficulty: Medium
- Cuisine: Dutch
-
Allergens:
Eggs Gluten Milk Wheat
Plan your meals and get a complete grocery list automatically.
Add to meal plannerEquipment you'll need
Got ingredients left?
Find recipes using ingredients from this recipe or what you already have at home.
Find recipes with these ingredients →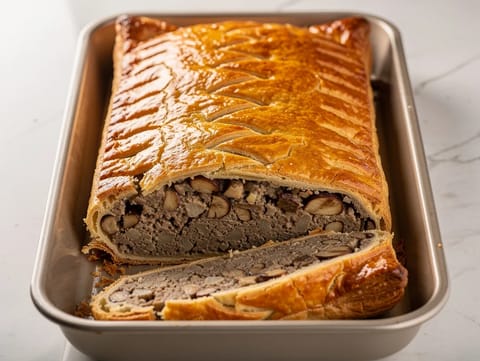
Mushroom and Chestnut Wellington (Vegetarian)
Mushroom and chestnut Wellington baked in crisp puff pastry
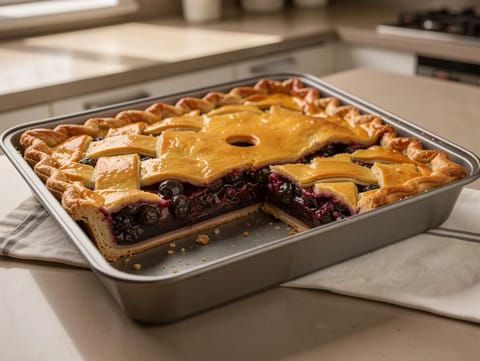
Air Fryer Blueberry Pie
Air fryer blueberry pie with lemon and cornflour-thickened filling.
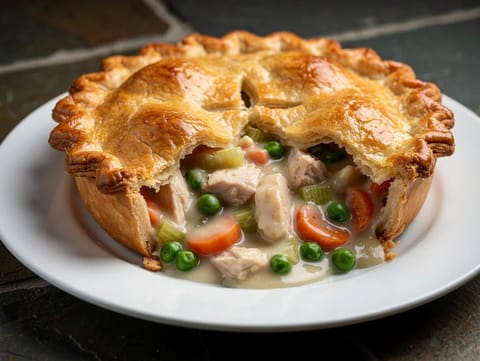
Classic Chicken Pot Pie
Chicken and vegetable pie with shortcrust pastry
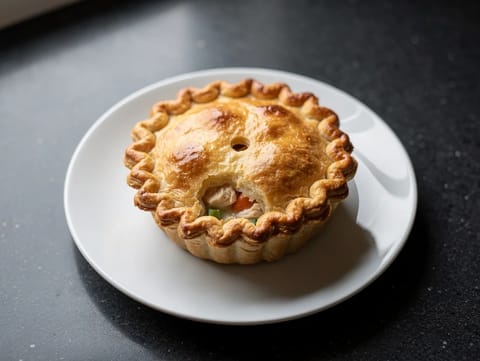
Gluten-Free Chicken Pot Pie
Chicken and vegetables baked under a golden gluten-free pastry lid
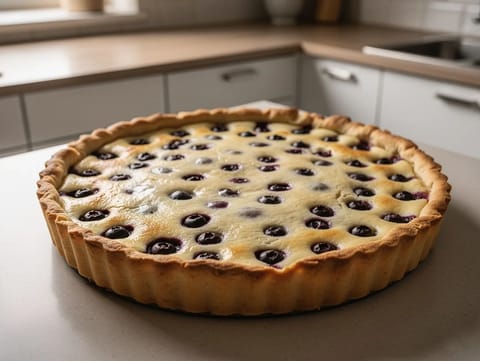
Mustikkapiirakka (Finnish Blueberry Pie with Sour Cream Filling)
Finnish blueberry pie with sour cream filling

Air Fryer Mini Apple Pies
Mini apple pies air-fried with cinnamon and lemon.
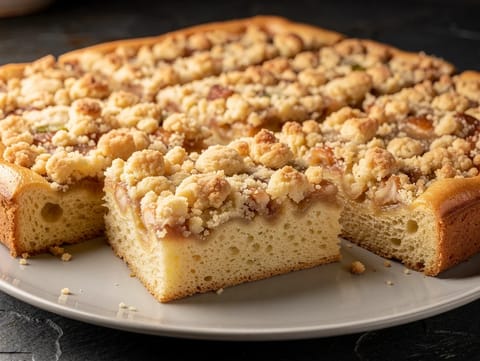
Streuselkuchen (German Yeasted Crumb Cake)
German yeasted crumb cake with a thick buttery streusel topping
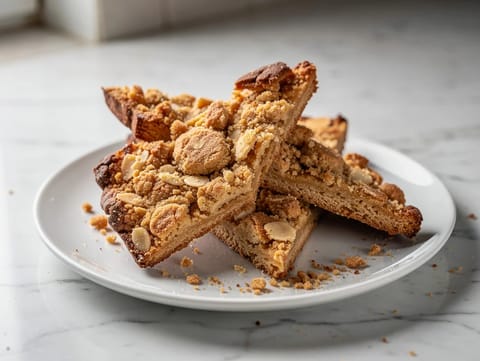
Fregolotta (Venetian Crumbly Almond Cake)
Crumbly Venetian almond cake baked until golden

Lussekatter (Swedish Saffron Buns with Cardamom and Raisins)
Swedish saffron buns shaped into curls with raisins
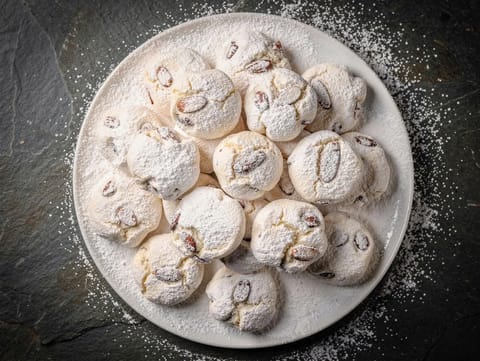
Kourabiedes (Greek Christmas Almond Biscuits)
Greek almond biscuits baked crumbly and dusted with icing sugar
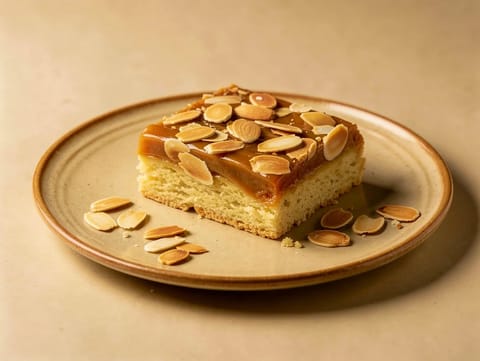
Mazurek (Polish Easter Shortcrust Tart)
Polish shortcrust tart topped with caramel and toasted almonds
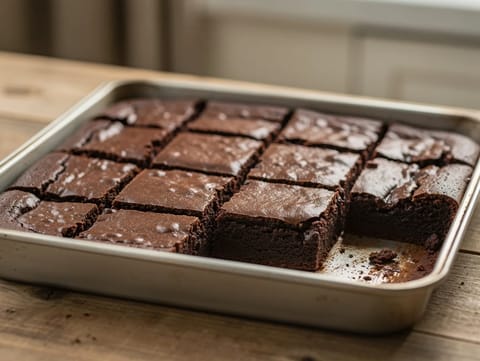
Classic Fudgy Brownies
Fudgy brownies with dark chocolate, cocoa and vanilla
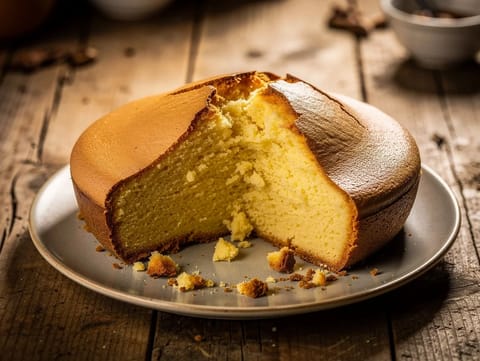
Pão de Ló (Portuguese Sponge Cake)
Light Portuguese sponge cake made with whisked eggs and flour
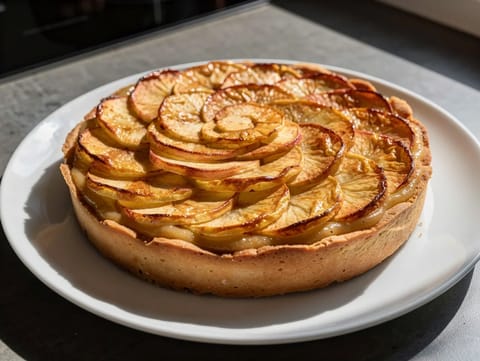
Croustade aux Pommes (Apple Pastry Tart)
Buttery apple tart with compote and cinnamon
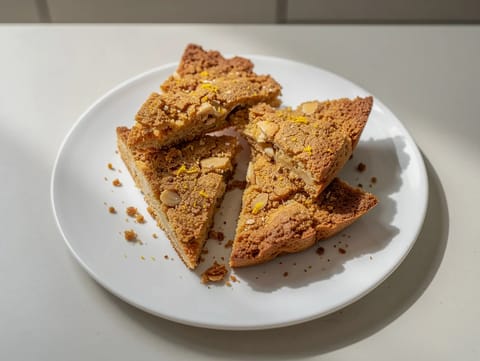
Sbrisolona (Crumbly Almond Cake from Mantua)
Crumbly Mantuan almond cake, baked golden and broken into shards

Classic Apple Pie with Shortcrust Pastry
Shortcrust apple pie with cinnamon and lemon
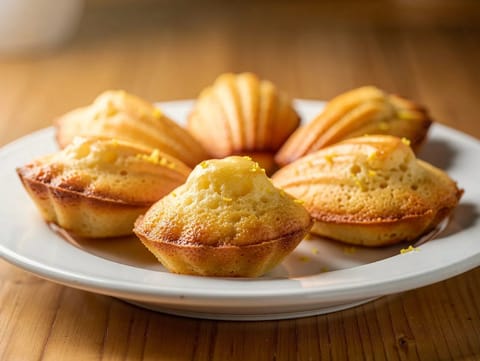
Madeleines (French Shell Cakes with Lemon and Vanilla)
Buttery shell-shaped cakes with lemon zest and vanilla
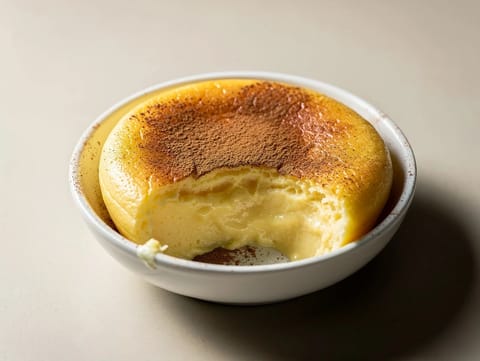
Sericaia (Alentejo Baked Egg Pudding)
Baked egg pudding with cinnamon and a light custardy texture
You might also like

Festive Vegetable Pulao (Spiced Basmati Rice with Saffron)
Vegetable pulao with basmati rice, ghee, saffron and spices

Cannoli Siciliani (Fried Pastry Tubes Filled with Ricotta)
Fried cannoli filled with sweet ricotta and finished with pistachios
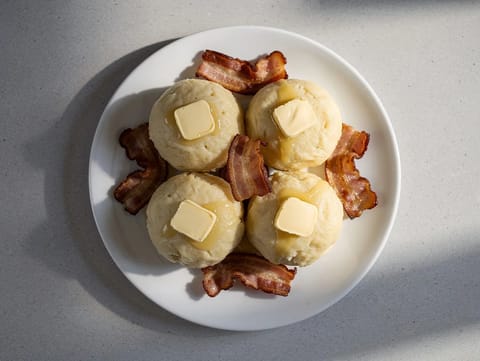
Raspeballer (Nordic Potato Dumplings with Bacon and Butter)
Nordic potato dumplings served with bacon and butter
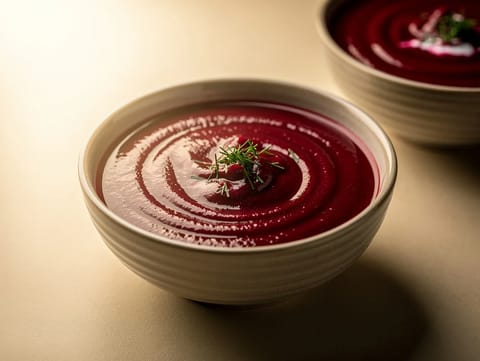
Creamy Modern Barszcz (Polish Beetroot Soup)
Smooth beetroot soup finished with sour cream
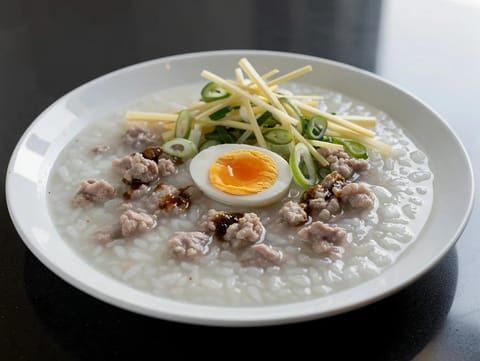
Jok (Thai Rice Porridge with Pork and Egg)
Thai rice porridge with minced pork, egg, ginger and spring onions
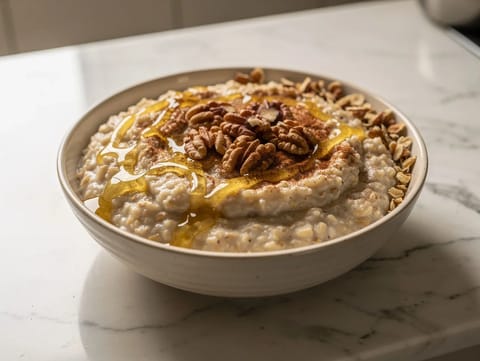
Apple and Cinnamon Oatmeal (Havermout)
Creamy apple and cinnamon oatmeal with honey and walnuts
Make this recipe easier next time
AdvertisementThese tools help you get better results with less effort.
KitchenAid Stainless Steel Mixing Bowls
- Non-slip base
- Stainless steel
- Not microwave safe
Pyrex Glass Mixing Bowls with Lids
- Microwave safe
- BPA-free lids
- Glass is heavier
OXO Good Grips Stainless Mixing Bowl Set
- Non-slip base
- Comfort grip
- Higher price
Enjoy cooking with JustRecipes?
Add JustRecipes as one of your preferred Google sources to discover our recipes more easily across Google Search.
Add JustRecipes to GoogleEvery recipe on JustRecipes follows the same structured editorial process. Learn how recipes are created, validated, translated, illustrated, and continuously improved across the platform. How we create recipes.
