
Coxinha (Brazilian Chicken Croquettes)
Why this recipe works
- Stock builds flavour: The chicken is poached in stock, then that same stock is used to make the dough, giving both filling and wrapper a savoury base.
- Crisp coating, soft centre: A breadcrumb coating protects the dough as it fries, creating a crunchy shell around the tender chicken filling.
- Classic shaping method: Wrapping the filling in a pliable cooked dough makes it possible to form the signature small drumstick shape without the croquettes falling apart.
Get the most out of this recipe
Authenticity notes
- Brazilian snack-counter classic: Coxinha are widely recognised as a Brazilian savoury snack, often eaten hot as a handheld bite rather than as a plated main course.
- The shape matters: The pointed drumstick shape is part of the dish’s identity, so seal the dough firmly around the filling before shaping the top.
Texture tips
- Work the dough while warm: Knead the dough briefly once it is warm rather than hot; it should become smooth, pliable and easier to wrap around the filling.
- Coat evenly: Let excess egg drip off before rolling in breadcrumbs so the coating stays even and fries into a cleaner crust.
- Drain briefly: After frying, drain the croquettes briefly rather than stacking them, which helps preserve the crisp exterior.
Common mistakes
- Undercooking the dough: Cook the flour and stock mixture until it pulls together smoothly and leaves a thin film on the pan; stopping too soon can make the dough sticky and hard to shape.
- Letting the oil drift: Keep the frying oil close to 175°C (345°F). Too cool and the coating can turn greasy; too hot and the outside may brown before the centre is properly heated.
- Frying too many at once: Fry in batches so the oil temperature stays steady and each coxinha has enough space to brown evenly.
Make-ahead tips
- Prepare components ahead: The chicken filling and dough can be cooled and kept covered separately, then shaped and breaded closer to frying.
- Freeze after frying: Cool the cooked coxinhas completely, freeze them in a single layer, then transfer to a sealed container for longer storage.
- Reheat from frozen: Reheat from frozen in a 200°C (390°F) oven until piping hot and crisp again.
Equipment you'll need
Ingredients
Chicken filling
Dough and coating
Instructions
- Put the chicken thighs in a large pot with the chicken stock and bring to a gentle simmer. Cook for 18 to 22 minutes until the chicken is cooked through and tender. Lift the chicken out to a bowl, then strain and reserve the stock for the dough.
- Finely chop the yellow onion and crush the garlic. Shred the cooked chicken (two forks work well).
- Heat 15 ml vegetable oil in a saucepan over medium heat, then cook the onion with a pinch of the fine sea salt for 6 to 8 minutes until soft. Add the garlic and cook for 30 seconds until fragrant. Stir in the shredded chicken, black pepper, and another pinch of salt, then cook for 2 minutes; taste and adjust seasoning, then cool.
- Measure 600 ml of the reserved chicken stock into a saucepan and bring to a simmer. Add 1 tsp fine sea salt, then tip in the plain flour all at once. Stir vigorously with a wooden spoon over low heat for 2 to 3 minutes until a smooth dough forms and a thin film appears on the pan.
- Tip the hot dough into a mixing bowl and beat with a spoon for 2 to 3 minutes to cool slightly. When warm but not hot, knead briefly until smooth and pliable. Cover and rest for 15 minutes so it is easier to shape.
- Divide the dough into 12 equal pieces. Flatten one piece in your palm, add a spoonful of the chicken filling, then pinch to seal and shape into a small drumstick. Repeat with the remaining dough and filling, keeping the shaped coxinhas covered as you work.
- Crack the eggs into a bowl and whisk with 1 tbsp of the reserved chicken stock until smooth. Put the breadcrumbs in a second bowl. Dip each coxinha in egg, let the excess drip off, then coat well in breadcrumbs.
- Heat 1000 ml vegetable oil in a deep pot to 175°C (350°F). Fry the coxinhas in batches for 4 to 6 minutes, turning, until deep golden and crisp. Drain briefly, then serve hot.
Recipe notes
Tips
- Keep the stock at a gentle simmer when poaching the chicken so it stays juicy and easy to shred.
- If the dough feels sticky while shaping, lightly oil your hands with a little vegetable oil rather than adding extra flour.
- For food safety, make sure the chicken is cooked through and serve the croquettes piping hot; take extra care for young children, older adults, and anyone who is pregnant or immunocompromised.
Substitutions
- Replace Chicken thighs with Chicken breast boneless skinless for a leaner filling, but reduce the simmering time slightly to avoid drying it out.
- Replace Breadcrumbs with Panko breadcrumbs for a lighter, crunchier coating.
Storage
- Refrigerate up to 2 days
- Cool completely, then refrigerate in a sealed container for up to 2 days. Freeze in a single layer, then transfer to a container for up to 2 months; reheat from frozen in a 200°C (390°F) oven until piping hot and crisp.
Ratings & reviews
Liked this recipe? Share your feedback to support our cooking community.
Tried this recipe?
Choose 1–5 stars. A comment is optional.
Stay inspired
Discover new recipes, seasonal favourites and cooking inspiration every day. Follow JustRecipes on Pinterest and Spillt.
Recipe overview
- Servings: 12 pieces
- Total time: 2h (1h 10min active)
- Difficulty: Advanced
- Cuisine: Latin American
-
Allergens:
Eggs Gluten Wheat
Plan your meals and get a complete grocery list automatically.
Add to meal plannerEquipment you'll need
Got ingredients left?
Find recipes using ingredients from this recipe or what you already have at home.
Find recipes with these ingredients →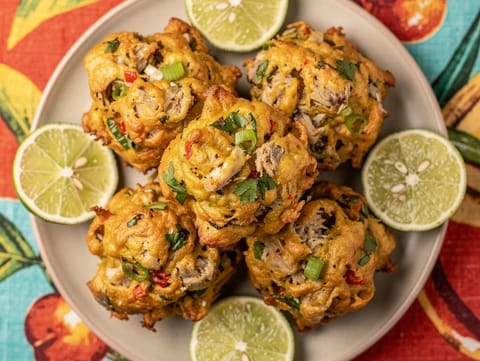
Saltfish Fritters (Salted Cod Fritters)
Crisp fritters made with salted cod, spring onion and chilli
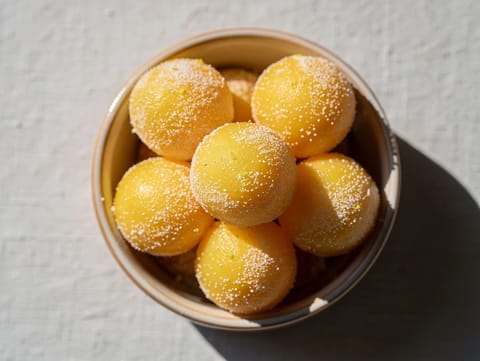
Yemas de Santa Teresa (Egg Yolk Sweets)
Egg yolk sweets shaped into balls and rolled in sugar
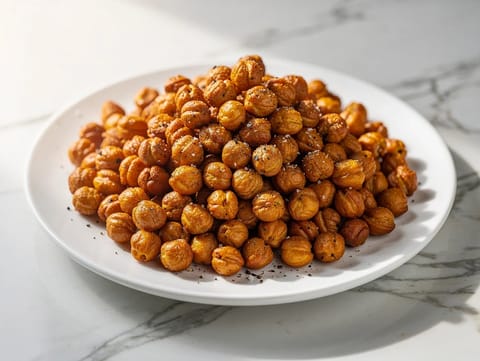
Air Fryer Roasted Chickpeas
Crunchy air fryer chickpeas with olive oil and sea salt.
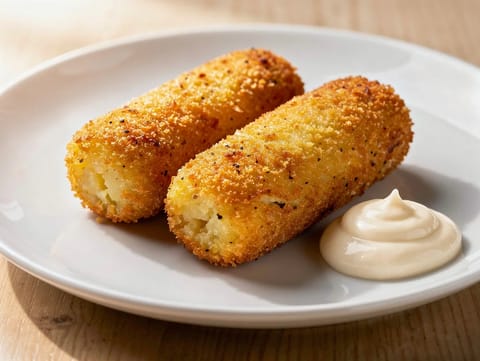
Air Fryer Potato Croquettes
Crisp air-fried potato croquettes with a breadcrumb coating.
Mazapán (Mexican Peanut Marzipan)
Crumbly peanut mazapán pressed with icing sugar and vanilla
Air Fryer Panko Chicken Tenders
Crispy panko chicken tenders cooked quickly in the air fryer.
Air Fryer Herb Falafel
Crisp air fryer falafel with chickpeas, herbs and spices.
Kartoffelpuffer (German Potato Pancakes)
Crisp German potato pancakes with onion, egg and flour
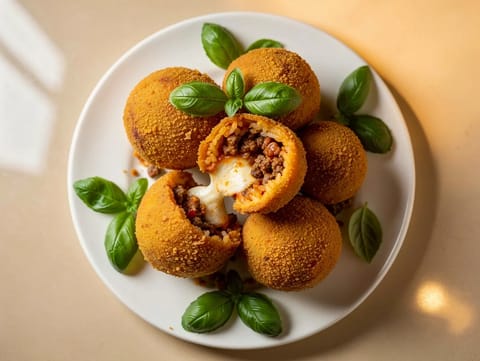
Arancini Siciliani (Stuffed Sicilian Rice Balls with Ragù and Mozzarella)
Fried rice balls stuffed with ragù and mozzarella
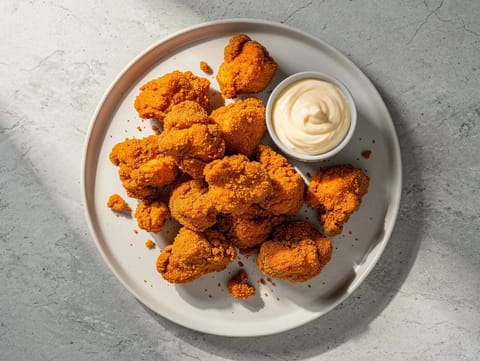
Air Fryer Popcorn Chicken
Crisp air fryer popcorn chicken with a cornflour coating.
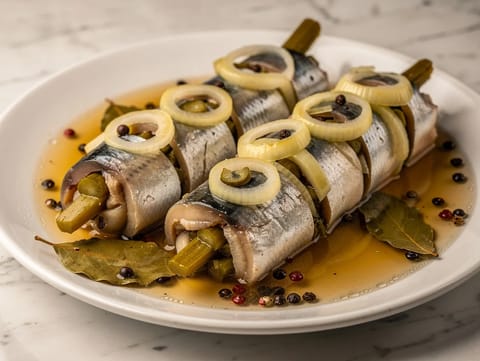
Rollmops (Pickled Herring Rolls with Gherkins and Onion)
Pickled herring rolls filled with gherkins and onion
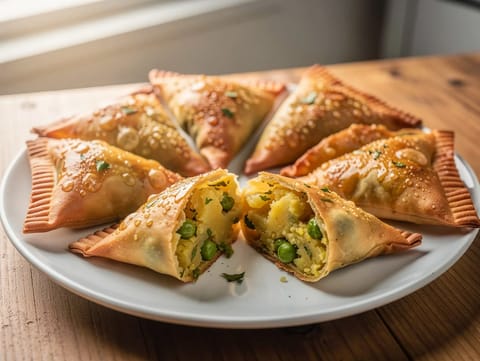
Air Fryer Samosas
Crisp air-fryer samosas with spiced potato and pea filling.
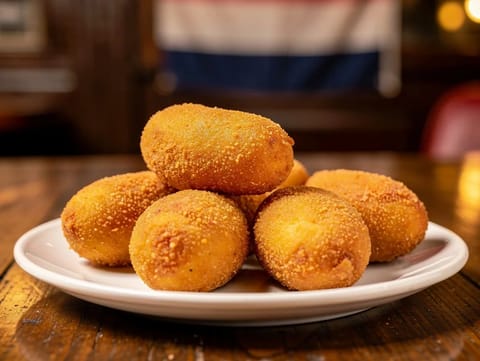
Fusion Kroket Bites (Chicken Croquette Snack Bites)
Crisp fried chicken kroket bites with béchamel
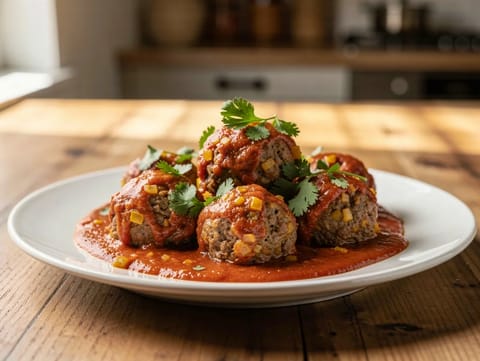
Albóndigas en Salsa de Chipotle (Beef Meatballs in Chipotle Sauce)
Beef meatballs in a smoky tomato and chipotle sauce
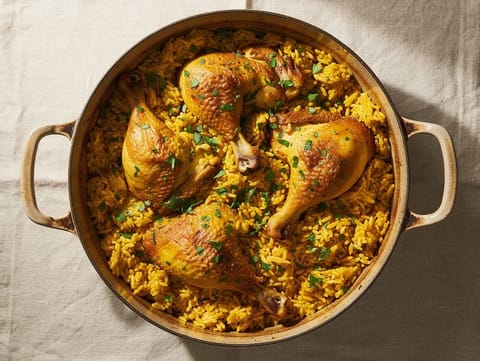
Brazilian Galinhada (One-Pot Chicken and Rice)
One-pot chicken and rice with turmeric, onion, garlic and parsley
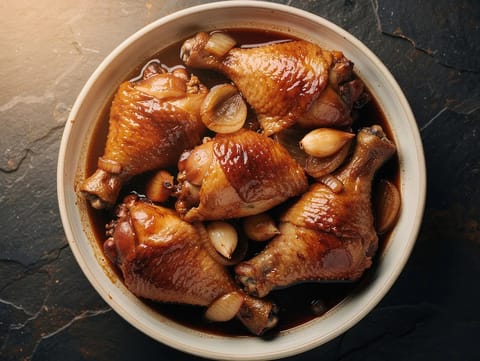
Pollo a la Coca-Cola (Chicken in Chipotle Cola Sauce)
Chicken simmered with chipotle, onion and a glossy cola sauce
Kartoffelpuffer (German Potato Pancakes)
Crisp German potato pancakes with onion, egg and flour
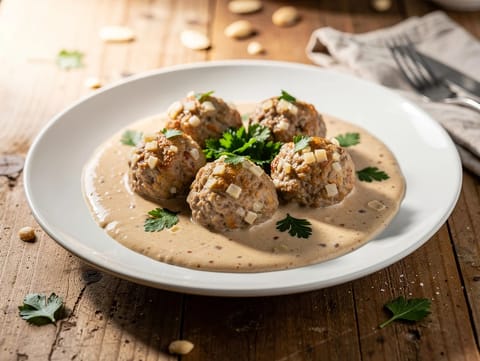
Albóndigas en Salsa de Almendras (Pork Meatballs in Almond Sauce)
Pork meatballs simmered in a smooth almond sauce
You might also like
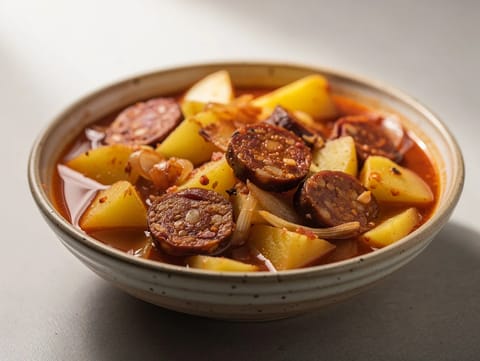
Patatas a la Riojana (Potato Stew with Chorizo and Paprika)
Potato and chorizo stew simmered with sweet paprika
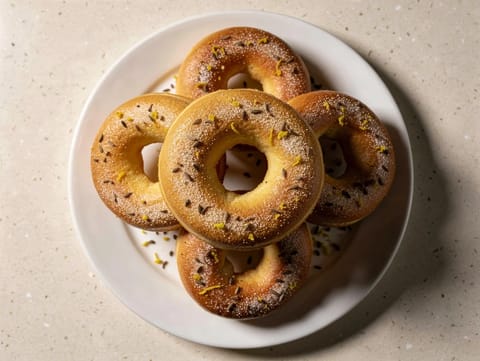
Rosquillas de Anís (Anise Ring Doughnuts)
Spanish anise ring doughnuts dusted with caster sugar
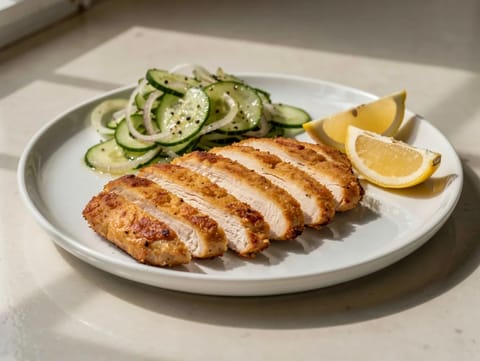
Air Fryer High Protein Chicken
High protein air-fried yoghurt-marinated chicken with cucumber salad.
Air Fryer Kebab Skewers
Spiced lamb kebab skewers cooked until browned in the air fryer.
Air Fryer Cheese Stuffed Chicken
Cheese-stuffed chicken with cheddar and cream cheese, air-fried.
Gumbo (Southern Stew with Prawns and Andouille)
Southern stew with prawns, andouille, okra and dark roux
Make this recipe easier next time
AdvertisementThese tools help you get better results with less effort.
KitchenAid Stainless Steel Mixing Bowls
- Non-slip base
- Stainless steel
- Not microwave safe
T-fal Specialty Nonstick Handy Pot with Glass Lid 3 Quart
- Easy food release
- Dishwasher safe
- Not induction compatible
OXO Good Grips Stainless Mixing Bowl Set
- Non-slip base
- Comfort grip
- Higher price
WMF Mini Saucepan 16 cm with Lid
- High-quality stainless steel
- Even heat distribution
- Higher price point
Enjoy cooking with JustRecipes?
Add JustRecipes as one of your preferred Google sources to discover our recipes more easily across Google Search.
Add JustRecipes to GoogleEvery recipe on JustRecipes follows the same structured editorial process. Learn how recipes are created, validated, translated, illustrated, and continuously improved across the platform. How we create recipes.
