
Festive Vegetarian Thali (Indian Meal Platter with Curries, Rice and Raita)
Why this recipe works
- Layered masala flavour: Cooking the onions, tomatoes, garlic, ginger and spices until glossy gives both curries a deeper, more rounded base.
- Balanced textures: Creamy paneer, tender chickpeas, separate basmati grains and cool spoonable raita make the platter feel varied rather than heavy.
- Built for sharing: Serving the curries, rice and raita as separate components lets everyone build their own plate and return for more.
Get the most out of this recipe
Authenticity notes
- Thali-style serving: A thali is defined by variety on one plate, with curries, rice, yoghurt and garnishes served together so each bite can be balanced differently.
- Flexible components: Vegetarian thalis often vary by household, occasion and region, so the same structure can hold different dals, vegetables, breads or chutneys.
Make-ahead tips
- Cook the curries ahead: Both curries can be made in advance and reheated gently, adding a splash of water if the sauces have thickened.
- Keep each element separate: Store the curries, rice and raita in separate containers so the rice stays distinct and the yoghurt remains fresh.
- Make raita fresh if possible: The raita is best served chilled and freshly mixed, though it can be kept refrigerated for a short time before serving.
Common mistakes
- Do not scorch the spices: Toast the ground spices briefly and keep them moving; if they catch, the curries can taste bitter.
- Avoid boiling the cream sauce: Once the cream is added, keep the paneer curry at a gentle simmer so the sauce stays smooth.
- Drain the rice well: Let the boiled basmati drain thoroughly before folding it through the cumin ghee, which helps keep the grains separate.
Ingredient notes
- Use ripe tomatoes: Ripe tomatoes help the masala cook down into a sweeter, fuller sauce with better body.
- Choose good paneer: Fresh, firm paneer holds its shape in the sauce while staying soft once warmed through.
- Yoghurt for contrast: Plain yoghurt gives the raita its cooling effect and balances the richness of the butter, ghee and cream.
Equipment you'll need
Ingredients
Paneer butter masala
Chana masala
Jeera rice
Raita and finish
Instructions
- Prep the base: finely chop the onions, finely grate the garlic and ginger, and roughly chop the tomatoes. Cut the paneer into bite-sized cubes. Rinse the basmati rice in several changes of water until the water runs mostly clear, then leave it to drain.
- Start the paneer butter masala: heat the ghee and butter in a large frying pan over medium heat. Add the onions with a pinch of the salt and cook for 10 to 12 minutes until soft and lightly golden. Stir in the garlic and ginger for 1 minute until fragrant.
- Add the ground cumin, ground coriander and garam masala to the pan and cook for 30 seconds, stirring so the spices toast without catching. Add the tomatoes and the remaining salt for this curry, then cook for 12 to 15 minutes until the tomatoes break down and the masala looks glossy with fat separating at the edges. Stir in the double cream and simmer gently for 3 minutes.
- Add the paneer to the sauce and simmer on low for 5 to 7 minutes, just until the paneer is heated through and the sauce coats it well. Taste and adjust with a little more salt if needed. Turn the heat to the lowest setting to keep warm while you make the other components.
- Make the chana masala: in a saucepan, heat the ghee over medium heat and cook the onion with a pinch of the salt for 8 to 10 minutes until golden. Add the garlic and ginger for 1 minute, then stir in the ground cumin, ground coriander and garam masala for 30 seconds. Add the tomatoes and cook for 10 to 12 minutes until thick and jammy.
- Add the canned chickpeas to the pan along with 250 ml water and the remaining salt for this curry. Bring to a simmer and cook for 15 to 20 minutes, stirring occasionally, until the sauce is thick and clings to the chickpeas. If it tightens too much, add a splash more water and keep it gently simmering.
- Cook the jeera rice: bring a large pot of water to the boil and add the drained basmati rice and the salt. Boil for 6 to 7 minutes until the grains are tender with a slight bite, then drain well in a colander. Return the pot to low heat, melt the ghee, stir in the ground cumin for 20 seconds, then fold the rice through and cover for 5 minutes to steam.
- Make the raita: finely chop the fresh coriander and stir it into the yogurt with the salt. If the yogurt is very thick, loosen it with 1 to 2 tbsp water until spoonable. Keep chilled until serving.
- To serve, spoon the paneer butter masala and chana masala into separate bowls and mound the jeera rice alongside. Add the raita and scatter a little extra coriander over the curries if you like. Serve hot, with the raita cool on the side.
Recipe notes
Tips
- For the best flavour, cook the tomato and onion masala until it looks glossy and the fat starts to separate at the edges before adding cream or chickpeas.
- Keep the paneer curry on the lowest heat once the cream is added, and avoid a rapid boil so the sauce stays smooth.
- If serving vulnerable groups, use pasteurised yogurt and ensure the curries are served piping hot.
Substitutions
- Replace Ghee with Unsalted butter for cooking if you prefer a milder, buttery flavour.
- Replace Double cream with Yogurt for a lighter paneer sauce; stir it in off the heat to prevent splitting.
- Replace Fresh coriander with a smaller amount of Garam masala stirred in at the end if you want a coriander-free finish.
Storage
- Refrigerate up to 3 days
- Cool the curries and rice quickly, then refrigerate in separate airtight containers. Reheat the curries gently in a saucepan with a splash of water until piping hot; reheat the rice covered with a spoonful of water. Raita is best made fresh and kept refrigerated for up to 2 days; do not freeze it.
Ratings & reviews
Liked this recipe? Share your feedback to support our cooking community.
Tried this recipe?
Choose 1–5 stars. A comment is optional.
Stay inspired
Discover new recipes, seasonal favourites and cooking inspiration every day. Follow JustRecipes on Pinterest and Spillt.
Recipe overview
- Servings: 4 servings
- Total time: 2h (1h 10min active)
- Difficulty: Advanced
- Cuisine: Indian
-
Allergens:
Milk
Plan your meals and get a complete grocery list automatically.
Add to meal plannerEquipment you'll need
Got ingredients left?
Find recipes using ingredients from this recipe or what you already have at home.
Find recipes with these ingredients →
Pimientos del Piquillo Rellenos de Bacalao (Piquillo Peppers Stuffed with Salt Cod)
Piquillo peppers stuffed with creamy salt cod béchamel
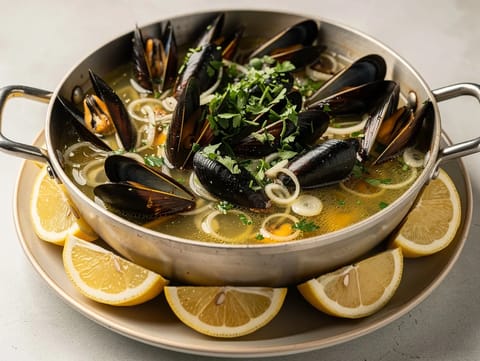
Sautéed Mussels with Herbs
Mussels with garlic, shallots, white wine and herbs
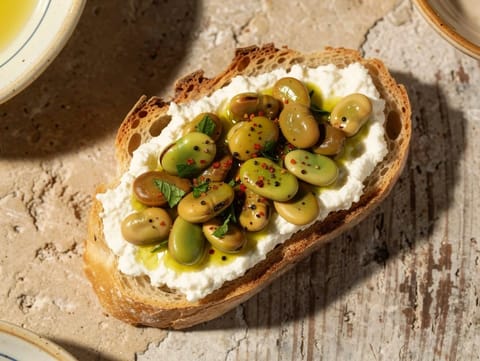
Crostini con Ricotta e Fave (Crostini with Ricotta and Broad Beans)
Toasted crostini with ricotta, broad beans, mint and lemon
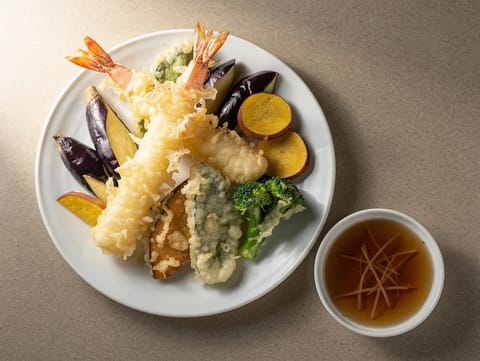
Tempura (Crispy Fried Seafood and Vegetables)
Crispy tempura prawns and vegetables with soy dipping sauce
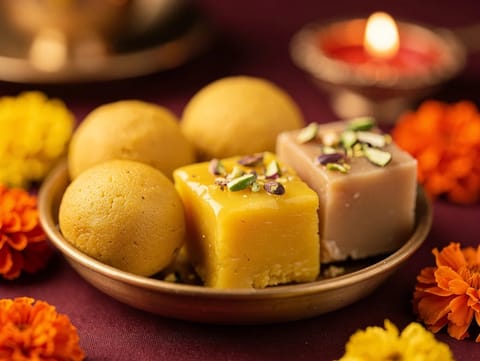
Diwali Mixed Sweets Platter (Besan Ladoo, Coconut Barfi and Cashew Fudge)
Diwali sweets platter with besan ladoo, coconut barfi and cashew fudge

Devilled Eggs with Mayonnaise, Dijon Mustard and Paprika
Devilled eggs with a creamy Dijon and mayonnaise filling
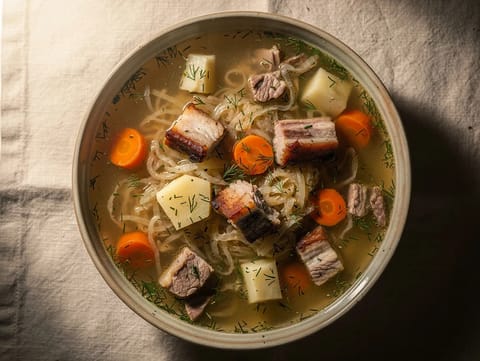
Kapusniak z Kiszonej Kapusty (Polish Sauerkraut Soup)
Tangy Polish sauerkraut soup with smoked pork ribs
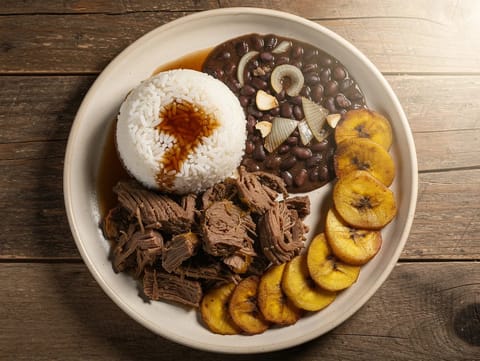
Pabellón Criollo (Venezuelan National Dish)
Shredded beef with black beans, rice and sweet plantain.
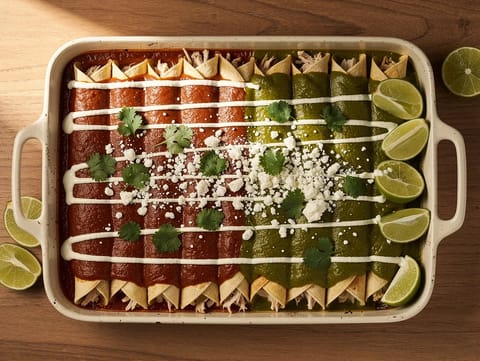
Enchiladas Navideñas (Chicken Enchiladas with Red and Green Sauces)
Chicken enchiladas baked with red and green chilli sauces
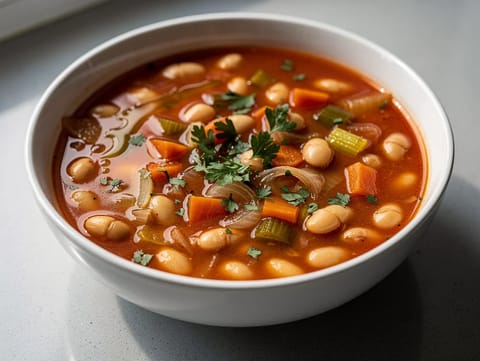
Fasolada (Greek White Bean and Tomato Soup)
Greek white bean and tomato soup with herbs
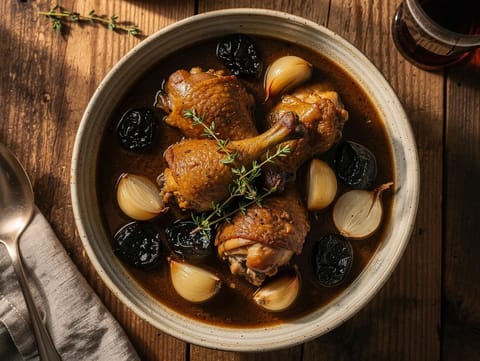
Belgian Rabbit Stew with Prunes and Dark Beer
Rabbit stew with prunes and dark beer
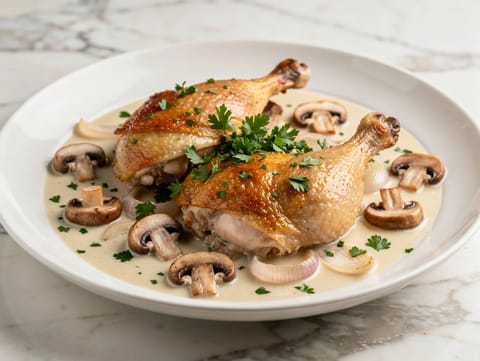
Coq au Vin Blanc (Chicken Braised in White Wine)
Chicken braised in white wine with mushrooms and herbs
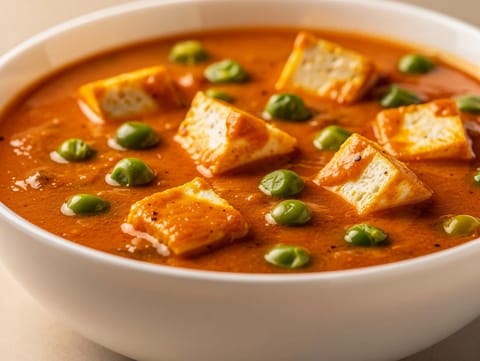
Matar Paneer (Paneer and Pea Curry)
Paneer and peas simmered in a spiced tomato-onion gravy
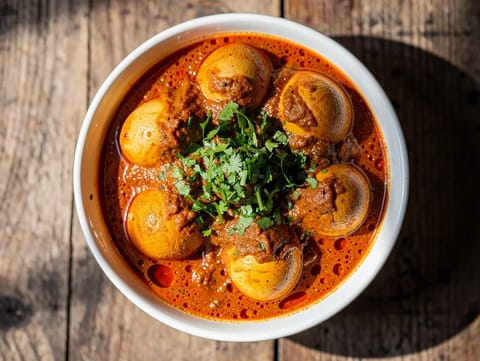
Egg Curry (Anda Masala)
Egg curry in a spiced tomato and onion gravy
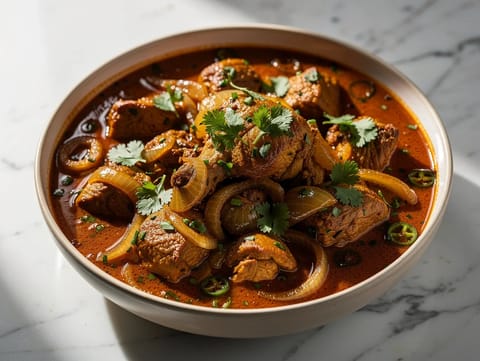
Chicken Do Pyaza (Chicken Curry with Onions)
North Indian chicken curry with onions, tomatoes, spices and yoghurt
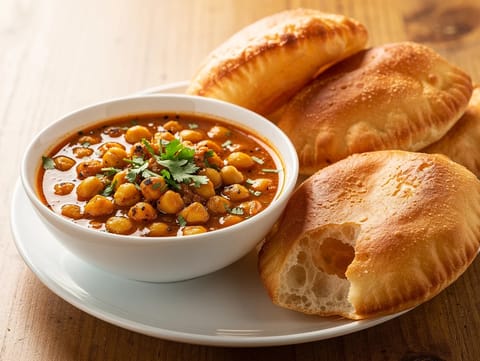
Chole Bhature (Spiced Chickpea Curry with Fried Bread)
Spiced chickpea curry served with puffed fried bhature
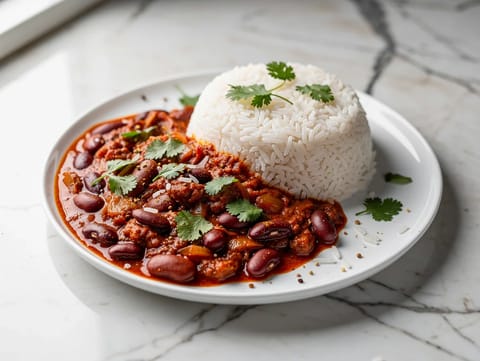
Rajma Chawal (Red Kidney Bean Curry with Rice)
Red kidney bean curry in spiced tomato gravy with basmati rice
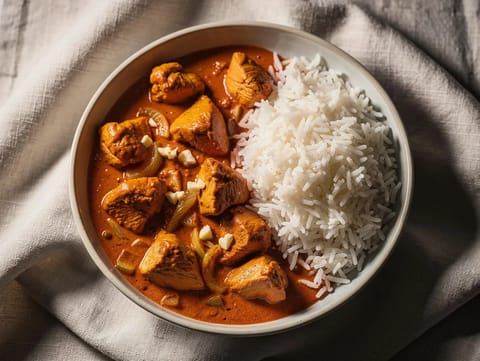
Chicken Tikka Masala with Basmati Rice
Chicken tikka masala in a creamy tomato sauce with basmati rice
You might also like
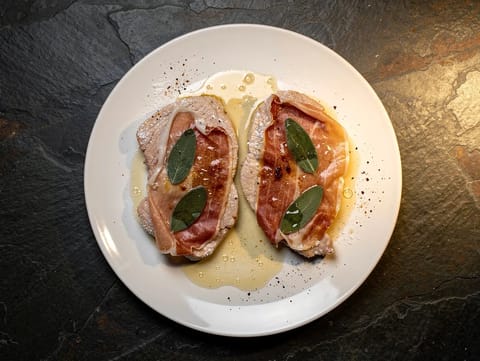
Pork Saltimbocca alla Romana (Pork with Prosciutto and Sage)
Pan-fried pork with prosciutto, sage and white wine butter sauce
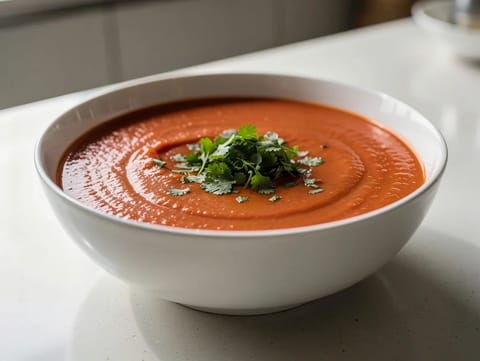
Light Moroccan Tomato Soup
Light tomato soup blended smooth with spices, lemon and coriander
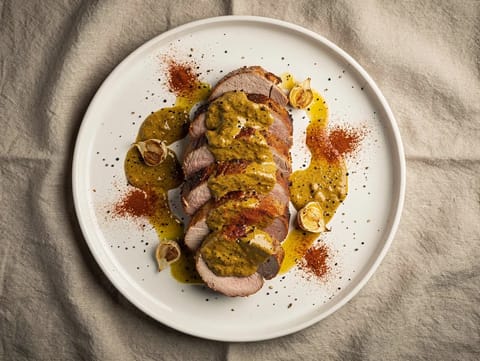
Air Fryer Pork Tenderloin with Mustard Glaze
Juicy pork tenderloin with a honey mustard glaze
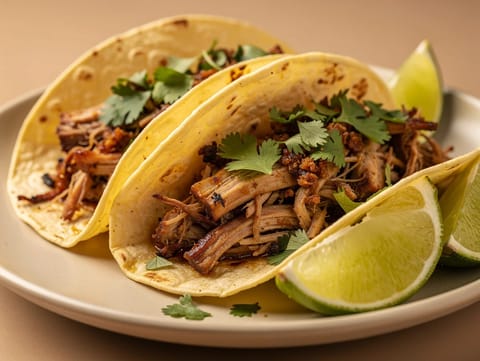
Carnitas de Cerdo (Slow-Cooked Pork Carnitas)
Slow-cooked pork carnitas braised with orange and spices
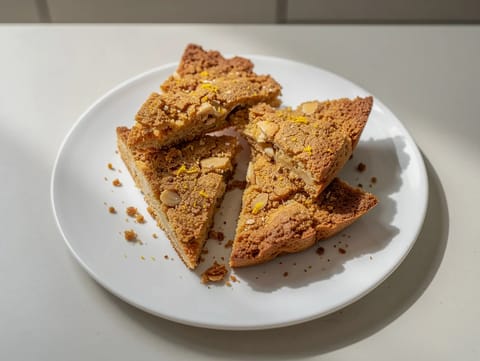
Sbrisolona (Crumbly Almond Cake from Mantua)
Crumbly Mantuan almond cake, baked golden and broken into shards
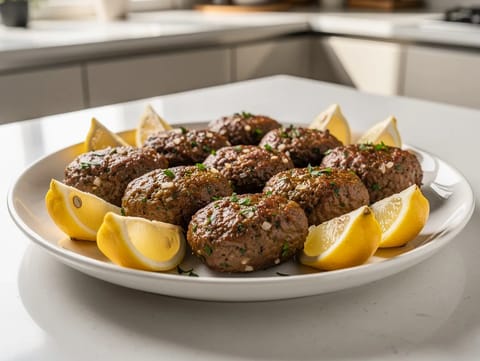
Köfte (Turkish Beef Meatballs)
Pan fried Turkish beef meatballs with garlic, spices and lemon
Make this recipe easier next time
AdvertisementThese tools help you get better results with less effort.
Misen Carbon Steel Nonstick Frying Pan 12 Inch
- Works on all stovetops
- Naturally nonstick when seasoned
- Requires seasoning and maintenance
Pyrex Glass Mixing Bowls with Lids
- Microwave safe
- BPA-free lids
- Glass is heavier
All-Clad Tri-Ply Stainless Steel Saucepan
- Excellent heat control
- Premium build quality
- Expensive
KitchenAid Stainless Steel Mixing Bowls
- Non-slip base
- Stainless steel
- Not microwave safe
Enjoy cooking with JustRecipes?
Add JustRecipes as one of your preferred Google sources to discover our recipes more easily across Google Search.
Add JustRecipes to GoogleEvery recipe on JustRecipes follows the same structured editorial process. Learn how recipes are created, validated, translated, illustrated, and continuously improved across the platform. How we create recipes.
