
Tarte Bourdaloue (Pear and Almond Tart) with Frangipane
Why this recipe works
- Balanced textures: The pastry bakes crisp around a soft almond filling, while the pear slices become tender without losing their shape.
- Almond and fruit depth: Frangipane brings richness and nuttiness, with lemon zest and juice keeping the sweetness bright rather than heavy.
- Classic patisserie structure: Chilling the pastry before baking helps it hold its shape, giving the tart a neat shell and a clean finish.
Get the most out of this recipe
Timing notes
- Keep the pastry cold: Chilling the dough and the lined tart tin helps the pastry roll cleanly and reduces shrinkage in the oven.
- Cool before slicing: Let the tart cool long enough for the frangipane to firm up; cutting too soon can make the filling slump.
- Best serving temperature: Serve slightly warm for a softer filling or at room temperature for the neatest slices.
Texture tips
- For a neater crust: If the pastry becomes soft while rolling, chill it briefly before continuing so it stays easy to handle.
- For clean portions: Allow the baked tart to cool fully if presentation matters; the almond filling sets more firmly as it cools.
- Avoid a dry filling: Bake until the centre is just set with a slight spring rather than waiting for it to feel completely firm.
Ingredient notes
- Choose firm pears: Use pears that are ripe but still firm, so they slice neatly and hold their fan shape during baking.
- Keep the pear shape intact: Slice each pear half thinly without scattering the pieces, then fan them gently on top of the frangipane.
- Use lemon for balance: Lemon juice helps prevent browning and cuts through the richness of the almond filling.
Make-ahead tips
- Make the pastry in advance: The pastry dough can be prepared ahead and chilled until firm, making assembly easier when you are ready to bake.
- Warm gently to serve: To refresh chilled tart, warm it in a 160°C (320°F) oven until just heated through.
- Freeze in slices: Baked slices freeze well when tightly wrapped; thaw overnight in the fridge before serving.
Equipment you'll need
Ingredients
Sweet pastry
Frangipane and topping
Instructions
- Make the pastry: sift the flour into a bowl and stir in the caster sugar. Rub in the cold butter with your fingertips until it looks like fine breadcrumbs. Mix in the egg until the dough just comes together.
- Shape the dough into a disc, cover, and chill until firm. This makes it easier to roll and helps prevent shrinkage in the oven.
- Heat the oven to 180°C (355°F). Roll the pastry on a lightly floured surface and line a tart tin, pressing it neatly into the corners. Chill the lined tin for 10 minutes while you make the filling.
- Make the frangipane: beat the softened butter and caster sugar until pale and creamy. Beat in the eggs one at a time, then mix in the ground almonds, flour, vanilla extract, and finely grated lemon zest. Stir in 1 tbsp lemon juice to brighten the flavour.
- Peel the pears, halve them, and remove the cores. Slice each pear half into thin, even slices, keeping the shape intact so you can fan them on top. Toss the pears with a little more lemon juice to prevent browning.
- Spread the frangipane evenly into the chilled pastry case. Arrange the pear halves on top, fanning the slices slightly and pressing them gently into the filling. Bake for 40 to 45 minutes until the tart is golden and the centre feels set with a slight spring.
- Cool the tart in the tin for 15 minutes, then remove and cool on a rack. Serve slightly warm or at room temperature.
Recipe notes
Tips
- If the pastry softens while rolling, slide it onto a tray and chill for 5 to 10 minutes, then continue; cold pastry is easier to handle and bakes more neatly.
- For the cleanest slices, let the tart cool fully so the frangipane firms up, then cut with a sharp knife.
- If serving vulnerable groups, use eggs that are produced under a recognised food safety scheme and bake the tart until the centre is fully set.
Substitutions
- Replace Vanilla extract with Vanilla bean paste for a more pronounced vanilla flavour.
- Replace Caster sugar with Light brown sugar for a slightly deeper, caramel note in the frangipane.
Storage
- Refrigerate up to 3 days
- Store covered in the fridge for up to 3 days. To serve, bring to room temperature or warm in a 160°C (320°F) oven for 8 to 10 minutes. Freeze slices well wrapped for up to 2 months and thaw overnight in the fridge.
Ratings & reviews
Liked this recipe? Share your feedback to support our cooking community.
Tried this recipe?
Choose 1–5 stars. A comment is optional.
Stay inspired
Discover new recipes, seasonal favourites and cooking inspiration every day. Follow JustRecipes on Pinterest and Spillt.
Recipe overview
- Servings: 8 servings
- Yield: pear and almond tart
- Total time: 2h (45min active)
- Difficulty: Medium
- Cuisine: French
-
Allergens:
Eggs Gluten Tree nuts Wheat
Plan your meals and get a complete grocery list automatically.
Add to meal plannerEquipment you'll need
Got ingredients left?
Find recipes using ingredients from this recipe or what you already have at home.
Find recipes with these ingredients →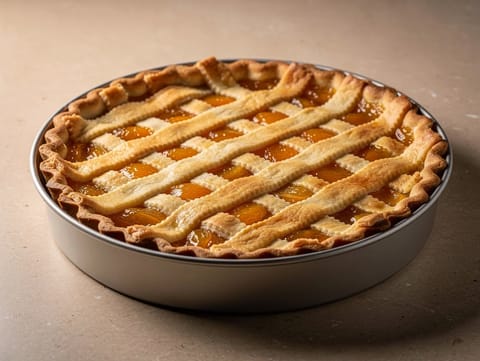
Crostata di Marmellata (Italian Apricot Jam Tart)
Buttery shortcrust tart filled with apricot jam
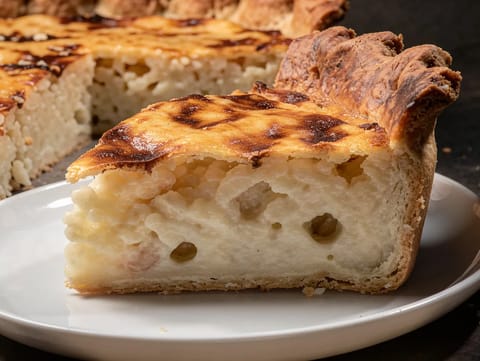
Tarte au Riz (Belgian Rice Pudding Tart)
Belgian rice pudding tart in a shortcrust case
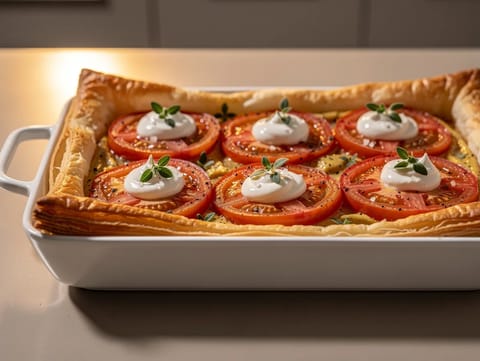
Tarte à la Tomate et Moutarde (Tomato and Mustard Puff Pastry Tart)
Puff pastry tart with Dijon mustard and baked tomatoes
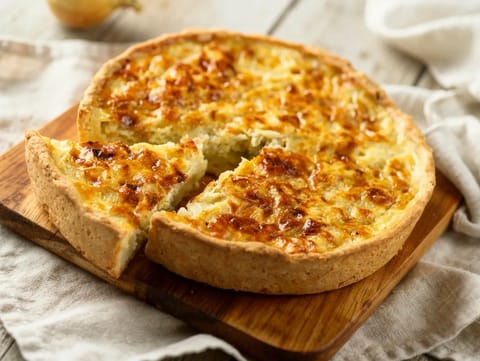
Zwiebelkuchen (German Onion Tart with Bacon)
German yeasted onion tart with bacon and crème fraîche
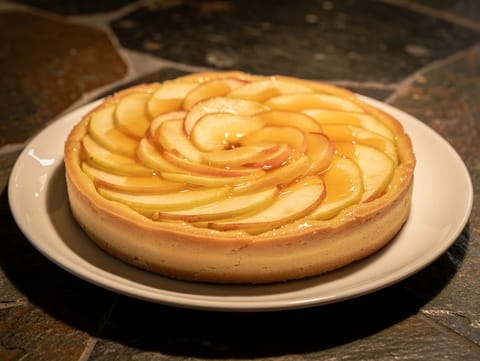
Tarta de Manzana Española (Spanish Apple Tart)
Spanish apple tart with custard and apricot glaze
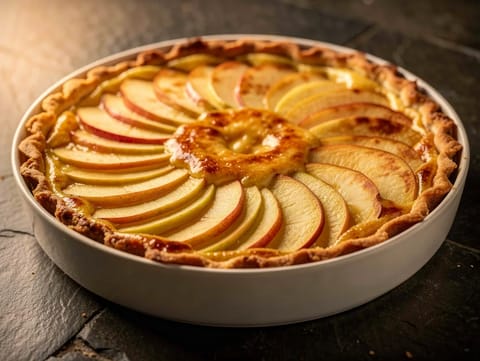
Tarte Normande aux Pommes (French Apple Tart)
French apple tart with shortcrust pastry and cream custard
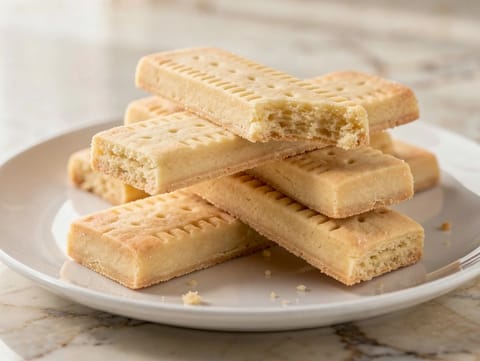
Scottish Shortbread
Buttery Scottish shortbread baked until pale gold
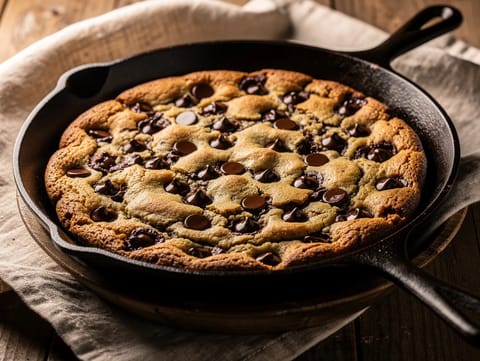
Chocolate Chip Skillet Cookie
Giant skillet cookie with dark chocolate chips and vanilla
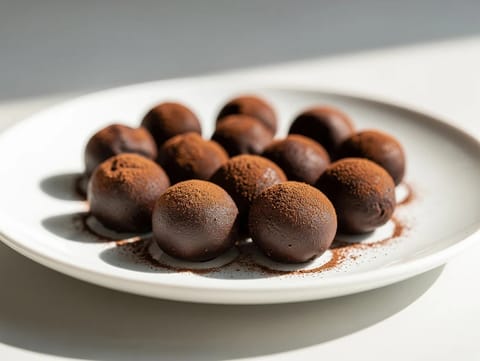
Belgian-Style Chocolate Truffles
Dark chocolate truffles coated in cocoa powder
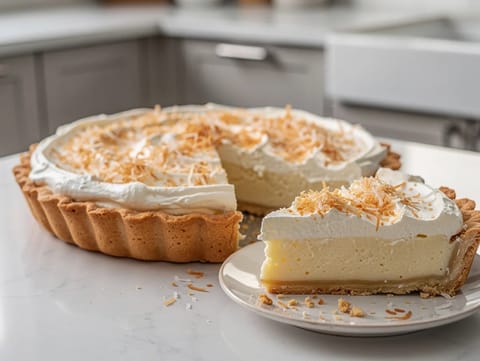
Coconut Cream Pie
Coconut cream pie with coconut custard and whipped cream
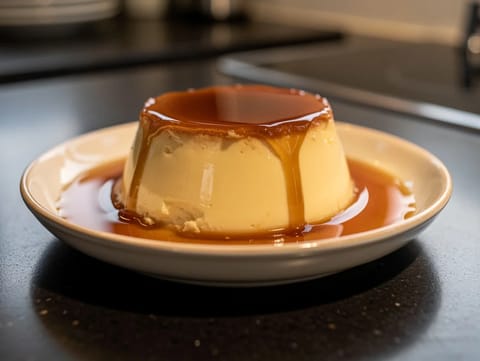
Flan Casero (Spanish Caramel Custard)
Spanish baked caramel custard made with eggs, milk and vanilla
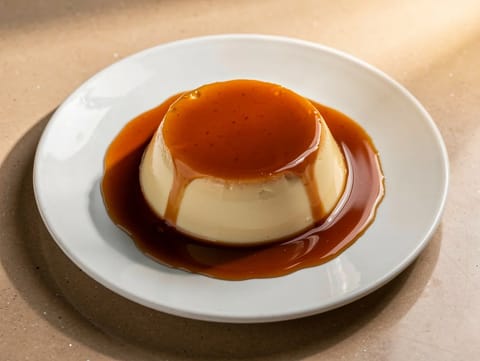
Modern Light Flan
Light vanilla flan baked over caramel and chilled until set
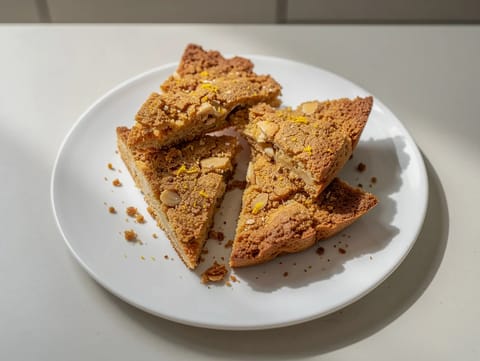
Sbrisolona (Crumbly Almond Cake from Mantua)
Crumbly Mantuan almond cake, baked golden and broken into shards
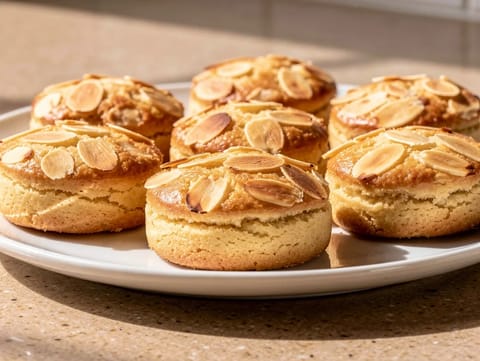
Gevulde Koek (Dutch Almond-Filled Cookie)
Buttery Dutch cookies with a thick almond paste filling
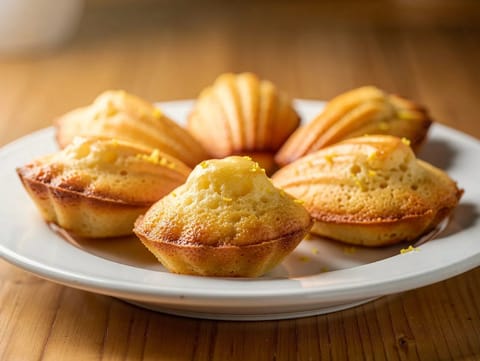
Madeleines (French Shell Cakes with Lemon and Vanilla)
Buttery shell-shaped cakes with lemon zest and vanilla

Tulumba (Turkish Fried Choux Fritters in Lemon Syrup)
Ridged choux fritters soaked in cooled lemon syrup
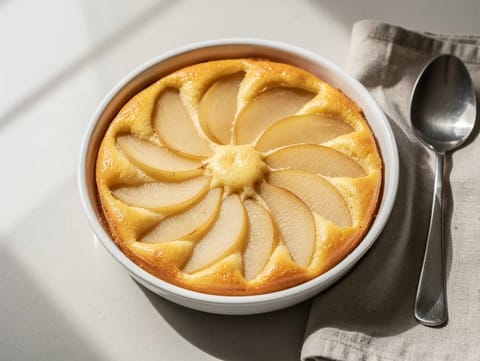
Pear Clafoutis
Pear clafoutis baked in a vanilla custard batter
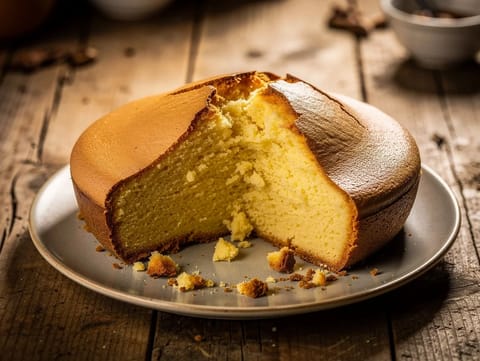
Pão de Ló (Portuguese Sponge Cake)
Light Portuguese sponge cake made with whisked eggs and flour
You might also like
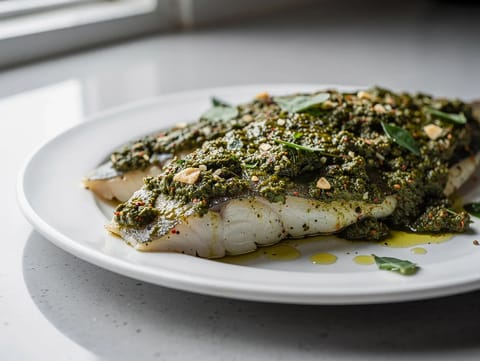
Chermoula Fish
Baked white fish topped with chermoula coriander and spices
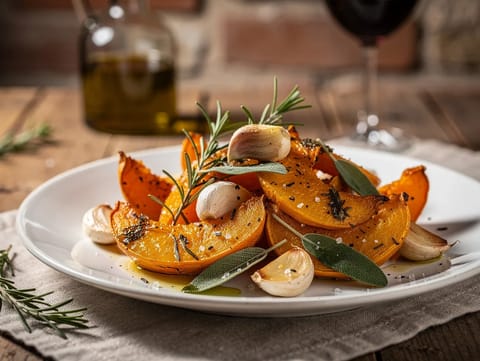
Zucca al Forno con Aglio e Erbe (Roasted Pumpkin with Garlic and Herbs)
Roasted pumpkin with garlic, sage, rosemary and balsamic
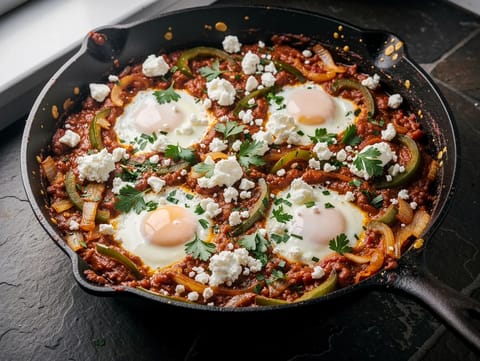
Modern Menemen Shakshuka (Baked Eggs with Spiced Tomatoes)
Baked eggs in spiced tomatoes with peppers and feta
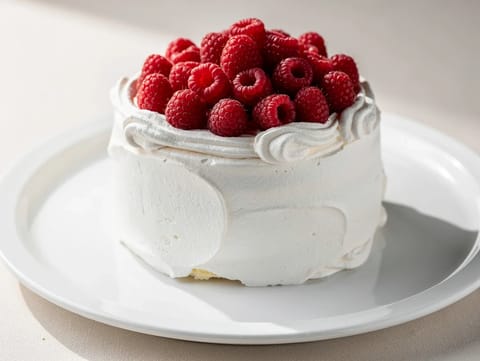
Vacherin Glacé (Meringue and Ice Cream Dessert)
Frozen dessert of meringue, vanilla ice cream and raspberries
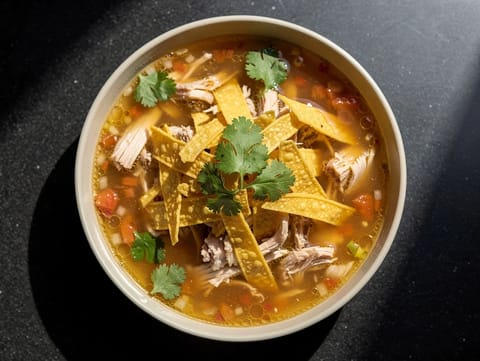
Sopa de Lima (Yucatán Chicken and Lime Soup)
Chicken and lime soup topped with crispy tortilla strips
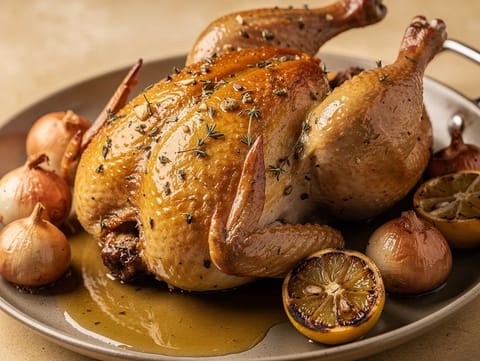
Poulet Rôti (Garlic and Herb Roast Chicken)
Garlic and herb roast chicken with lemon and white wine juices
Make this recipe easier next time
AdvertisementThese tools help you get better results with less effort.
KitchenAid Stainless Steel Mixing Bowls
- Non-slip base
- Stainless steel
- Not microwave safe
Pyrex Glass Mixing Bowls with Lids
- Microwave safe
- BPA-free lids
- Glass is heavier
OXO Good Grips Stainless Mixing Bowl Set
- Non-slip base
- Comfort grip
- Higher price
Enjoy cooking with JustRecipes?
Add JustRecipes as one of your preferred Google sources to discover our recipes more easily across Google Search.
Add JustRecipes to GoogleEvery recipe on JustRecipes follows the same structured editorial process. Learn how recipes are created, validated, translated, illustrated, and continuously improved across the platform. How we create recipes.
