
Pork Pie
Why this recipe works
- Sturdy hot-water crust: The warm lard-based dough is pliable enough to shape, then bakes into a firm shell that supports the dense pork filling.
- Well-seasoned filling: Minced pork, diced pork belly, black pepper and mace create a savoury filling with gentle spice and a richer texture.
- Slices best after chilling: Cooling and chilling allow the filling to firm up, giving cleaner slices and making the pie ideal for preparing in advance.
Get the most out of this recipe
Timing notes
- Cool before chilling: Let the pie cool fully before refrigeration so the pastry stays firm and the filling sets evenly.
- Best for neat slices: Chilling overnight gives the cleanest cut, especially for picnic-style slices.
- Serve cold or reheated: Pork pie is traditionally served cold, but leftovers can be warmed gently in a 180°C (355°F) oven until piping hot.
Ingredient notes
- Use the pork belly: The diced pork belly adds fat and texture, helping the filling stay moist rather than compact and dry.
- Mace gives the classic note: Ground mace brings the warm, slightly sweet spice associated with traditional pork pie fillings; nutmeg gives a close alternative.
- Lard matters in the crust: Lard gives hot-water crust its distinctive firmness and savoury finish, making it better suited to hand-raised pies than most softer fats.
Texture tips
- Pack the filling firmly: Press the pork mixture into the pastry case to remove air pockets and help the baked pie hold together when sliced.
- Shape while warm: Hot-water crust becomes less flexible as it cools, so line the tin while the dough is still warm and pliable.
- Check the centre: Use a thermometer to confirm the filling reaches 75°C (170°F), then avoid baking much longer than needed to keep the pork from drying out.
Common mistakes
- Slicing too soon: Cutting the pie before it has chilled can make the filling crumble and the pastry lose its clean edge.
- Thin pastry patches: Press the pastry evenly up the sides of the tin, as thin areas can split or soften under the weight of the filling.
- Skipping the foil if needed: If the top is browning too quickly, cover it loosely so the filling can finish cooking without the pastry becoming over-dark.
Equipment you'll need
Ingredients
Instructions
- Heat the oven to 200°C (390°F). Lightly grease a deep 18 cm springform tin with a little of the lard, then chill the tin while you make the pastry.
- Cut the pork belly into small dice, then mix it with the minced pork in a bowl. Add 1 tsp of the fine sea salt, the black pepper and the ground mace, then mix until the seasoning is evenly distributed.
- Put the water and 200 g lard into a saucepan and heat gently until the lard has melted, then bring just to a simmer. In a mixing bowl, combine the plain flour with the remaining 1 tsp fine sea salt, then pour in the hot lard mixture and stir with a wooden spoon until a rough dough forms.
- Tip the dough onto a work surface and knead briefly until smooth and pliable. Work while the dough is warm, as hot-water crust becomes harder to shape as it cools.
- Reserve about one third of the dough for the lid. Roll the remaining dough out and line the chilled tin, pressing it up the sides so it is even with no thin spots.
- Pack the pork filling firmly into the pastry case, pressing down to remove air pockets and leaving a little space at the top for the lid. Roll out the reserved dough to form a lid, then lay it over the filling and pinch the edges to seal.
- Make a small steam hole in the centre of the lid. Beat the egg, then brush it all over the top and crimped edge for a glossy finish.
- Bake for 20 minutes, then reduce the oven to 160°C (320°F) and bake for a further 60 to 70 minutes, until the pastry is deep golden and the centre of the filling reaches 75°C (170°F) on a thermometer. If the top colours too quickly, loosely cover with foil.
- Cool the pie in the tin for 30 minutes, then remove the ring and leave the pie to cool completely on a rack. Chill for at least 60 minutes before slicing so the filling sets cleanly.
Recipe notes
Tips
- For the neatest slices, chill the pie overnight and cut with a sharp serrated knife.
- Keep the hot-water crust dough warm while shaping; if it starts to crack, warm your hands and press the cracks back together.
- Food safety: this recipe contains pork, so ensure the centre reaches 75°C (170°F) before cooling and chilling.
Substitutions
- Replace Ground mace with ground nutmeg for a similar warm spice note.
- Replace Lard with beef tallow for a firmer, more robust hot-water crust.
Storage
- Refrigerate up to 3 days
- Cool completely, then refrigerate well covered. Freeze whole or in slices; defrost overnight in the fridge and serve cold, or warm in a 180°C (355°F) oven until piping hot.
Ratings & reviews
Liked this recipe? Share your feedback to support our cooking community.
Tried this recipe?
Choose 1–5 stars. A comment is optional.
Stay inspired
Discover new recipes, seasonal favourites and cooking inspiration every day. Follow JustRecipes on Pinterest and Spillt.
Recipe overview
- Servings: 8 servings
- Total time: 3h 30min (1h active)
- Difficulty: Advanced
- Cuisine: British
-
Allergens:
Eggs Gluten Wheat
Plan your meals and get a complete grocery list automatically.
Add to meal plannerEquipment you'll need
Got ingredients left?
Find recipes using ingredients from this recipe or what you already have at home.
Find recipes with these ingredients →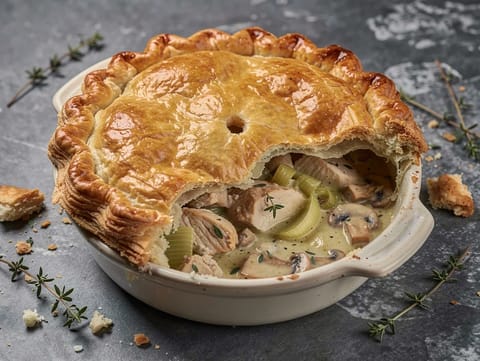
Chicken and Mushroom Pie
Chicken and leek pie with mushrooms and puff pastry

Air Fryer Mini Apple Pies
Mini apple pies air-fried with cinnamon and lemon.

Lemon Icebox Pie
No-bake lemon pie with a crisp biscuit crumb base
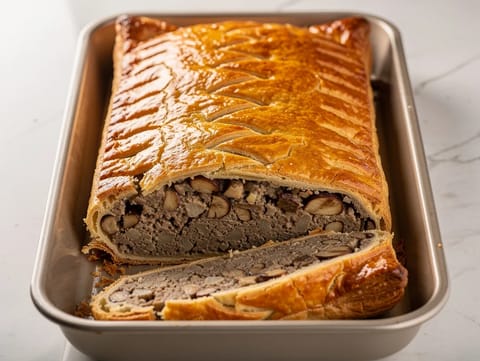
Mushroom and Chestnut Wellington (Vegetarian)
Mushroom and chestnut Wellington baked in crisp puff pastry
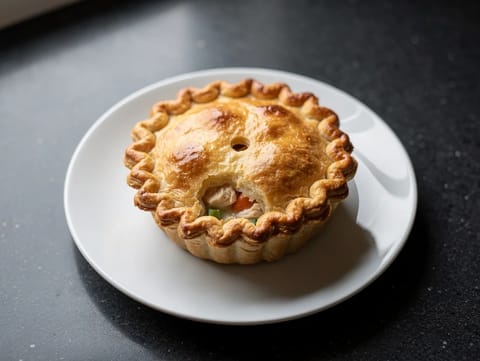
Gluten-Free Chicken Pot Pie
Chicken and vegetables baked under a golden gluten-free pastry lid
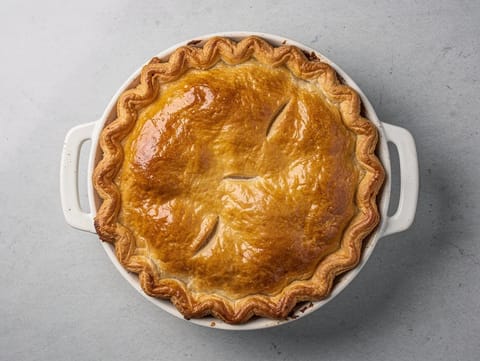
Chicken and Leek Pie
Chicken and leek pie with creamy sauce and puff pastry
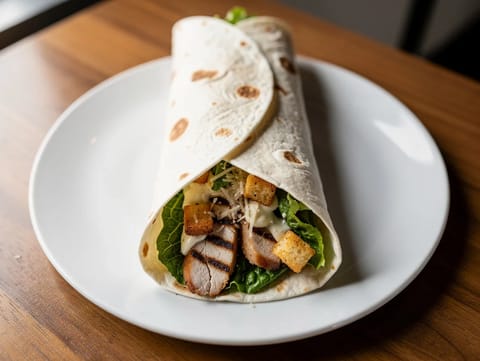
Chicken Caesar Salad Wrap
Grilled chicken Caesar wrap with romaine and croutons
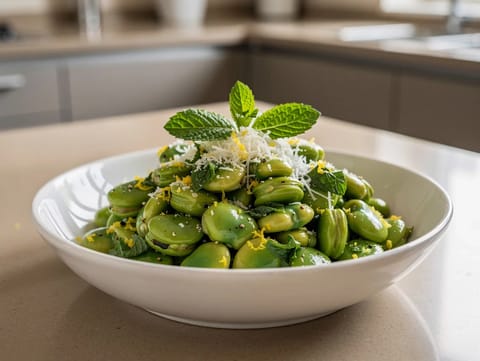
Broad Bean, Pecorino and Mint Salad (Insalata di Fave e Pecorino)
Broad bean salad with pecorino, mint, lemon and olive oil
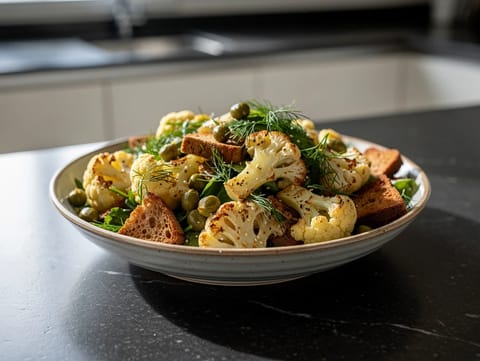
Warm Cauliflower and Rye Salad with Dill and Mustard Dressing
Warm salad of roasted cauliflower and toasted rye with dill
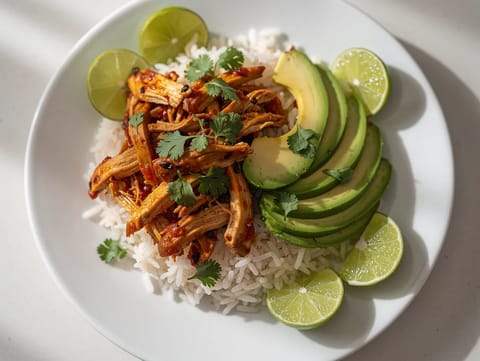
Chicken Tinga Rice Bowl with Chipotle Tomato Sauce
Chicken tinga rice bowl with chipotle tomato sauce and avocado
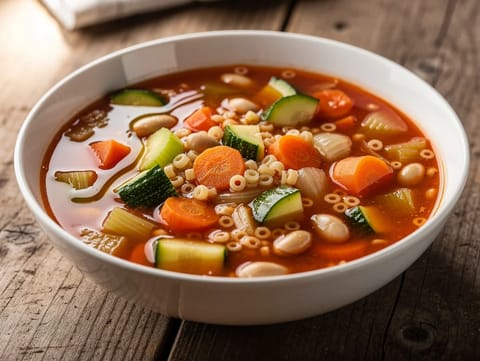
Minestrone di Verdure (Italian Vegetable and Bean Soup)
Italian minestrone with vegetables, cannellini beans and small pasta
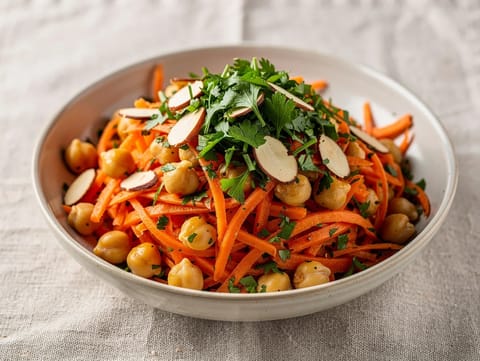
Moroccan Carrot and Chickpea Salad (Modern)
Carrot and chickpea salad with lemon and toasted almonds

Pierogi z Mięsem (Polish Meat-Filled Dumplings)
Polish meat-filled dumplings boiled then lightly fried in butter
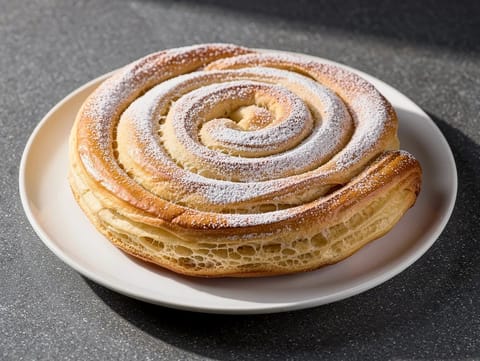
Ensaimada (Mallorcan Sweet Spiral Pastry)
Mallorcan spiral yeast pastry brushed with lard and icing sugar
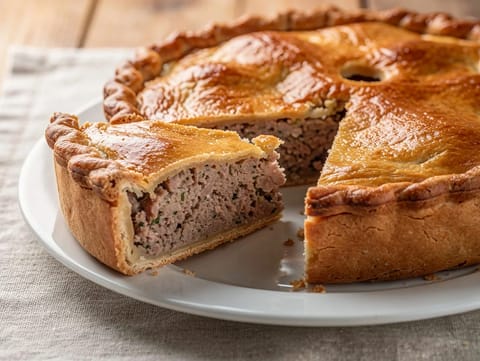
Tourte de Noël (French Christmas Meat Pie)
Shortcrust meat pie with pork, veal, herbs and brandy

Bánh Bao (Vietnamese Steamed Pork Buns)
Fluffy steamed buns filled with minced pork and hard-boiled egg
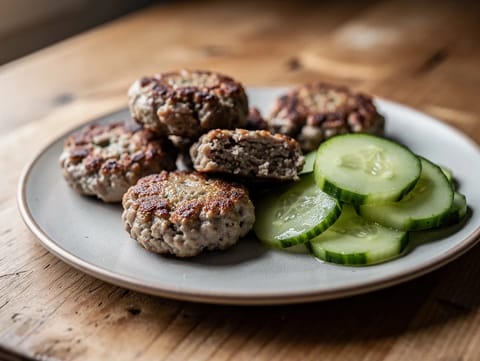
Danish Frikadeller (Pork Patties) with Pickled Cucumber
Pan-fried Danish pork patties with pickled cucumber

Kartoffelknödel (German Potato Dumplings)
German potato dumplings gently simmered until tender
You might also like
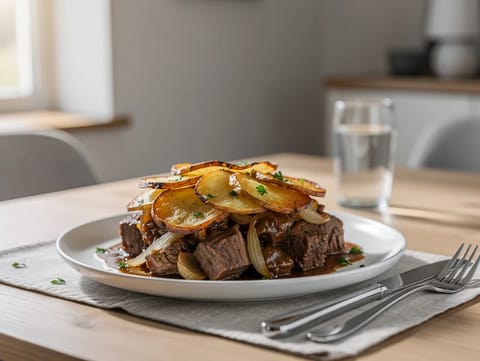
Lancashire Hotpot
Lamb and onion hotpot with crisp sliced potato topping
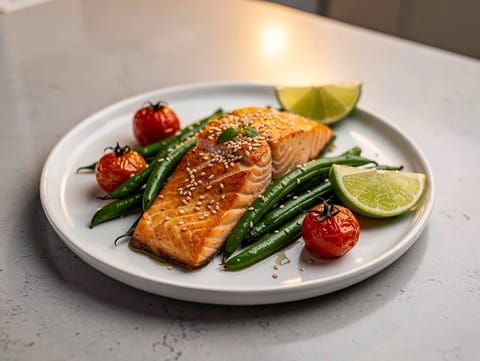
Air Fryer Salmon and Vegetables
Air-fried salmon with green beans, tomatoes and soy glaze.
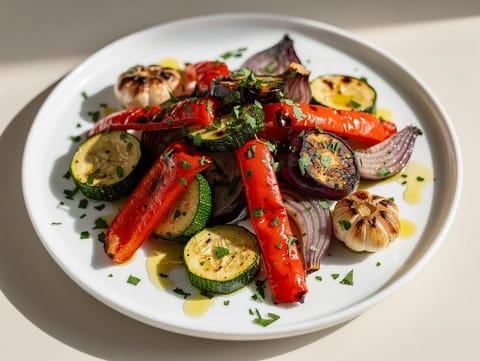
Portuguese-Style Olive Oil Roasted Vegetables
Olive oil roasted vegetables with garlic, paprika, parsley and lemon

Kedgeree (Curried Rice with Smoked Haddock and Eggs)
Curried rice with smoked haddock, eggs, butter and parsley
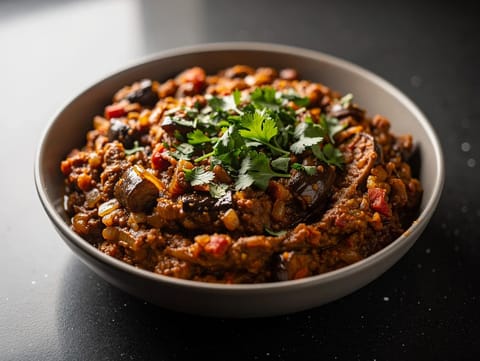
Baingan Bharta (Smoky Mashed Aubergine)
Smoky roasted aubergine mashed with tomatoes, spices and coriander
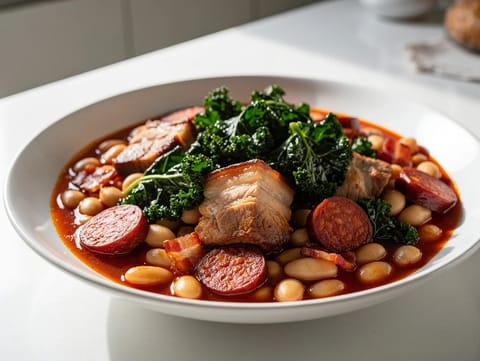
Feijoada à Portuguesa (Portuguese Bean Stew with Pork and Chorizo)
Portuguese white bean stew with pork belly, chorizo and bacon
Make this recipe easier next time
AdvertisementThese tools help you get better results with less effort.
KitchenAid Stainless Steel Mixing Bowls
- Non-slip base
- Stainless steel
- Not microwave safe
T-fal Specialty Nonstick Handy Pot with Glass Lid 3 Quart
- Easy food release
- Dishwasher safe
- Not induction compatible
OXO Good Grips Stainless Mixing Bowl Set
- Non-slip base
- Comfort grip
- Higher price
WMF Mini Saucepan 16 cm with Lid
- High-quality stainless steel
- Even heat distribution
- Higher price point
Enjoy cooking with JustRecipes?
Add JustRecipes as one of your preferred Google sources to discover our recipes more easily across Google Search.
Add JustRecipes to GoogleEvery recipe on JustRecipes follows the same structured editorial process. Learn how recipes are created, validated, translated, illustrated, and continuously improved across the platform. How we create recipes.
